Spreading Holiday Cheer

Handmade Coffee Cozy

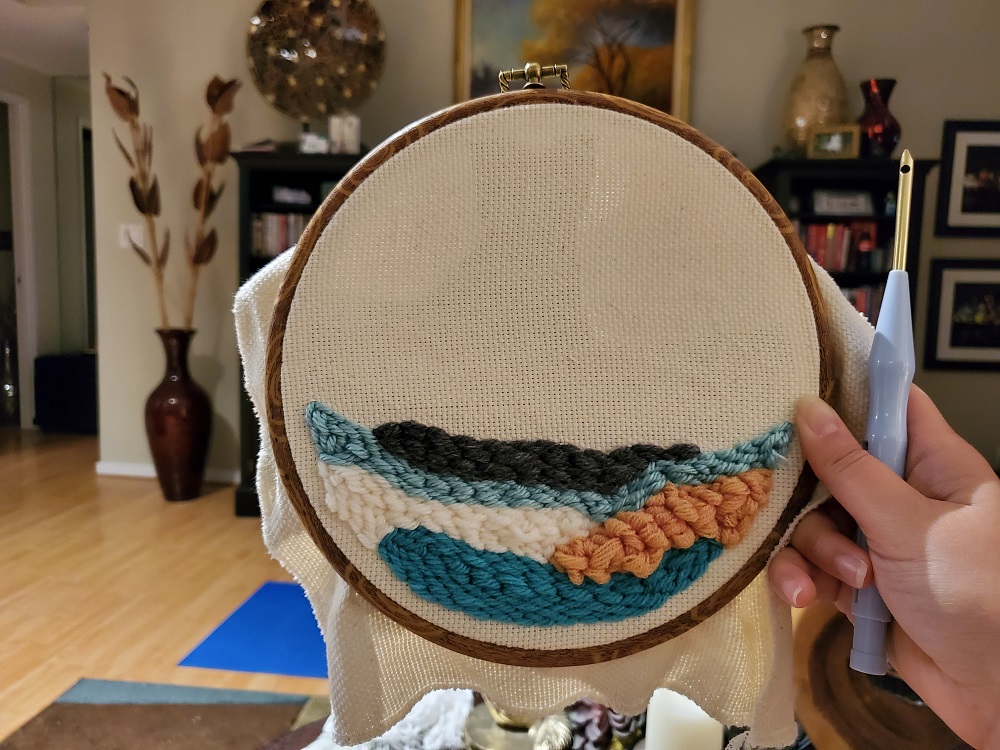
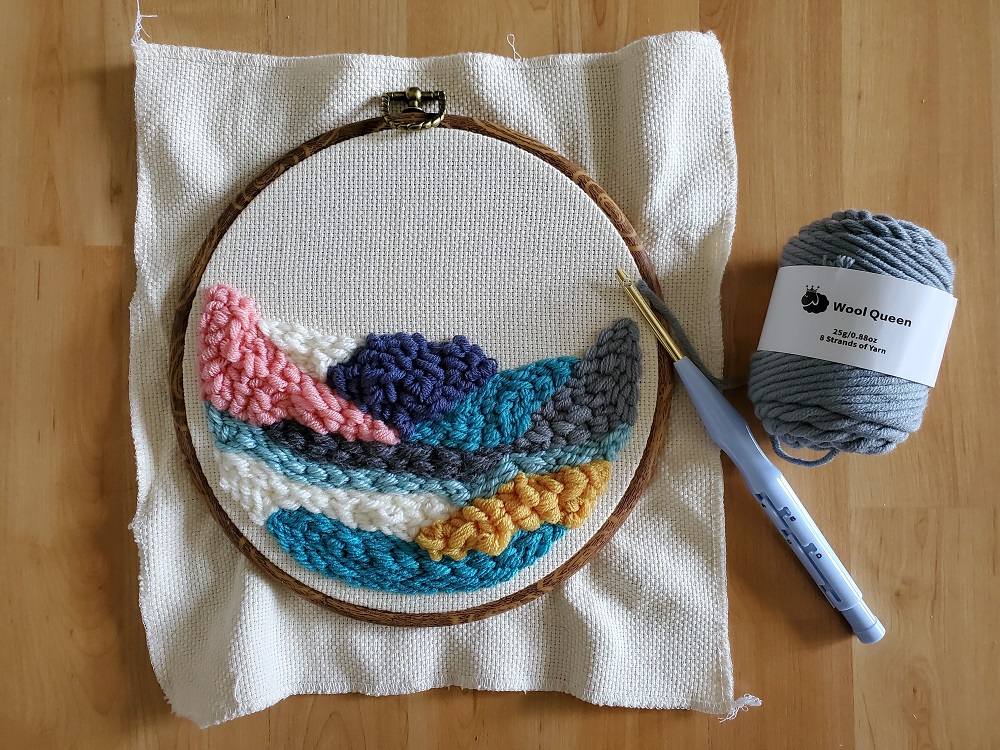
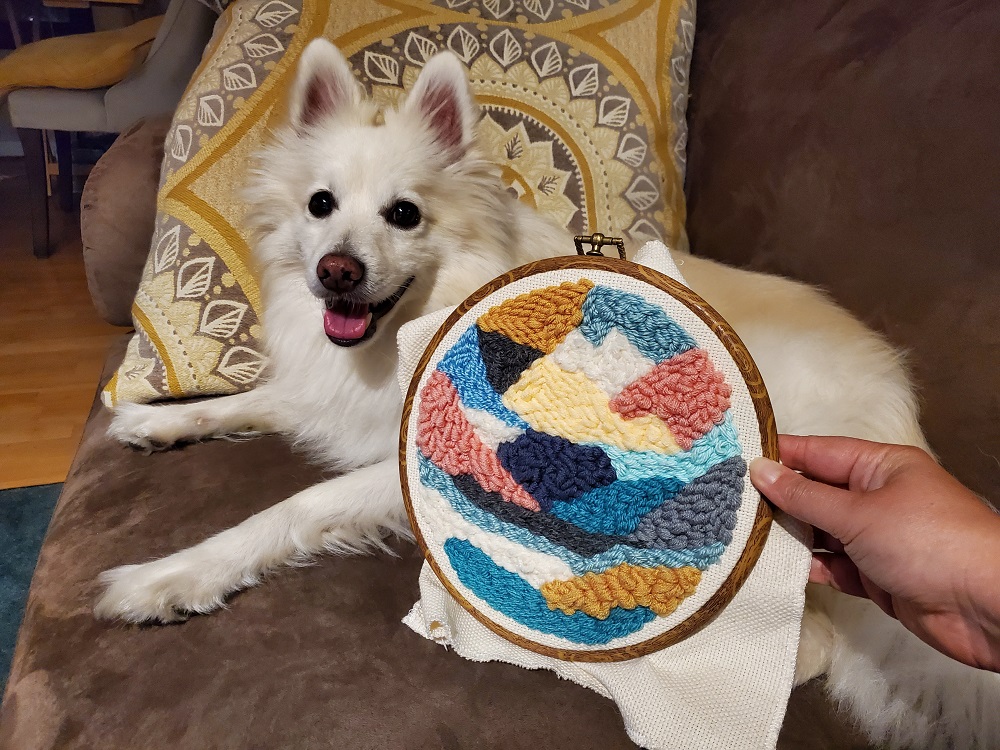
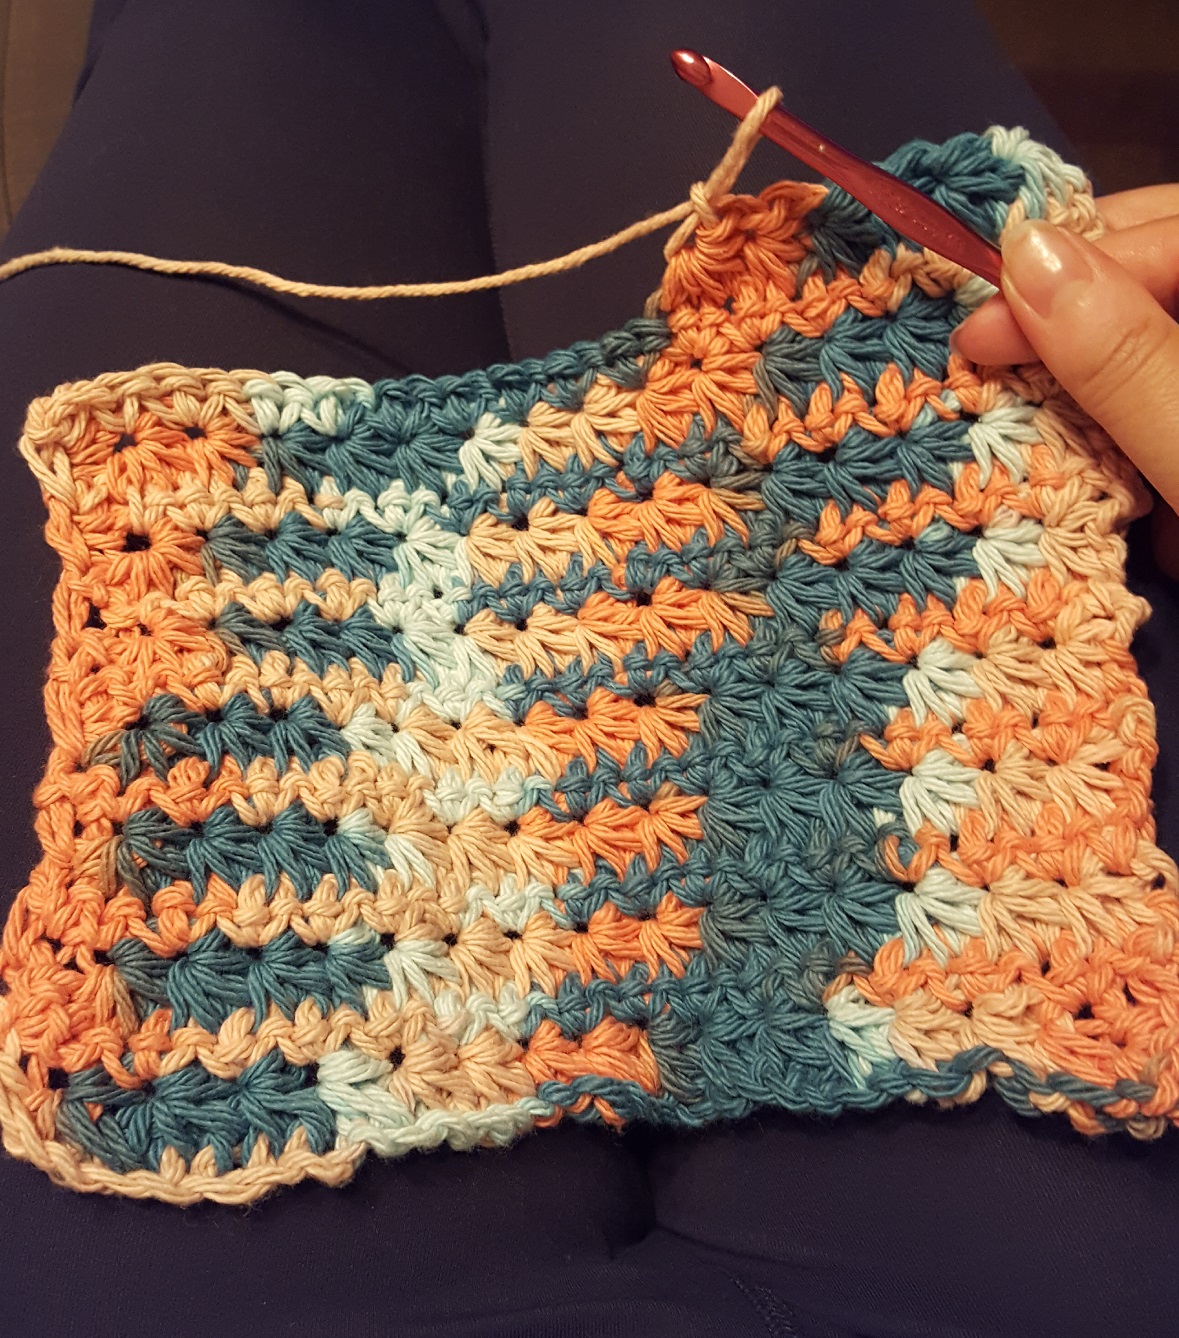
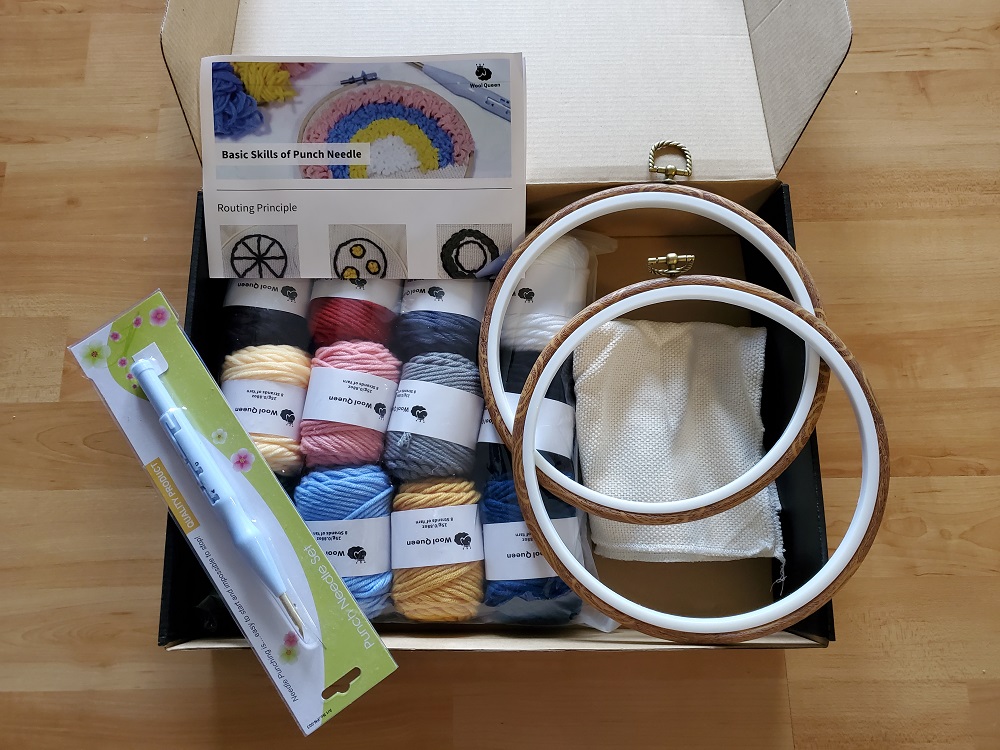
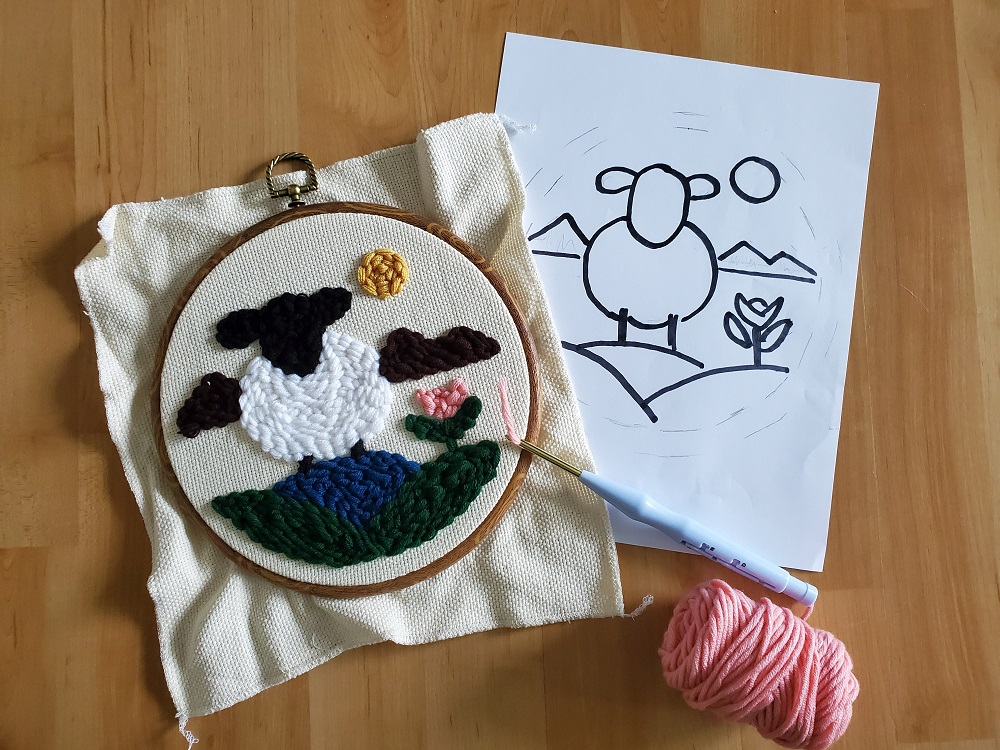
Are you making your gifts, buying your gifts, or do a little bit of both? I guess it’s a little late in the season to be asking you about your holiday gift-giving game plan, but it’s still fun to ask and hear about it. This year, I did a combination of both: making some gifts and buying others. Throughout the year, I went through a number of phases: making coffee cozies, trying my hand at new hobbies (ie: punch needle embroidery and marker drawing) and continuing to build row upon row of my knitted and crocheted blankets. Along the way, I made new friends after starting a new job the previous year and spent time checking up on old friends throughout this hard-hit year. If you haven’t already checked up on someone, it’s a good time to pick up the phone, write an email, send a card or mail a care package. All the while, I decided to dust off my crochet needles and put some finishing touches on my coffee cozies. I love making custom cozies that pair with a plain porcelain cup — especially for the holidays — since most of us are bundled up and ready for a tall cup of hot cocoa. There’s nothing more heartwarming than happiness in a mug. 

For once, I ended up getting most of my holiday cards and Christmas gifts out by early to mid-December. Everything was wrapped, stuffed, packaged, sealed and stamped — all ready for my trip to the post office before the holiday rush. Some careful planning on my end helped make a handful of these gifts extra special. The best part about sending these gifts and spreading holiday cheer are the happy faces and photos of their Christmas cheer.

Stepping up my soap-making game

By | September 13th, 2020|DIY Home, Handmade, Homemade Soap, Humbling Hobbies and Habits, Oh My Crafts!|

Flamingo, Leaf and Flower Soap Charms

With the soap charms I made earlier, I mentioned I’d be doing something special with them. Now that I have an abundance of these little guys hardened and sitting ready on my countertop, I am stepping up my ‘melt and pour’, soap-making game and taking it to the next level by embedding them in more soap. If all goes well, you should see the fine details of the flamingo, palm leaves, cacti and ice cream inside a clear glycerin base. If you can’t see them, well… something didn’t go quite right. 

Embedded Soap Making

As a hobbyist, we all know it takes a few wrongs to get things right, so the sacrifice of a few flamingos and palm leaves were highly likely. The first batch of soap charms sat ready in their molds and I heated up the glycerin soap. The soap was near a boiling point, so I stirred out some of the air bubbles, then began to pour. Wrong move. 

Homemade Embedded Melt & Pour Soap Making

Shortly thereafter, the flamingo and palm leaf began to melt and ribbons of pink and green laced the soap tray. And not long after that the flamingo and palm leaf began to dissolve. Oh no, caught up in a frenzy, I tried to save it by scooping back parts of the pink and green ribbons to try to keep it intact. Was I successful? No. That first one was a goner.

Embedded Soap

The second time around, I heated up the next batch of glycerin soap and this time, I stirred and let it sit. I didn’t have a thermometer handy nor did I know how long to leave it out for. Every now and then, I poked my finger in. Too hot? No clue! Moments later, I began to pour the soap base in the tray only to find it thicken, cloud up and gel. It sat out too long. Doh.

Embedded Soap

Third time’s a charm, right? Back to the stove, I stirred in another batch. I let it completely dissolve, then took it off the stove to stir out the air bubbles. I knew not to pour right away since it would melt the soap charms and now I knew not to leave it out for so long or it would thicken. It’s around that five minute range from what I could estimate, so then I dipped my finger in, acknowledged it was hot, but not overly hot. I took my chances and poured into the soap tray. It didn’t melt! However, I still didn’t know whether it would melt in time so I acted quickly. I poured in the rest, sprayed it with alcohol and transferred it to the freezer for three hours — all while hoping for the best. 

Homemade Soap

It worked. Ta da! 

Perfume-scented flower soaps

By | June 28th, 2020|Handmade, Homemade Soap|

Perfume-scented flower soap

It’s seventy-five and sunny and these flowers are in full bloom! 

In looking for more ways to make hand-washing a bit more enjoyable, I decided to make these perfume-scented flower soaps. Given that we all wash our hands more frequently and take extra precautionary measures to rid ourselves of those pesky germs, why not do it in style?! 

It starts with finding a soap mold that will make your soap feel like the centerpiece of your bathroom. I found these flower soap molds online and love that they accentuate every beautiful feature of a flower from the pollen-filled center to the delicate flower petals to the luscious leaves. And because we’re washing our hands more often, you’ll want to choose a base that not only lathers but moisturizes and smooths your skin. Shea butter does all of the above and is naturally a good choice. It also has anti-inflammatory and healing properties that condition, soothe and tone your skin. 

You can buy a block of shea butter and melt and pour as your please. Then you’re off to the fun part: colors and scent. Neutrals and earth tones go well in just about any bathroom. And because summer reminds me of jasmine, gardenia and lilac, it was only natural to add a few extra droplets of those essential oils.

No ‘one sockiatus’ over here

By | May 10th, 2020|Crocheting, Handmade, Humbling Hobbies and Habits, Oh My Crafts!, Yarn Addict|

Crocheted Ballet Slippers

I remember attempting to knit a pair of socks in my earlier years of knitting, but didn’t quite make it that far. We knitters and crocheters often start off with scarves and usually make a fair amount of them, until we aspire to do something more with the ball of yarn and knitting/crochet needles. Oftentimes, circular knitting/crocheting can be intimidating but once you take a class, follow a YouTube video or learn to read a pattern, you are soon exposed to a brand new world — a world of making your own clothes! 

Crocheted Ballet Slippers

I’ve been wanting to revisit sock making, but always found it tricky wrapping my fingers in such thin yarn. Coming across this YouTube video on Crochet Ballet Slippers by Heart Hook Home, I got inspired to make these Sunday Ballet Slippers using worsted weight yarn size 4. Author Ashlea Konecny provides both a step-by-step video and written instructions for those who are visual learners like myself. 

Crocheted Ballet Slippers

The best part is, you can make these slippers in a single afternoon. As long as you can make a magic ring, single crochet and slip stitch, you are good to go. But watch out for the notion of “One Sockiatus,” the idea of knitting or crocheting one sock and thinking you’re done with the project when you’ve still got another pair to make. It can offset your progress leaving your feet bare if you end up coming down with that syndrome. 

Crocheted Ballet Slippers

Lucky for me, I was just too darn excited to finish the project!

Gorgeous sunset, ain’t it?

By | April 26th, 2020|DIY Home, Handmade, Oh My Crafts!, Yarn Addict|

Punch Needle Abstract

The sun is shining, the weather is warm and the yarn box is overflowing. With the days growing longer and the shelter-in-place order extended, many of us have a lot more time on our hands. For craft enthusiasts such as myself, that means catching up on hobbies and dusting off the shiny new punch needle that I just got last month. 

Punch Needle Abstract

Inspired by the East Bay sunset, I found skeins of cotton candy pink, sunset yellow, aquamarine and capri blue yarn that would make for beautiful skies and lush green mountains. 

Punch Needle Abstract

Weaving together the colors came naturally. The warm pink, ivory and yellow pair well with the tranquil blue, gray and navy — each bringing their own ray of sunshine and a burst of colorful personality. 

Punch Needle Abstract

These timeless projects bring such joy in times of uncertainty and unease. What are you doing to keep your head up and your spirits high?

Star Stitch Crocheted Hand Towel

By | March 28th, 2020|Crocheting, Handmade, Yarn Addict|

Star Stitch Crocheted Hand Towel

It’s been about three weeks with the Shelter In Place order and all of us are doing the best we can staying indoors and only going out when absolutely necessary — or when my dog gives me that look. And since then, we’ve all taken extra precautionary measures: standing a minimum of six feet away from one another, covering up when you cough or sneeze (you should have been doing that if you haven’t already!), disinfecting common areas, and washing your hands with soap and water for at least 20 seconds. You can count to twenty, sing your favorite song, hum the birthday tune or do a happy dance, but make sure to wash your hands thoroughly. 

In the spirit of hand-washing, I decided to go back and crochet some hand towels, since I found myself stocking up on paper towels. I landed on the Star Stitch crochet pattern because I wanted to do more than a single, double or treble crochet, but didn’t want to get too complicated and count. After all, when you’ve got a glass of wine in hand, some munchies and your favorite Netflix show going, you deserve to make it easy on yourself and enjoy the show. 

Now sit back, relax and crochet!

No better time to start a hobby

By | March 20th, 2020|Handmade, Punch Needle, Yarn Addict|

Punch Needle Starter Kit by Wool Queen

With the Covid-19 pandemic and the Shelter-in-Place order mandated by Mayor London Breed, there’s no better time to pick up a new hobby than now. Flipping through my Instagram feed inspired me to land on punch needle embroidery

Since Michael’s was closed, I ordered the Wool Queen punch needle starter kit on Amazon and it came with everything I needed to begin my first project. The kit includes an adjustable punch needle, two natural 11 by 11-inch monk’s cloth, two no slip 8.6-inch hoops,12 colors eight-strand coarse yarn, five inspirational drawings and basic skills introduction. While the instructions were very basic and it didn’t teach you how to thread a punch needle, it was easy enough to find a quick tutorial on YouTube. Once you’re able to thread the punch needle, you’re well on your way to start your project. 

Punch Needle Yarn Embroidery -- Sheep

I wasn’t a fan of some of the drawings it came with, I took matters into my own hands and decided to draw my own. I was going back and forth between doing an abstract or actually coming up with a scene, but since my kit includes two monk clothes and hoops, I could do both. For some reason, I was compelled to draw a sheep and this drawing, which was overly simplified, brought me back to art class in grade school. 

Punch Needle Yarn Embroidery -- Sheep

It’s important to keep these drawings basic and save the complexity layer in for my next project. The fun part is usually changing colors and seeing the progress. Since the Wool Queen yarn is pretty thick, each stitch took up a fair amount of space on the canvas, so you could imagine that progress was quick. In fact, I ended up finishing my first piece within two days. 

Punch Needle Yarn Embroidery -- Sheep

I’m thrilled that I was able to use this time and discover a new hobby. What are you doing to keep your inner creativity alive and well?

Organized Crafting Chaos

By | February 2nd, 2020|Craft Day, Fused Glass, Handmade, Oh My Crafts!|

The Bling Bar at the Alameda Art Lab

Today, we’re in for some organized crafting chaos at the Alameda Art Lab Bling Bar. With our workstations filled with shards of decorative glass and our glass cutters handy, we’re ready to roll up our sleeves and make some fused-glass cactus plants. I’m mesmerized by all the shades of green glass and its texture. Olive, sage or pear? Transparent or opaque? Prickly pear, Cereus, or San Pedro cactus? Okay, it’s time to pull up Pinterest and get some ideas flowing. 

Fused Glass Cactus Plant

While I’ve done a few mosaic glass projects, fused-glass is a first for me. It uses much of the same technique in developing the skills needed to cut and shape glass with the cutter. To really get the edges of the cactus rounded and smooth, I learned how to use the sanding tool, which is now my favorite tool. The sanding tool is like an electric nail filer and it rounds out the sharp edges after you cut your glass. 

After you cut the glass into various shapes and layer them on top of each other, the fun part of this project is giving them all some character. Here’s where I got to experiment with spaghetti noodles and acrylic paint to create the spine of the cactus. Once we finished, we left the pieces of glass on the table and our instructor fused the glass together. 

Fused Glass Cactus Plant

They turned out great!! Now I can put this on my desk at work. The best part is knowing that it doesn’t need sunlight and I don’t need to water it at all!