Mosaic Cross

Mosaic Cross

Earlier this month, I took two classes at the Artistic Home Studio and it made quite an impression that I came back for more. I must admit it was a little daunting to be working so up close and personal with glass, since I was always told to stay away from sharp edges. Since I learned how to use glass-cutting tools, mix and match colored glass, and adhere them to a surface – all having done so unscathed (!), I became inspired and am looking forward to discovering more about this new found hobby.

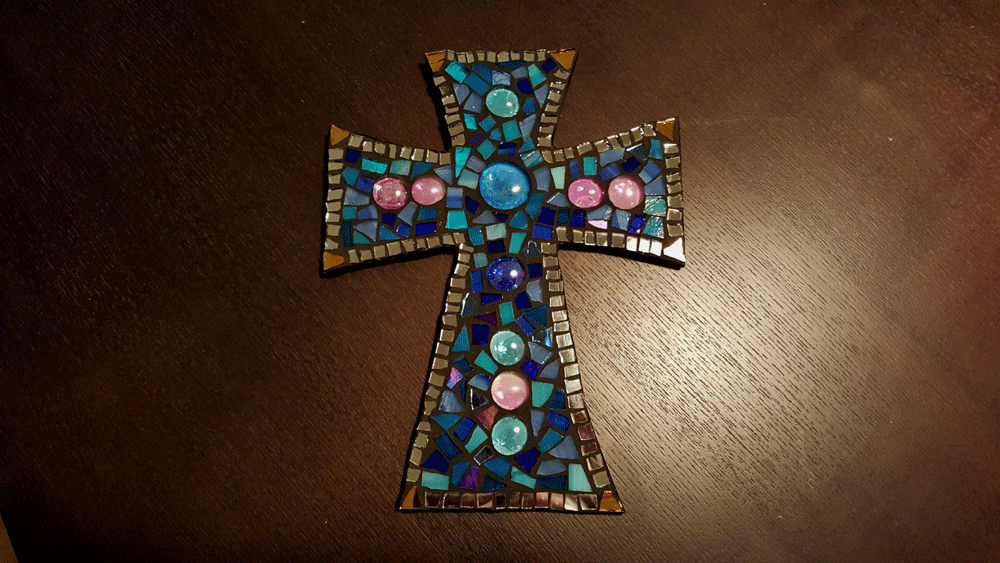
I am enthralled by the fusion of glass, mirror and marble, and the bold, statement pieces you can make for the home. After making the mosaic turtle and rock, this time around, I’ve decided to make the mosaic cross, since this would be a perfect Christmas gift for a special someone on my Dad’s side of the family. The toughest decision this time around was choosing from the plethora of colored glass. Warm palette or cool palette? One marble or ten marbles? Decisions, decisions.

As fun as it was to make this gem,  I can’t wait to see the look on my cousin’s face when she opens it, since it was made with extra TLC this holiday season.

Painted Wine Glasses

By | April 19th, 2016|DIY Home, Handmade, Learning from the best, Oh My Crafts!, Painting|

Painted Wine Glasses

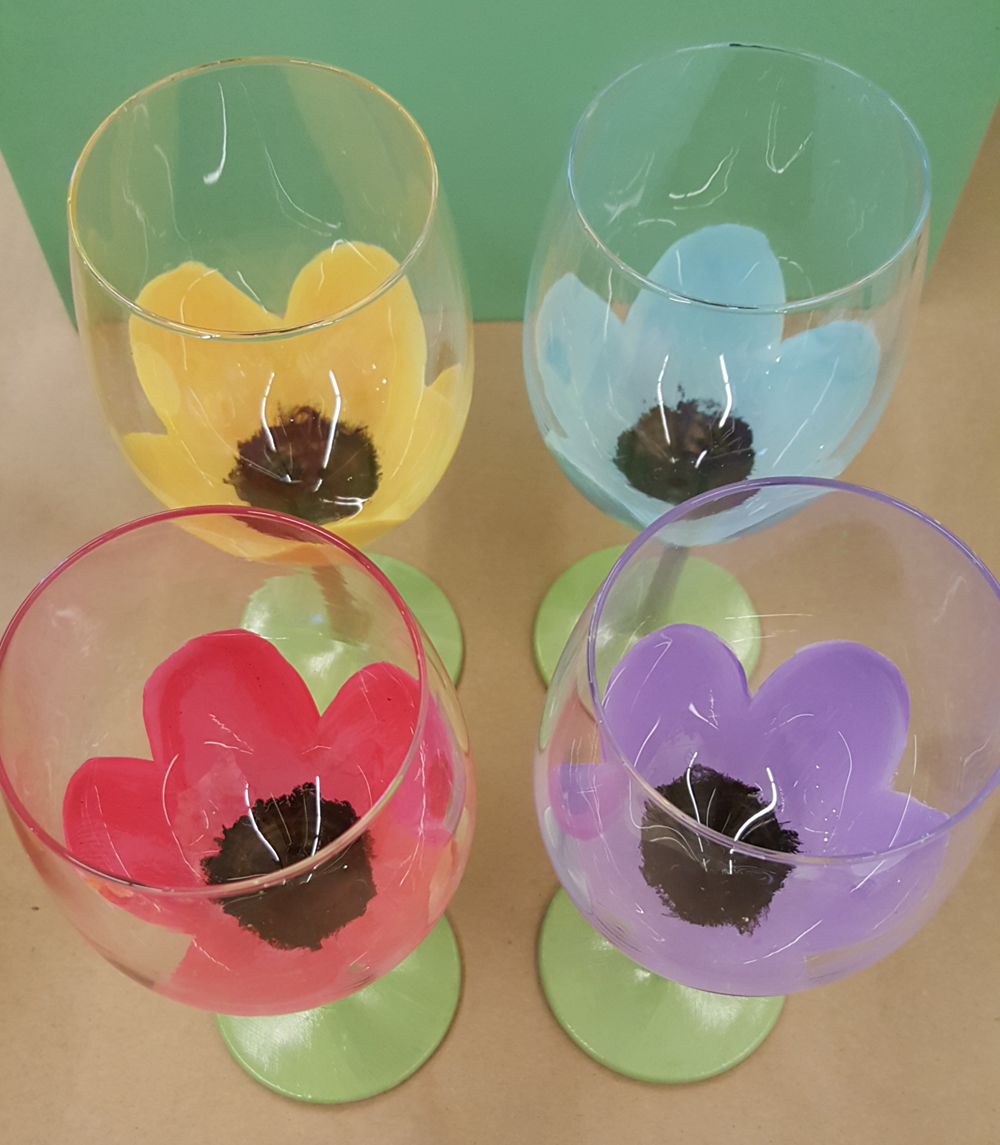
I’ve spent quite some time at the Artistic Home Studio and it only left me hungry for more. They offer so many classes that I’m going to go back, and take each and every one of them. This time around I decided to try out the Painted Wine Glasses class. I was greeted with tubes of acrylic paint and a handful of assorted paint brushes. Okay, I can do this.

As I began to mix and layer on the first coat of paint onto the glass, I realized this is going to be more challenging than I had anticipated. I’ve painted with acrylic before, but with glass as the medium, one coat of paint would hardly suffice. In fact, I could hardly even see two coats. Wow, this is going to take some time. I decided to nix the idea of doing some fancy shading and wiped the glass clean. Water and paper towels make for a good eraser.

Instead, I opted to paint these spring-like flowers (yes, spring in the winter!) keeping in mind the transparency of the glass. It took about 10-15 coats of paint to finally get the full effect of each color. Between the layers of paint, take a mental note of how you blended the colors since you’ll need plenty of paint. It’s also handy to have a blow dryer plugged in between the layers.

Paint + Multiple Layers + Blow Drying Sessions = Hours + Fine Master Pieces

Mosaic Turtle

By | December 5th, 2015|DIY Home, Handmade, Learning from the best, Mosaic Art, Oh My Crafts!|

Artistic Home Studio

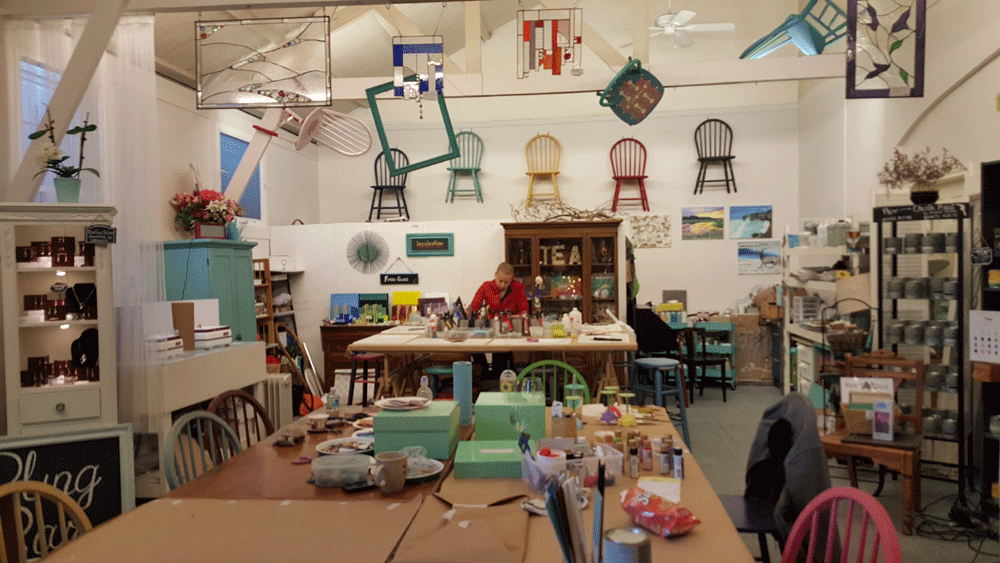
A couple of months ago, I went to The Ultimate Women’s Expo in San Mateo for a full day of pampering fun. As I perused the aisles, bombarded by jewelers, health fanatics, massage therapists and free swag, I couldn’t help but notice this beautifully decorated, mosaic sculpture that caught my my eye. It was stunning to see how hundreds of these shiny pieces of glass stacked side by side, fit together to create a statement piece so ornate. I inquired about the artist only to realize she was standing there right before me. JaYing Wang has been a mosaic artist for over 15 years and she has a studio in Alameda called Artistic Home Studio where she teaches glass arts – stained glass, glass fusing techniques and mosaics. She’s designed a number of public-facing mosaic murals within the Bay Area and commands the discipline of mosaic arts.

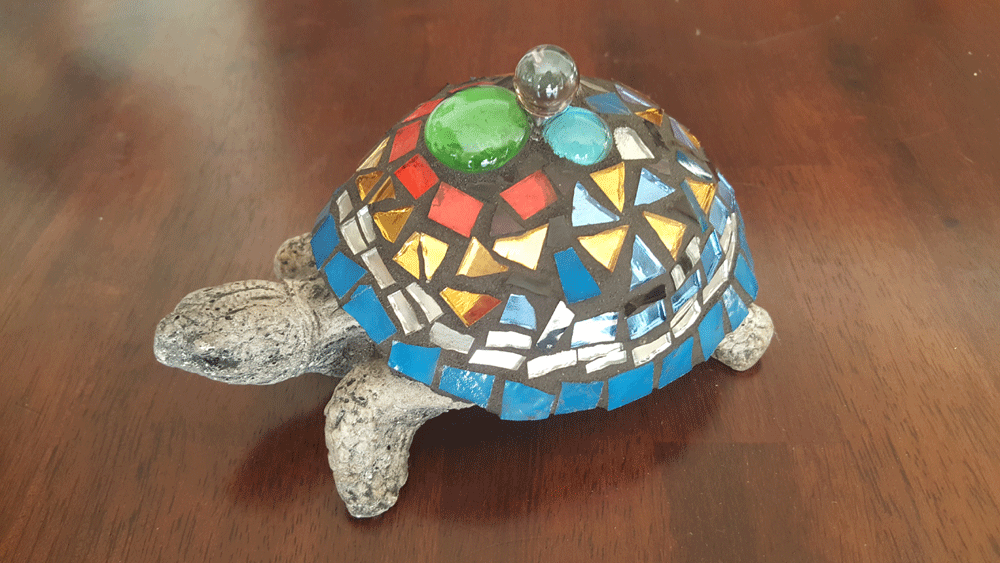
Absolutely thrilled to learn that there’s a class for mosaics, I eagerly picked up one of her pamphlets and here I am signing up for both the mosaic turtle and mosaic rock class. I got a hold of my turtle and then had to make the hard decision of deciding which color glass to use and what pattern to display on the shell. I opted for my favorite color, blue and danced between both the cold and warm palette. Hard part solved.

Mosaic Turtle

Now onto learning the different glass-cutting tools. I can tell that it’s going to take a bit of practice to get the hang of it. You can either cut the glass directly using a rotary wheel, or score the glass and then split it up in twos. I used both combinations and pieced my colored tiles on the table before dressing the turtle. With plenty of references to Pinterest, I decided on creating a border along the exterior of the shell and decorating it with flower pedals in the rear. Luckily, it takes time for the cement to dry, so I had more than enough time to move things around. I ended up with this little guy to your right and topped him with some glass stones and marbles.

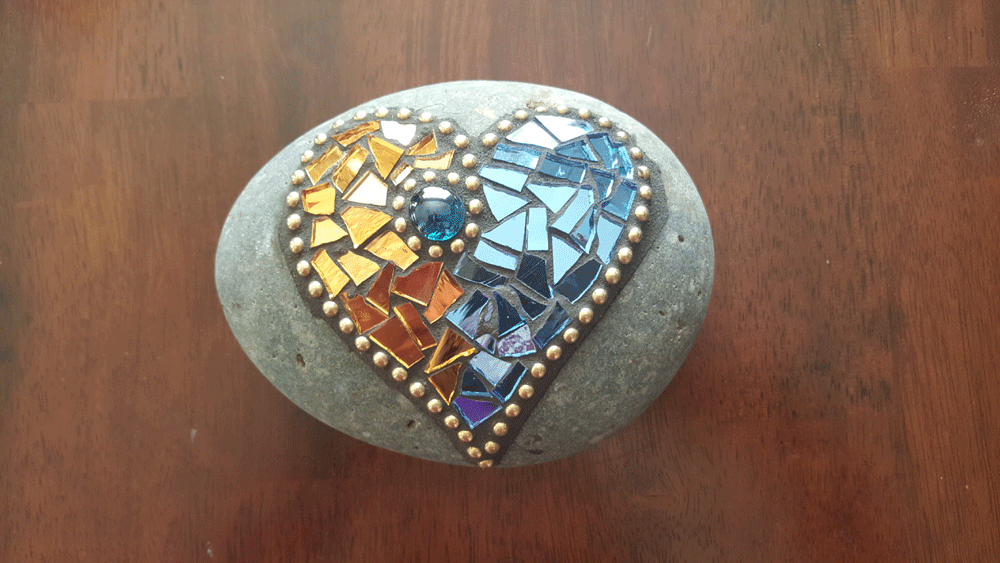
I’m beginning to think two projects in one day for this mosaic novice is a bit ambitious. Now onto the rock…..

Mosaic Rock


From Canvas to Home Decor

By | August 8th, 2015|DIY Home, Humbling Hobbies and Habits, Oh My Crafts!, Painting|

Scenes from Pescadero, CA | CleeSF

A few years ago, I took an Acrylic Painting Class over at the Pacific Art League to try and surface any hidden talent in painting. I spent my weekends in the art studio watching these ten minute demos from the instructor and then participated in three hour sessions of supervised painting. We painted old pottery, crooked vases and lots of fruit. Week after week, I painted a variation of the same setup with minor adjustments to lighting and draped backgrounds until finally my instructor pushed beyond the world of still life and introduced me to landscape. She pulled a photo out of her drawer and had me starting painting a scene from her weekend excursion to Pescadero, California. I had never visited Pescadero, but these rolling waves, rocky shores and luscious mountains could easily hold my attention for the next three weekends or 12 hours+ of painting. And so began a newfound of hobby of landscape painting.

As with all my paintings, when I finished, I tucked this one into my portfolio that lay under my coffee table. Only until my cleaner came and pushed my furniture aside did I realize that there was a hint of talent and possibly a “frameable” piece that could sit somewhere in the apartment. I decided to block out the white space on the entertainment stand in my room. It had been sitting there for years unattended, since I had no intention of buying a flat screen television and I had one too many unsuccessful trips to the furniture store. With my painting in hand and a trip to Michaels, I got this piece mounted and framed. Finally, a finished painting and a piece of art that I can call my own.

50 Sucks

50 Sucks

Brett is clueless. He has no idea. Friends, family, sangria, a Mexican fiesta and this tree of suckers await the birthday boy. Hats off to the hostess for putting together this party and adding such unique finishing touches to warm up the household. Simple DIY projects such as this this foam ball with dum dums present itself as the centerpiece and is very popular among both the over 50 and under 50. It reminded me of good childhood memories and yep, I’m still a fan of the cream soda flavor. And now there are bacon and popcorn flavored dum dums?! Hmmm, I think I’ll pass, but they were a hit with the kids.

Sitting next to this tree of dum dums is a homemade album featuring the birthday invitation along with an assortment of colored index cards for everyone to send a special note to the birthday boy.

And for this, it’s reason #108 why I love these simple, yet thoughtful DIY home projects.

Scrapbook Expo, Pleasanton

By | February 28th, 2015|Craft Day, Learning from the best, Oh My Crafts!, Scrapbooking|

Scrapbook Expo Pleasanton - Tacky Tourist

Signed up for two workshops, Hello Friend and Copic Marker class. Got my wheelie fully equipped with glue dots, card stock, scissors and chipboard. Have my expo and crop night wrist band and my wallet. All set for Scrapbook Expo!!

I’m going to remind you, there is such a thing!! And today’s theme is “Tacky Tourist”, so here is our ‘tacky tourist’ snapshot. Enjoy!

Scrapbook Album - Hello Friend

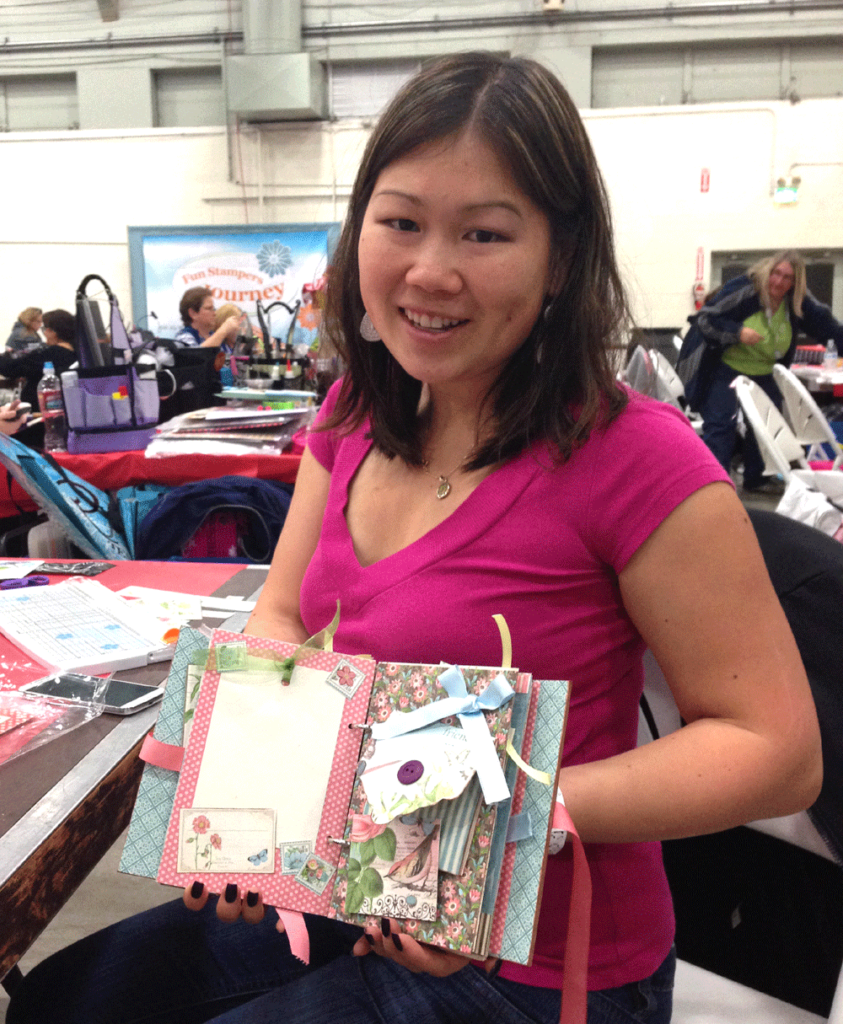
As always, album-making is one of my favorite scrapbooking hobbies and my first workshop of the day is “Hello Friend” featuring products from Pinecone Press and Graphic 45, two of my very favorite vendors. This class focuses on various techniques: how to cover chipboard pages, how to create a distressed paper flower and how to adhere a binder mechanism. I love walking away with a unique, hand-crafted album with decorative ribbons and such fanciful paper. It’s going to make for a really nice gift.

For the second workshop, all three of us indulged in the Copic Marker drawing class. We’re all really excited to learn how to use these markers and blend to make special greeting cards with a bit of pizazz. It’s an alcohol based marker that allows you to blend light to dark and dark to light. Ah, I wished I discovered this sooner. It’s almost like painting with water colors. This will most likely be a new hobby on my website, so look out!

That said, it’s time to crop into the evening, cross our fingers for raffle prizes, sip some wine and buckle down on our scrapbooking projects.

I’m looking forward to the Scrapbook Expo in Santa Clara this coming August! Hope you decide to join in on the fun!

From our family to yours, Merry Christmas!

By | December 25th, 2014|Handmade, Holiday Fun, Oh My Crafts!|

Lee Family Christmas 2014 | CleeSF

All too soon, Christmas is here! This year, I’m making a batch of candied pecan yams and brussel sprouts with prosciutto and white wine sauce. Part of the fun with staying in the kitchen is sipping on a glass of wine, while also doing a bit of tastings before all the guests arrive.

This year’s warm Christmas Day is joined by two of my sister’s friends and of course, the family. With Christmas music in the background, a fireplace in the making and a glass of raspberry champs in hand, I think the family’s ready for a healthy competition of building gingerbread houses. I kid you not, it’s a lot easier than it looks.

Gingerbread Houses for Christmas | CleeSF

Each team had varying tactics. While others were set on designing the house, my dad stuck to building the foundation and making the house stand – even if it did take the entire tube of icing. Hands completely sticky and iced, confetti dots and gumballs stuck to his sleeves than on the roof, he was done in a matter of 20 minutes and left the house for my mom to design. In the meantime, my cousin Clifton was all about details in designing the exterior. He carefully squeezed the icing and aligned all the gum drops and licorice around each side of the house. WIthout testing it, he later realized the side of the house where he added a window and a door was really the rooftop. On the other hand, my aunt and I were all about designing the house partially and then moving on to the foundation. WIth a few collapsed houses and falling candy, we finally got it to stick. Our friends on the other side of the table stayed away from the classic design of windows, doors and garages, and instead branded it with their names. Clever.

When it came down to voting, Ricky and Zenaida were our two winners and each got Santa hats and reindeer antlers to wear for the evening – all in good fun.

Hope you too had a wonderful Christmas!

Santa Mail

By | December 19th, 2014|Holiday Fun, Humbling Hobbies and Habits, Oh My Crafts!, Scrapbooking|

Santa Mail - Family Christmas Card

Part of getting into the holiday spirit involves writing Christmas cards and saying hello to a few good friends that I might not have caught up with throughout the year. And lucky for us, our family trip to Orlando, FL made the front cover of each of the cards. Topped with a warm greeting, poinsettia stamp and gold seal, these cards are ready for a trip to the North Pole and back.