Gorgeous sunset, ain’t it?

By | April 26th, 2020|DIY Home, Handmade, Oh My Crafts!, Yarn Addict|

Punch Needle Abstract

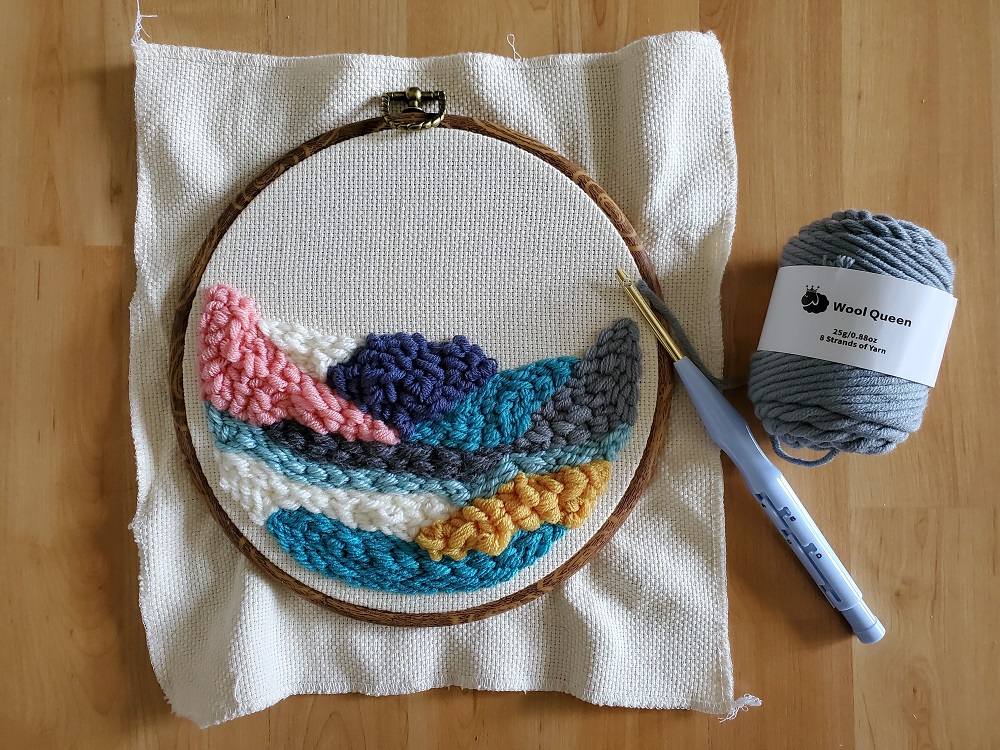
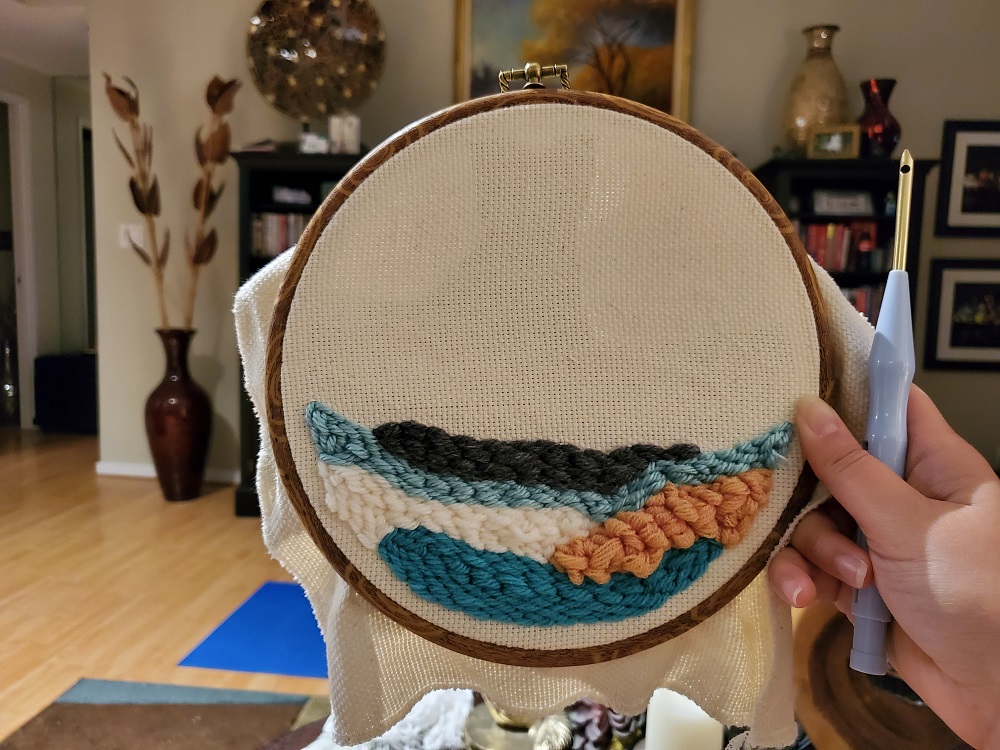
The sun is shining, the weather is warm and the yarn box is overflowing. With the days growing longer and the shelter-in-place order extended, many of us have a lot more time on our hands. For craft enthusiasts such as myself, that means catching up on hobbies and dusting off the shiny new punch needle that I just got last month. 

Punch Needle Abstract

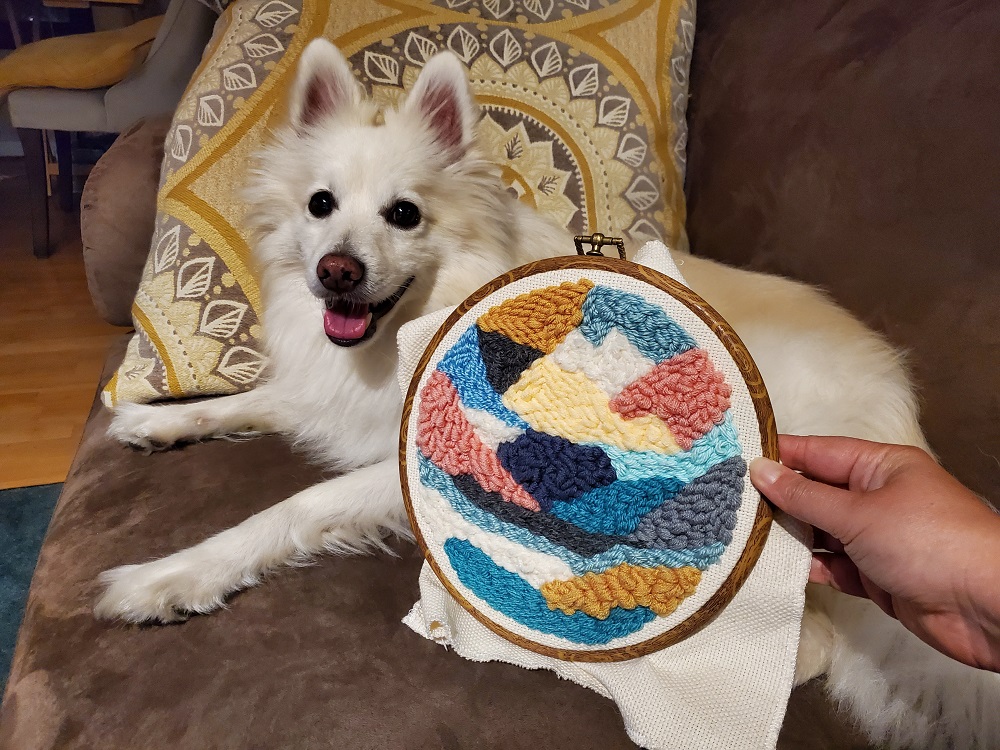
Inspired by the East Bay sunset, I found skeins of cotton candy pink, sunset yellow, aquamarine and capri blue yarn that would make for beautiful skies and lush green mountains. 

Punch Needle Abstract

Weaving together the colors came naturally. The warm pink, ivory and yellow pair well with the tranquil blue, gray and navy — each bringing their own ray of sunshine and a burst of colorful personality. 

Punch Needle Abstract

These timeless projects bring such joy in times of uncertainty and unease. What are you doing to keep your head up and your spirits high?

Organized Crafting Chaos

By | February 2nd, 2020|Craft Day, Fused Glass, Handmade, Oh My Crafts!|

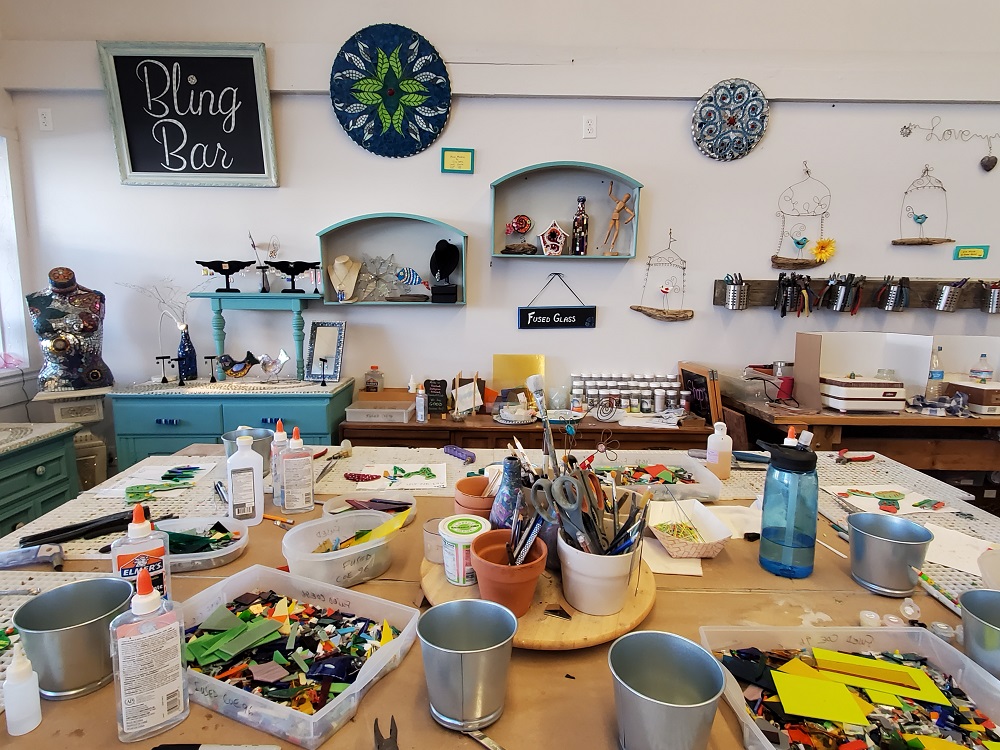
The Bling Bar at the Alameda Art Lab

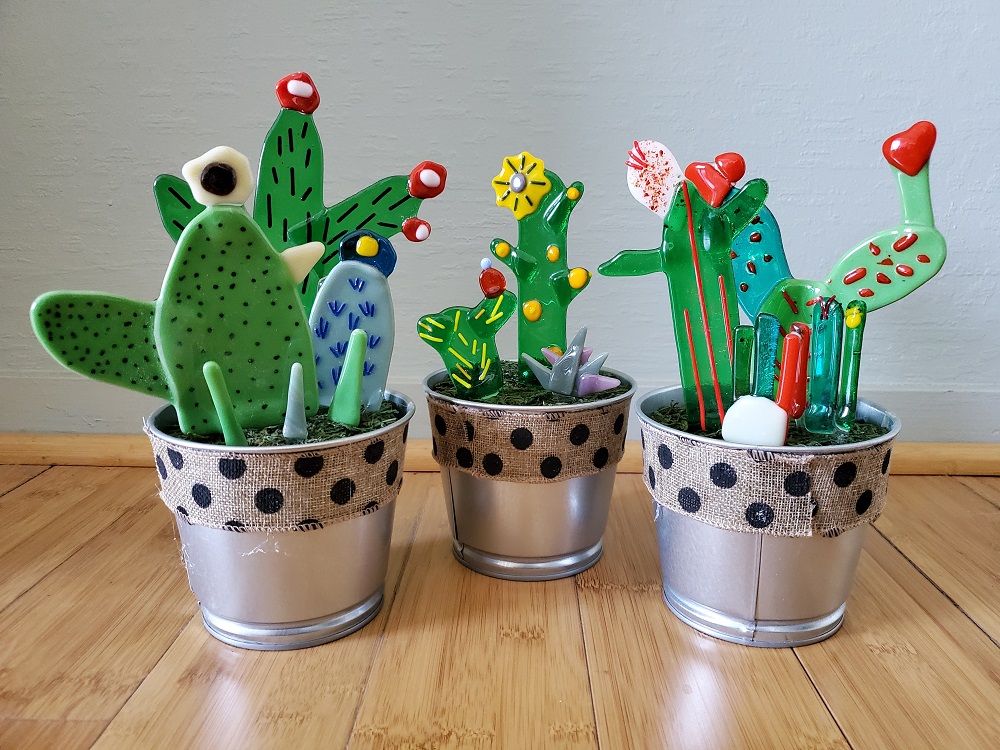
Today, we’re in for some organized crafting chaos at the Alameda Art Lab Bling Bar. With our workstations filled with shards of decorative glass and our glass cutters handy, we’re ready to roll up our sleeves and make some fused-glass cactus plants. I’m mesmerized by all the shades of green glass and its texture. Olive, sage or pear? Transparent or opaque? Prickly pear, Cereus, or San Pedro cactus? Okay, it’s time to pull up Pinterest and get some ideas flowing. 

Fused Glass Cactus Plant

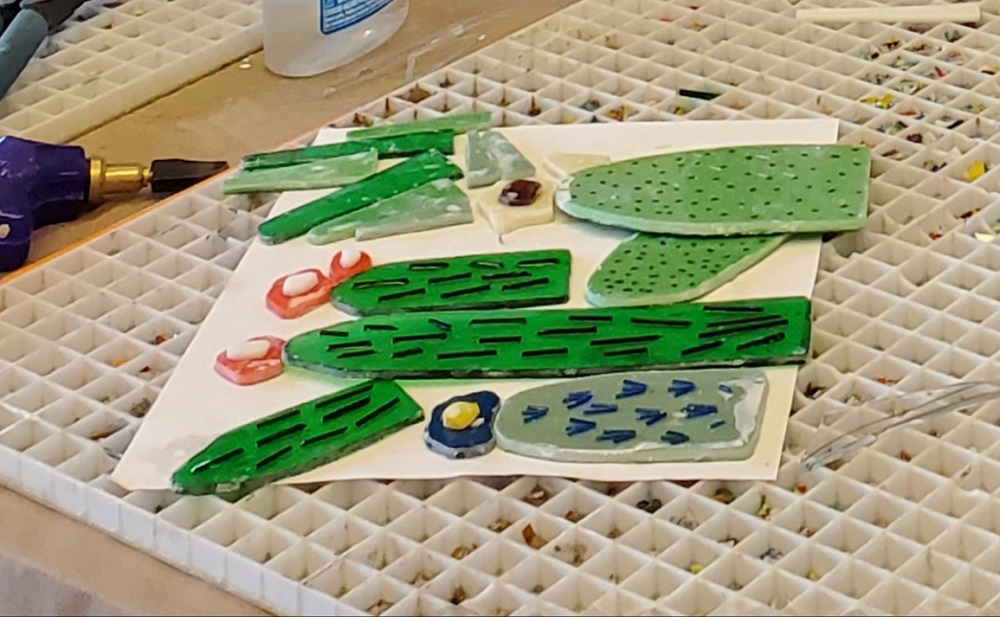
While I’ve done a few mosaic glass projects, fused-glass is a first for me. It uses much of the same technique in developing the skills needed to cut and shape glass with the cutter. To really get the edges of the cactus rounded and smooth, I learned how to use the sanding tool, which is now my favorite tool. The sanding tool is like an electric nail filer and it rounds out the sharp edges after you cut your glass. 

After you cut the glass into various shapes and layer them on top of each other, the fun part of this project is giving them all some character. Here’s where I got to experiment with spaghetti noodles and acrylic paint to create the spine of the cactus. Once we finished, we left the pieces of glass on the table and our instructor fused the glass together. 

Fused Glass Cactus Plant

They turned out great!! Now I can put this on my desk at work. The best part is knowing that it doesn’t need sunlight and I don’t need to water it at all! 

Gosh, you sure know how to pawty!

By | January 29th, 2020|Humbling Hobbies and Habits, In the Kitchen, Oh My Crafts!|

Happy 10th Birthday Cooper Crazy Lee!

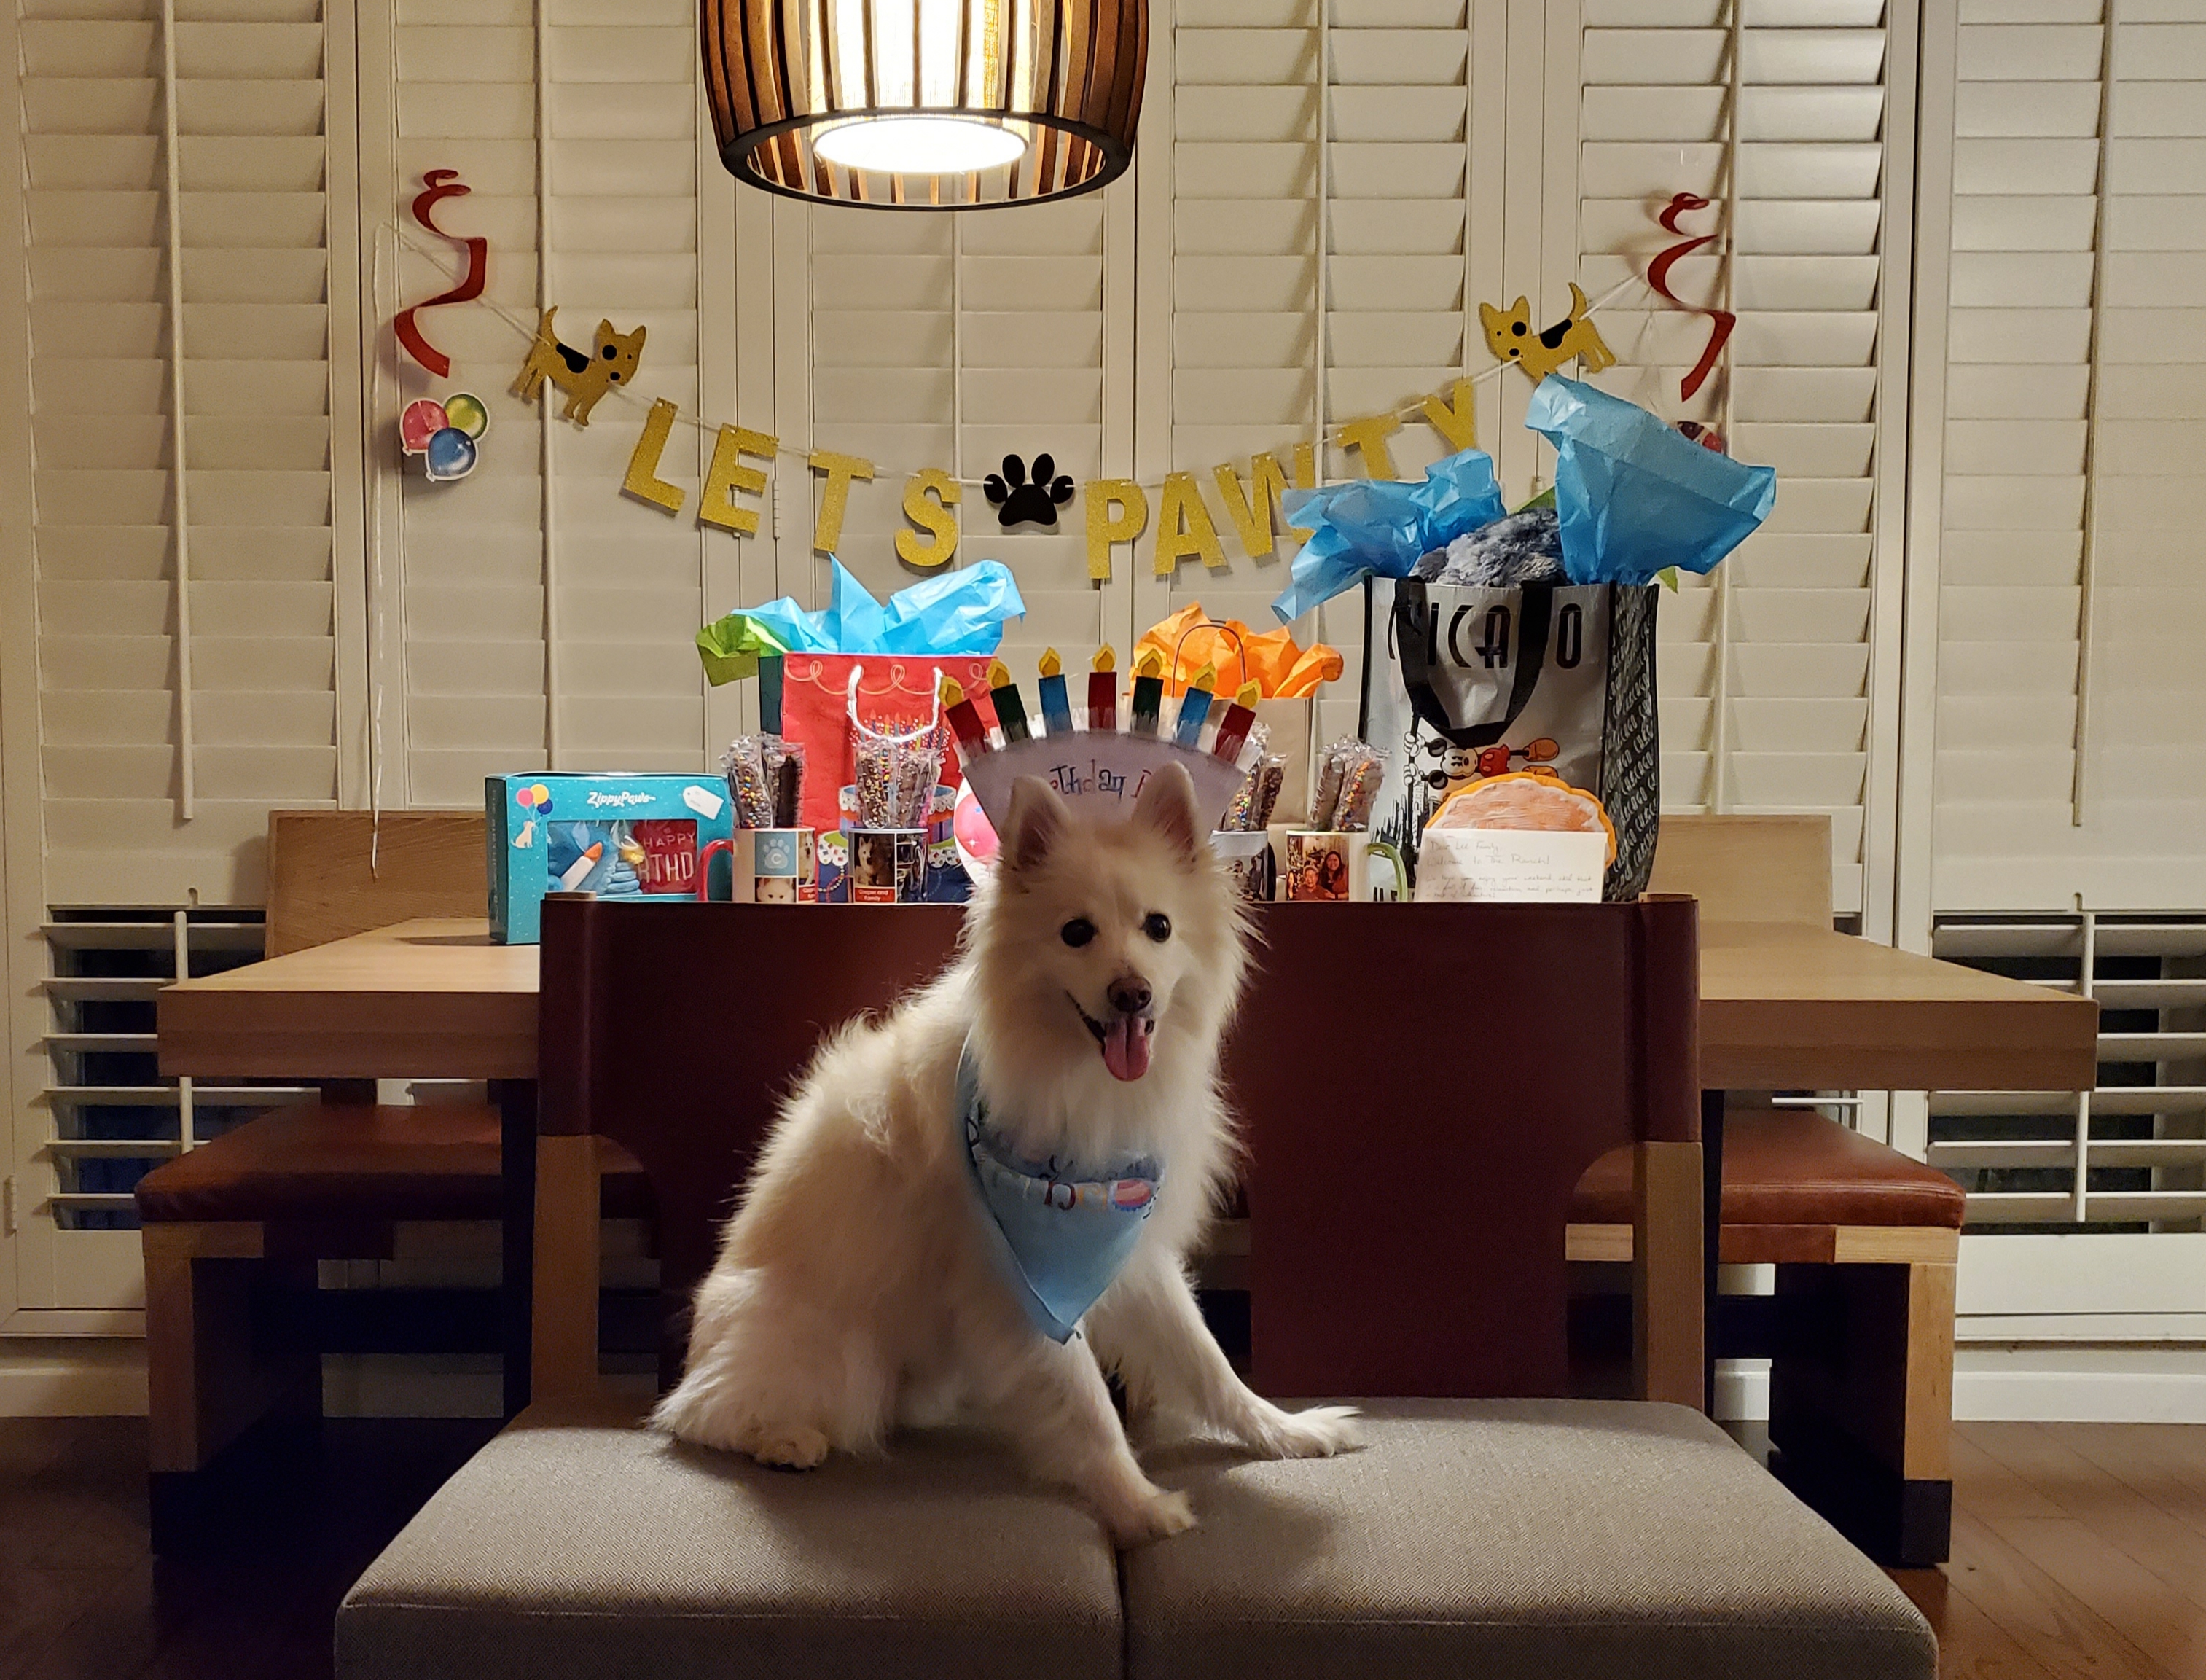
Happy 10th Birthday Cooper Crazy Lee! I can’t believe you are TEN. Welcome to the Super Senior club!! From ordering off the doggy menu to hiking around the 500 acre resort in Carmel to making s’mores and buying your favorite dog cookies, we hope you had the BEST birthday weekend ever!! We love you so much!!

Love,
The Family and Mom

Cooper's Gift to his Family

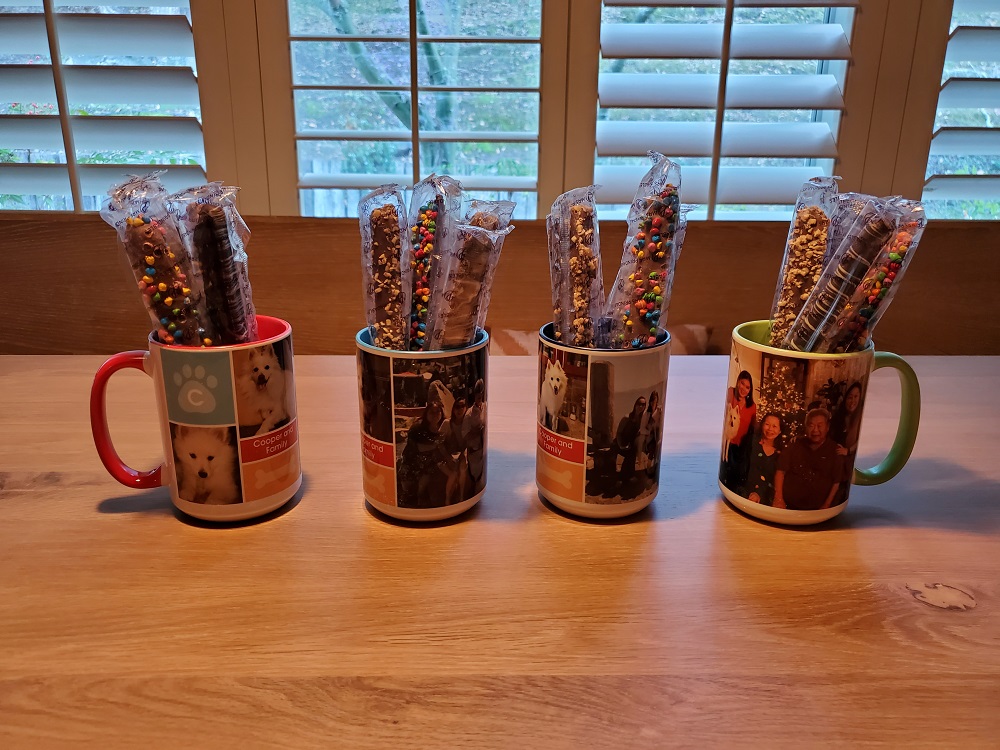
For Cooper’s big birthday, he wanted to let the family know just how much everyone means to him and how lucky he is to go through this journey called life side by side with the ones he loves. After many dog kisses and tail wagging, it didn’t take long for him to convince me to pull out my computer, dig up happy memories and log on to Shutterfly to make his birthday gift to the family. We went through an entire process of flipping through each category on the site before he landed on the personalized coffee mugs. I think the last time my mom dropped a mug on the floor, it only made him shutter and reinforced his idea of making matching mugs for the family. 

Cooper and his Birthday Presents

It took a while to go through the photos, but lucky for him, we are a photo-happy family so it wasn’t too difficult to find family photos of the five of us. From our annual trip to Tahoe to long weekend walks to holidays and family gatherings, we have a lot of happy memories to celebrate. It made me smile to go through all of the photos and relive those moments. Each time we took a family photo or a snapshot of Cooper, we had to take them in series of five or ten to make sure we had his full attention. It usually took a squeak of his toy and him being surrounded by family for him to spread a smile on his face. Cooper is indeed a happy dog. 

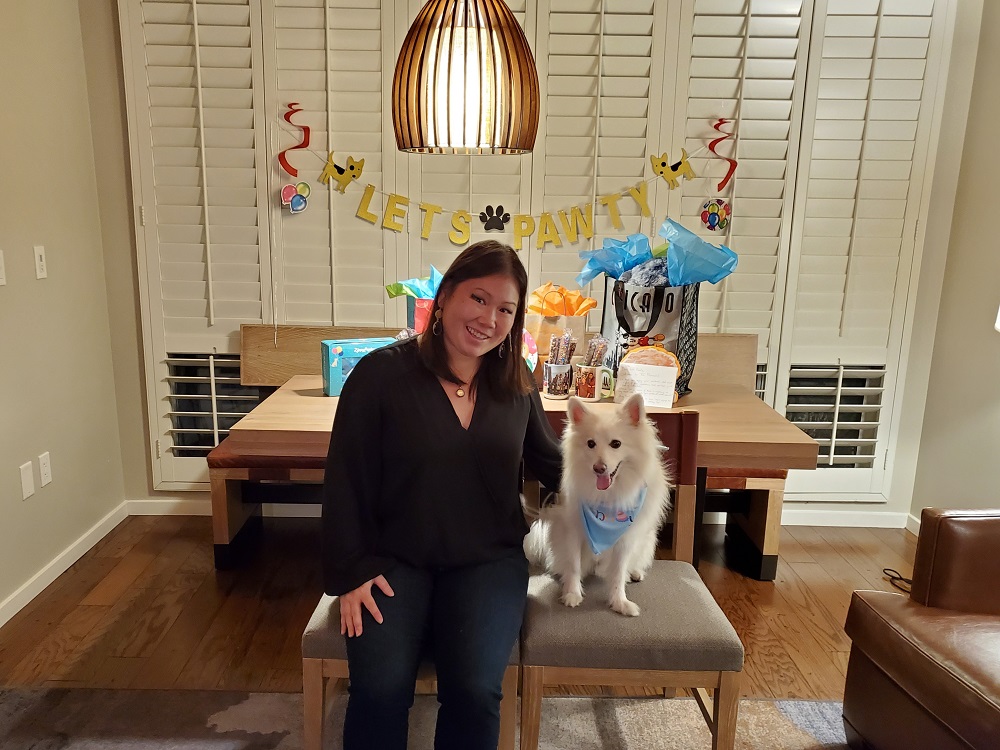
Me and Cooper


Finally, I convinced Cooper to pick out photos of himself. He was a bit shy, but after dangling a few treats in front him, he didn’t mind at all. We picked out photos from his first to weeks with us to his first few months and then some recent ones. 

Well, I must say they turned out pretty darn cute!! Cooper loves his family so much and can’t wait to see the look on their faces.

Soap-Making Sunday

By | September 22nd, 2019|Handmade, Homemade Soap, Oh My Crafts!|

Natural Homemade Soap Squares

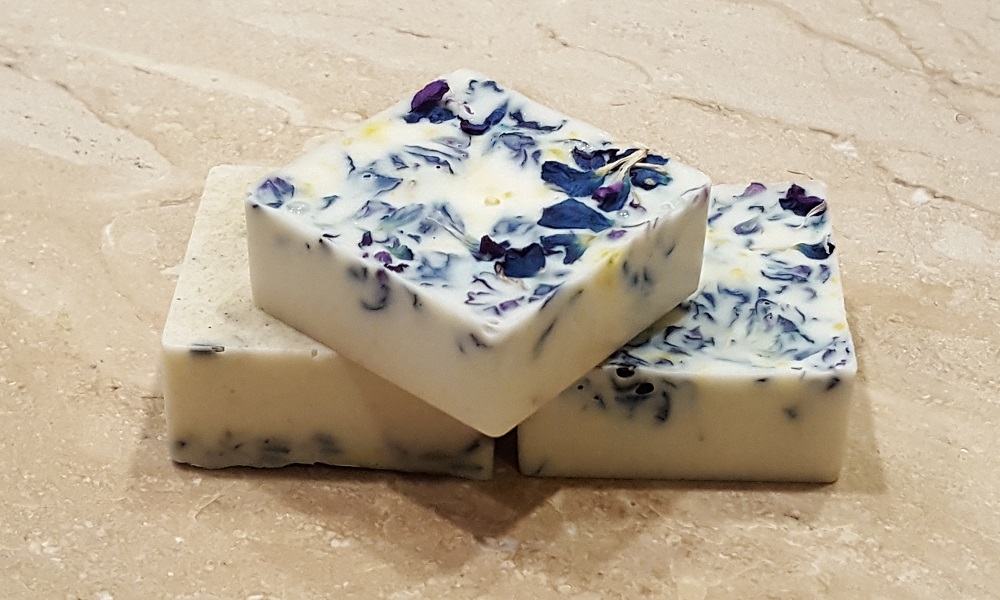
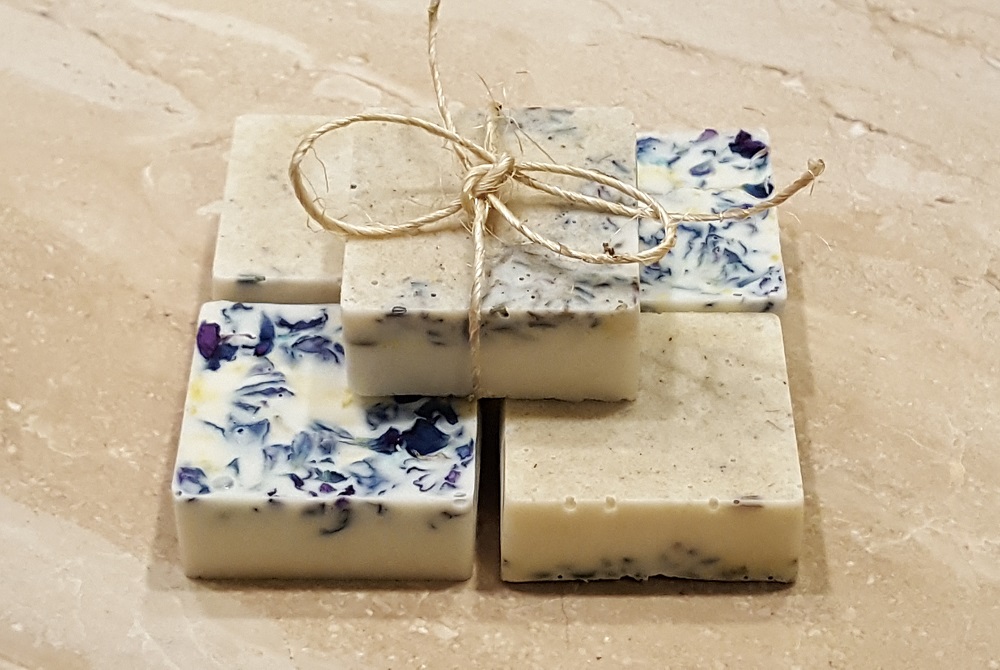
After having made a handful of dish and hand towels earlier in the year, it’s time to pair them with homemade soap. This is my second go around at making soap using the melt and pour method, and I’m loving it. It’s simple to make and it has minimal cleanup effort. This time, I picked out a block of Shea butter and glycerin soap. Then I went ahead and shopped around my pantry for oatmeal, flowers and other natural ingredients. I’m excited to see how the texture pairs with the soap base. Unfortunately, I was out of coffee beans. How is that possible?! Next time!

Natural Homemade Soap Squares

While I’m a big fan of splashing a bit of color and dye into the soap base, I decided to take a minimalist approach with the glycerin to give it more of an all-natural, homemade feel. I really like how the oatmeal sits with clear glycerin; it’s just got this amazing texture and hearty, healthy wholesome feel. Then I threw in some blue hydrangea into another glycerin cube, but wasn’t as pleased. It turned out a little darker than expected and a few days later, it become even darker. I’m eager to try mint leaves next time to see how the color holds up.

With the Shea butter, I added pink, purpler and yellow dye along with some pressed flowers and rose petals. Since the feedback I got last time was it wasn’t as fragrant as store bought soap, I was more generous with my essential oils and added a few more drops than I normally would. Hopefully, that did the trick.

Overall, I think they turned out good. Stay tuned for my next soap-making adventure!

Do What You Love and Love What You Do

By | July 10th, 2019|Creative Inspiration, Learning from the best, Oh My Crafts!|

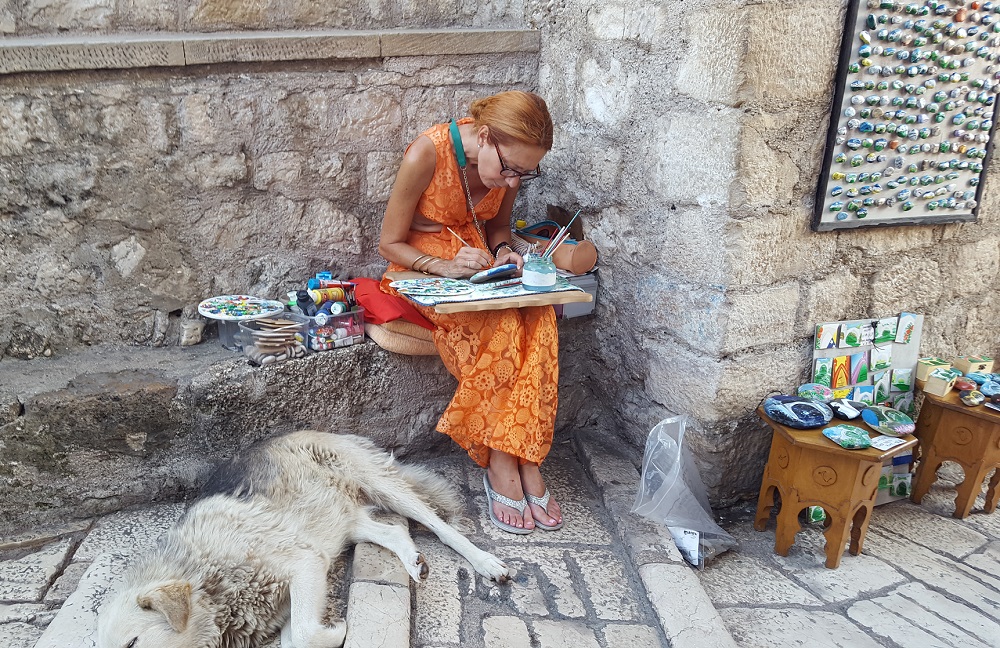
Street Artist in Mostar

Nothing is more intriguing than seeing someone do what they love and love what they do. I was lucky to spend a few days on the cobblestone streets of Mostar. Visiting Bosnia and Herzegovina ended up being a detour from my Rick Steves’ trip where vacation is all day fun and drinks. This is probably a spot that I wouldn’t have braved going on my own. Many of the buildings and broken down streets still suffer the tragedy of the 1990’s. Bullet holes, old warehouses and abandoned buildings still serve as a reminder of heartbreak, destruction and loss during the Bosnian genocide.

One of the most memorable moments was hearing firsthand how the war affected survivors today. Oftentimes, you hear stories of Red Cross saving lives and sending parachutes of food down to people from some of the poorest countries, yet rarely do you hear from those on the receiving end of those parachutes. Well today I got to meet someone on the receiving end and learn about war, destruction and near-death experiences from a lady who survived the 1990s in Bosnia Herzegovina. It was an eye-opening experience and a much-needed detour from the ‘good life’ to help me understand history, reconciliation of cultural identities and modern day Muslims.

Even with the pain and hardship, people are able to find peace in doing what they love.

Susanna’s Surprise Birthday!

Susanna's Surprise Birthday

If you haven’t already heard, I’ve accepted a part-time job as an event planner! With my sister’s 40th Birthday this year, my parents and I decided that we had to make it extra special. We were a little late to the game planning her surprise because initially a trip to Hawaii was going to be her big celebration, but we realized celebrating such a milestone without her friends by her side just wouldn’t cut it, so we’re now in crunch time for picking a theme and getting all the logistics into place. Since riding a cable car has always been on Susanna’s to-do list, we made that our theme and planned this ‘Susanna Style’ meaning every detail from the invitation to the party favors to the food and overall experience needed to be thought through carefully. In our family, Susanna is usually the one to plan all the family reunions and get togethers, so having to fill her shoes is a tall order. But I’m ready for the challenge (!)

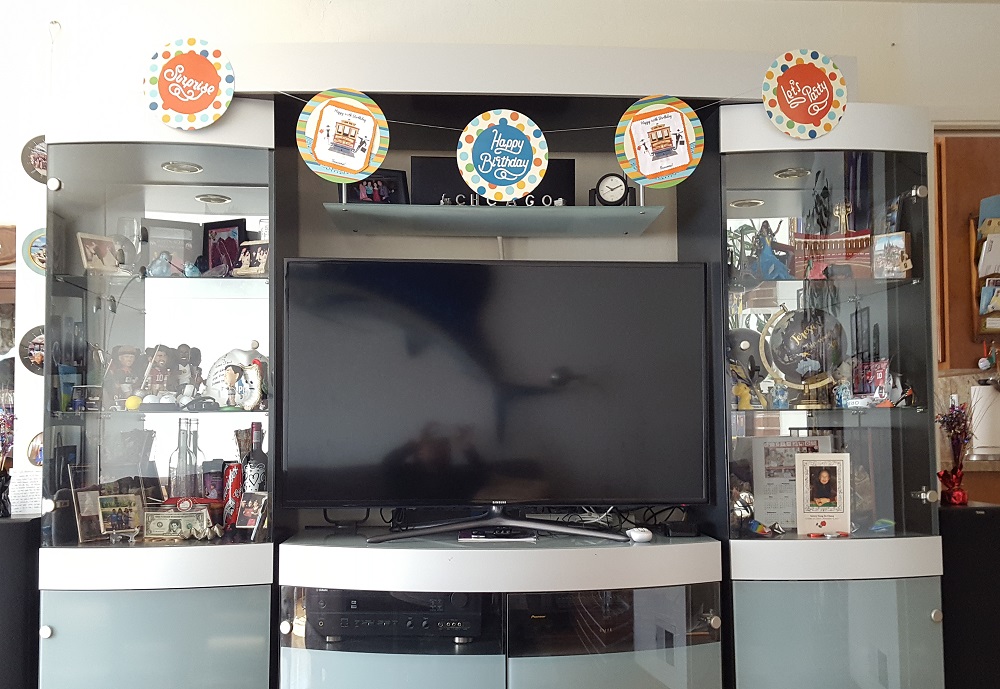
Susanna's Surprise Birthday Party Decorations

My Mom and I divvied up all the tasks. While she did the research on cable car and thought through the decorations, I made the reservations and became the point of contact for all the guests. Her close friends and family dug through old albums to find photos representing ages 1-39 as I began putting together her birthday album. Her best friends Audrey and Lisa found ways to clear her schedule and come up with a story to keep her occupied on the big day. I made reservations for the cable car, food and cupcakes. My parents and I made running lists of all the food, drinks and decorations. Needless to say, there were plenty of trips to Michaels and the grocery store. Keeping in mind the small things such as the ice box, basket to carry the party favors and wine opener was a task in itself and one that my Dad happily tracked. There were many nights we spent talking about all the logistics and the fine details, and I think just about all of us — including her friends — nearly slipped when talking to Susanna and planning for her big surprise party. But we kept going. Susanna had her suspicions but couldn’t connect all the dots.

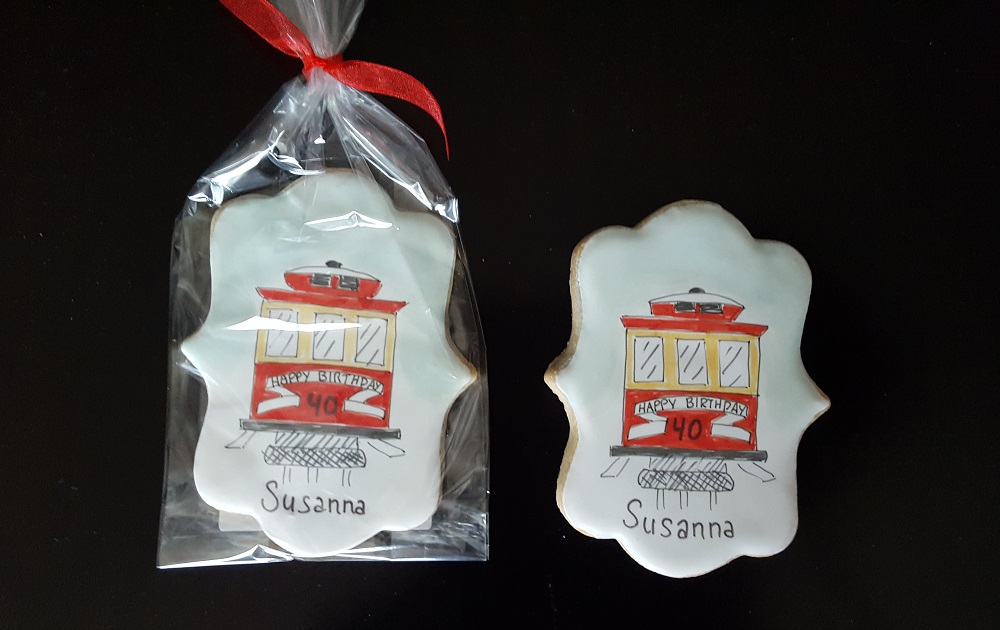
Hand Painted Cookies from Felix the Cook

Much of the planning unfolded one to two weeks before her celebration. For party favors, we worked with Felix the Cook to custom paint cable cars on sugar cookies. Aren’t they cute?! They are so Susanna! Pairing them with mini cable cars and custom made birthday tags makes for a great memento and keepsake. And yes, I went to every Walgreens in downtown SF to sweep the shelves for 30+ SF cable cars.

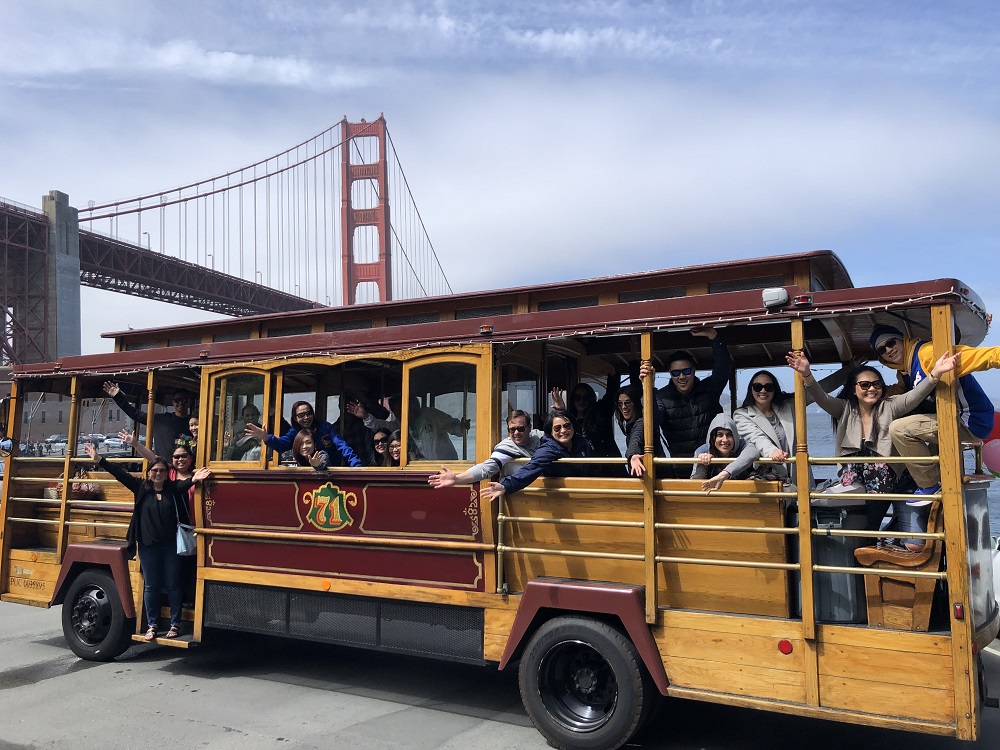
Susanna's 40th Birthday Cable Car Adventure

With all the logistics in place, a plan to pick up Susanna, and her friends and family at the door 20-30 minutes ahead of schedule (repeat, ahead of schedule!), the day went off without a hitch and we took to the streets of San Francisco in style.

A big thank you to all her friends and family for being part of her big day and making her epic celebration a complete surprise!

Happy Birthday Susanna!! We love you so much and wish all of your dreams come true!!

Homemade Slippery Soap Squares

By | March 24th, 2019|DIY Home, Handmade, Homemade Soap, Oh My Crafts!|

Hydrangea and Lavender Soap Squares

Okay, so I’ve watched one too many videos on BuzzFeed and this video on making your own DIY aromatherapy soap finally made me do it. I dropped everything I was doing, pulled up Amazon, and Amazon Primed myself all the stuff needed to make homemade soap. For someone who loves DIY projects and gets a little anxious about having all the right materials, the starter kit for making soap wasn’t too bad. I shopped around for the soap base first. There is a lot to choose from. You can get clear glycerin, goat’s milk, oatmeal and one of my favorites, Shea butter. I decided to go with an oatmeal base, since I wanted to it to be textured and all-natural looking. I knew for this first go around, I was going to use dried flowers and rely little on added coloring.

Hydrangea and Lavender Soap Squares

For the flowers, I decided to buy myself a mixed bouquet from the market. Yes, I buy myself flowers! I love the idea of having fresh flowers in the house. The color, the scent and just the idea of having something alive in the room really just brightens up your day. It’s sad when they die, but now I know how to make full use of them. I took the flower petals and set them aside so that they would dry. This batch had blue hydrangeas and others that I’d save for a later time. I also had a sash of dried lavender that my mom got from her vacation that I thought would be great for this project.

Hydrangea and Lavender Soap Squares

With the dried flowers ready, I went ahead and bought the rest of the ingredients: soap mold, a pack of essential oils and alcohol spray. Since I was doing Melt and Pour, you literally just had to cut the block of soap into cubes and melt it over a pot of hot water. It took about ten minutes to melt, but make sure to keep an eye on it and keep stirring so it won’t scald.

While the soap was melting, I stirred in lavender and lemongrass essential oils. Then I sprayed the soap molds with alcohol and drizzled in the dried hydrangea and lavender. Once the soap base was completely melted, I poured them into the soap molds and then popped them straight into the freezer for about four hours. I think I poked and prodded them at the two hour mark just to see how they were doing. They were rock hard, but you can tell they were still setting.

Four hours later, you’ve got soap that you can proudly use!

Coral Crocheted Hand Towel

By | February 18th, 2019|Craft Day, Crocheting, DIY Home, Handmade, Oh My Crafts!, Yarn Addict|

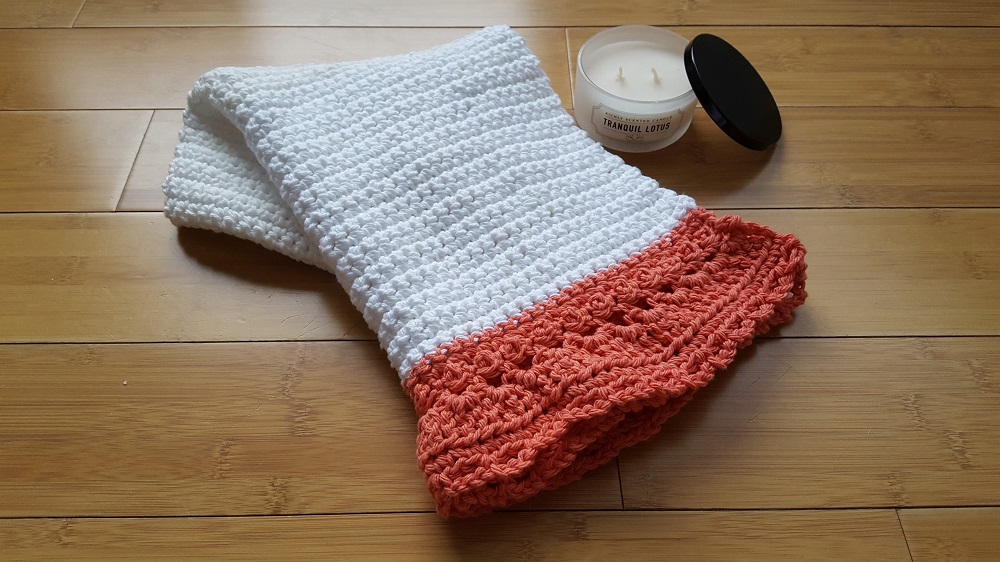
Coral Crocheted Hand Towel

This crocheted hand towel is just so fun that I was inspired to make another one. It’s an easy project to bring with you when you’re on the go because the white portion of the towel is just single crochet all the way through to about 90 to 100 lines (depending how long you want to make it). I tried other patterns such as double or half double, but it just made this hand towel seem too ornate — especially with the decorative edging at the bottom.

Coral Crocheted Hand Towel

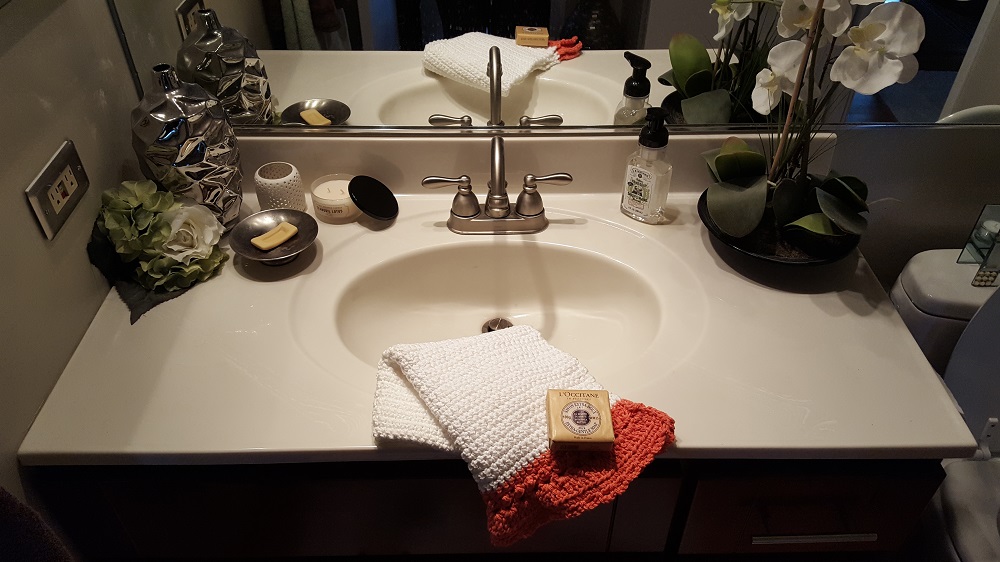
Having made this before, I decided to buy the cotton yarn in bulk instead of two to three separate balls. It made for less clean up in the middle of the pattern — and sewing in loose ends is not one of my favorite things to do. However, the fun part of this project was choosing the accent color and just about any color goes with white. I previously made this with purple edging, so this time I went for coral, a color I thought would really pop in my bathroom.

Coral Crocheted Hand Towel

The edging itself while it might look complicated is really simple. In fact I just made up this pattern using a combination of single and double crochet, and threw in some loops. You can really do as you please and customize the length. I thought two to three inches worked well for the overall length of this towel. If you’re unsure, you can just eye ball it to a store bought towel.

Well, how does it look? I think it makes a great addition to any bathroom. When I wash my hands, I secretly prefer to use this handmade towel over the others because it just feels luxurious.

Happy Crocheting!