Painted Wine Glasses

By | April 19th, 2016|DIY Home, Handmade, Learning from the best, Oh My Crafts!, Painting|

Painted Wine Glasses

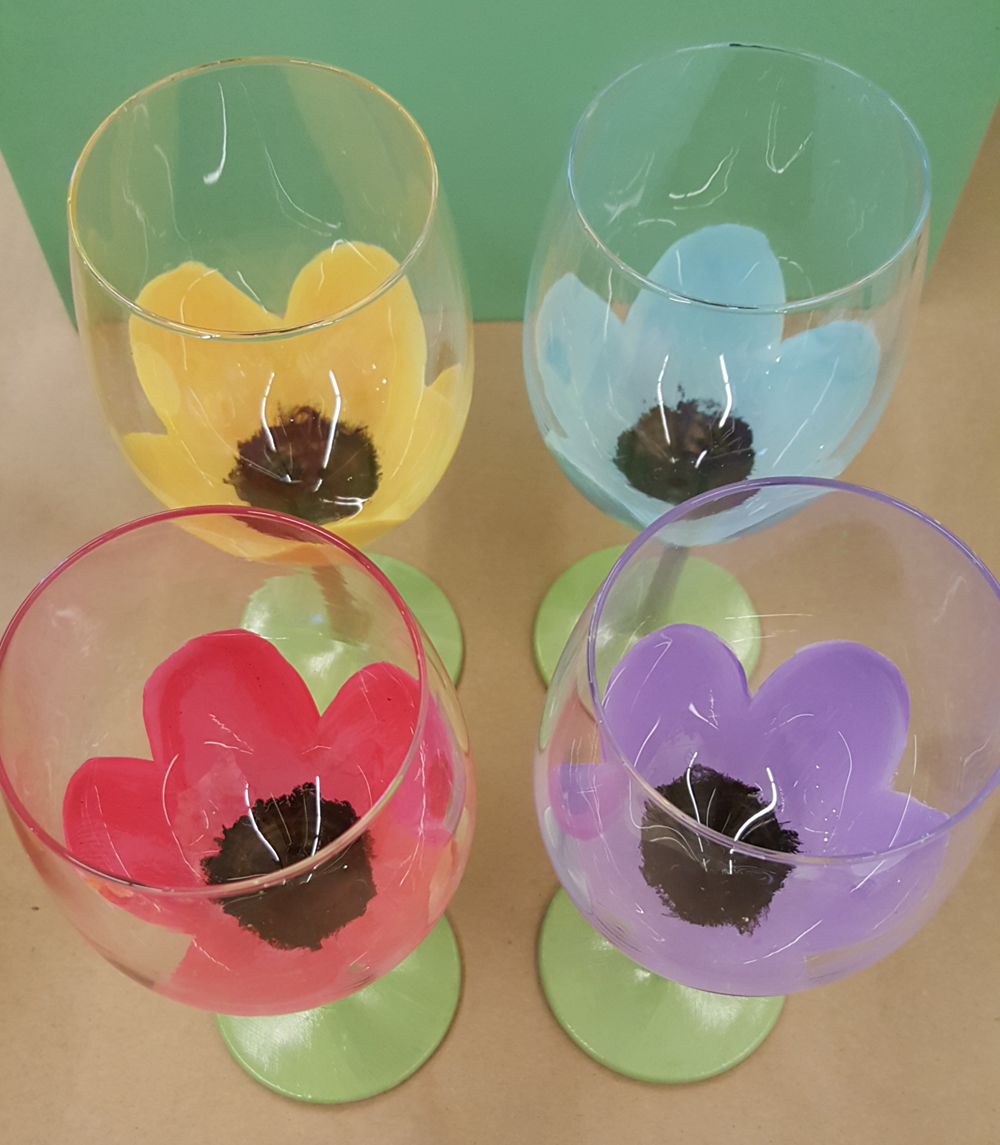
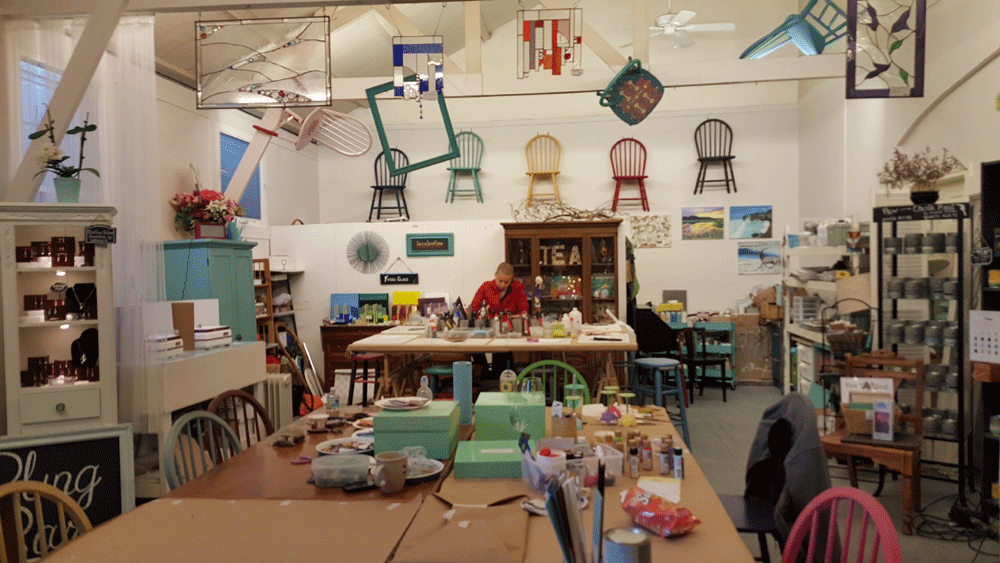
I’ve spent quite some time at the Artistic Home Studio and it only left me hungry for more. They offer so many classes that I’m going to go back, and take each and every one of them. This time around I decided to try out the Painted Wine Glasses class. I was greeted with tubes of acrylic paint and a handful of assorted paint brushes. Okay, I can do this.

As I began to mix and layer on the first coat of paint onto the glass, I realized this is going to be more challenging than I had anticipated. I’ve painted with acrylic before, but with glass as the medium, one coat of paint would hardly suffice. In fact, I could hardly even see two coats. Wow, this is going to take some time. I decided to nix the idea of doing some fancy shading and wiped the glass clean. Water and paper towels make for a good eraser.

Instead, I opted to paint these spring-like flowers (yes, spring in the winter!) keeping in mind the transparency of the glass. It took about 10-15 coats of paint to finally get the full effect of each color. Between the layers of paint, take a mental note of how you blended the colors since you’ll need plenty of paint. It’s also handy to have a blow dryer plugged in between the layers.

Paint + Multiple Layers + Blow Drying Sessions = Hours + Fine Master Pieces

Mosaic Turtle

By | December 5th, 2015|DIY Home, Handmade, Learning from the best, Mosaic Art, Oh My Crafts!|

Artistic Home Studio

A couple of months ago, I went to The Ultimate Women’s Expo in San Mateo for a full day of pampering fun. As I perused the aisles, bombarded by jewelers, health fanatics, massage therapists and free swag, I couldn’t help but notice this beautifully decorated, mosaic sculpture that caught my my eye. It was stunning to see how hundreds of these shiny pieces of glass stacked side by side, fit together to create a statement piece so ornate. I inquired about the artist only to realize she was standing there right before me. JaYing Wang has been a mosaic artist for over 15 years and she has a studio in Alameda called Artistic Home Studio where she teaches glass arts – stained glass, glass fusing techniques and mosaics. She’s designed a number of public-facing mosaic murals within the Bay Area and commands the discipline of mosaic arts.

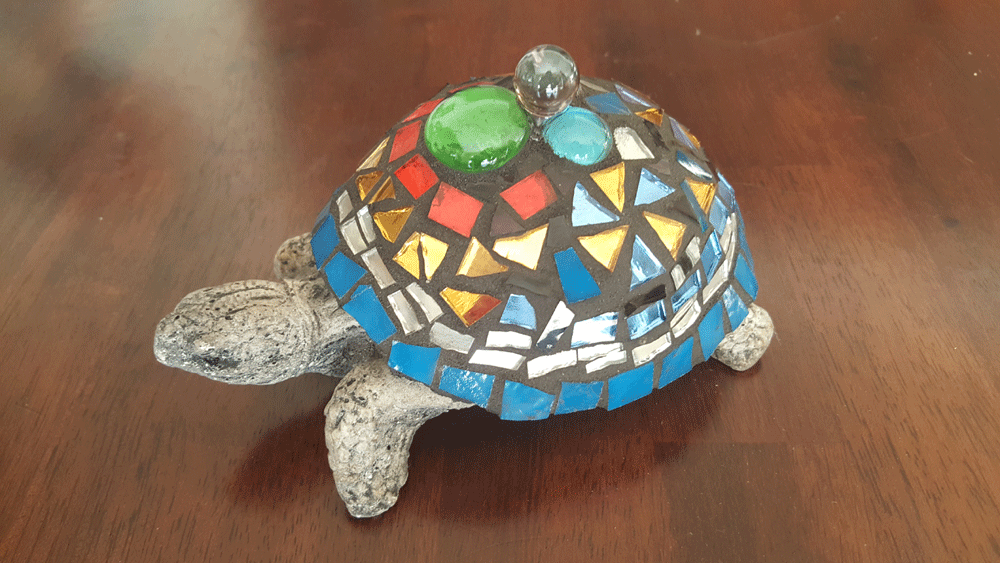
Absolutely thrilled to learn that there’s a class for mosaics, I eagerly picked up one of her pamphlets and here I am signing up for both the mosaic turtle and mosaic rock class. I got a hold of my turtle and then had to make the hard decision of deciding which color glass to use and what pattern to display on the shell. I opted for my favorite color, blue and danced between both the cold and warm palette. Hard part solved.

Mosaic Turtle

Now onto learning the different glass-cutting tools. I can tell that it’s going to take a bit of practice to get the hang of it. You can either cut the glass directly using a rotary wheel, or score the glass and then split it up in twos. I used both combinations and pieced my colored tiles on the table before dressing the turtle. With plenty of references to Pinterest, I decided on creating a border along the exterior of the shell and decorating it with flower pedals in the rear. Luckily, it takes time for the cement to dry, so I had more than enough time to move things around. I ended up with this little guy to your right and topped him with some glass stones and marbles.

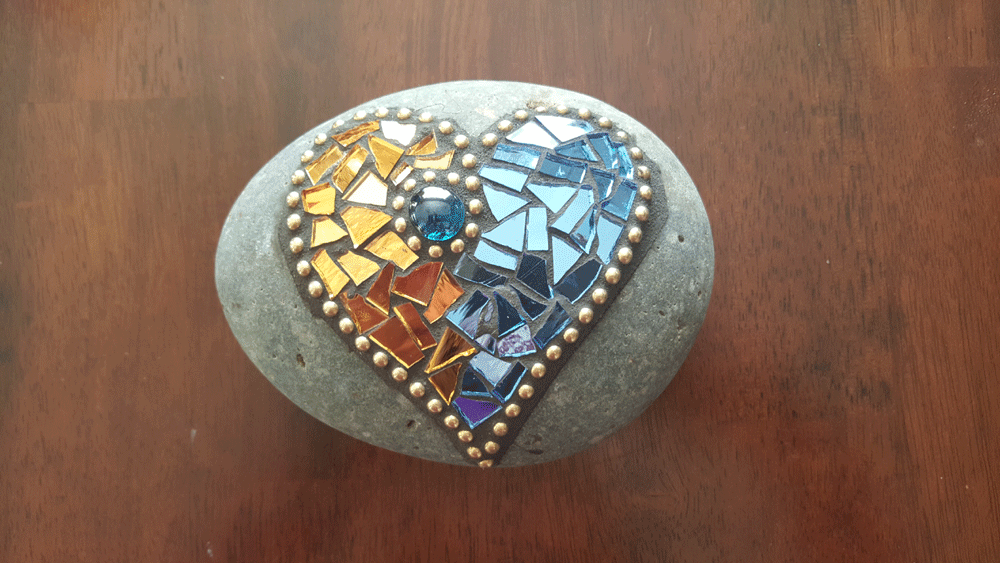
I’m beginning to think two projects in one day for this mosaic novice is a bit ambitious. Now onto the rock…..

Mosaic Rock


Glass-Blowing, Vase-Making Adventures

By | November 29th, 2015|Handmade, Learning from the best|

Glass-Blowing, Vase-Making Adventures

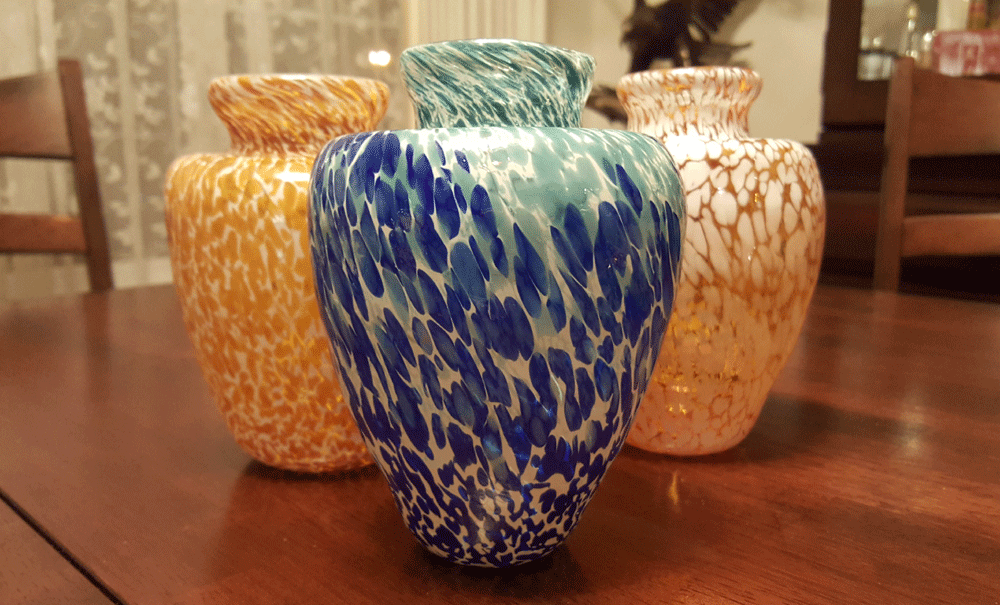
It’s time to redeem that birthday certificate that Susanna and I gave our Mom on her birthday earlier this year. We’re treating her to an afternoon, hands on Glass Blowing Class in the East Bay. We’ve got our closed-toe shoes and safety goggles on, and we’re ready to come face-to-face with a 500lb furnace.

This was all together a brand new experience for us. First, we got a brief overview of the facility and an orientation of the tools we’d be using. Then we were asked to think about a color and there was an assortment of colors to choose from. With the metal pole, we initially inserted it into the clear glass and formed the foundation of the vase. It was a combination of dipping it into the liquid glass, heating it in the furnace and shaping the glass on the metal table by rolling it and blowing some air into it. Coloring the glass and dipping it into the palette was the fun part, though I couldn’t make out the actually color until we began to sculpt and shape it. The instructor and his assistant were hands-on at all times and helped create each piece (which took roughly 20 minutes). Following the shaping and molding, we had to quickly stick it in the heated oven for a day until it cooled down. It was an interesting experience and I love that we got to walk away with a finished product. I think my mom enjoyed her birthday gift.

Now it’s time to go flower shopping!

Scrapbook Expo, Pleasanton

By | February 28th, 2015|Craft Day, Learning from the best, Oh My Crafts!, Scrapbooking|

Scrapbook Expo Pleasanton - Tacky Tourist

Signed up for two workshops, Hello Friend and Copic Marker class. Got my wheelie fully equipped with glue dots, card stock, scissors and chipboard. Have my expo and crop night wrist band and my wallet. All set for Scrapbook Expo!!

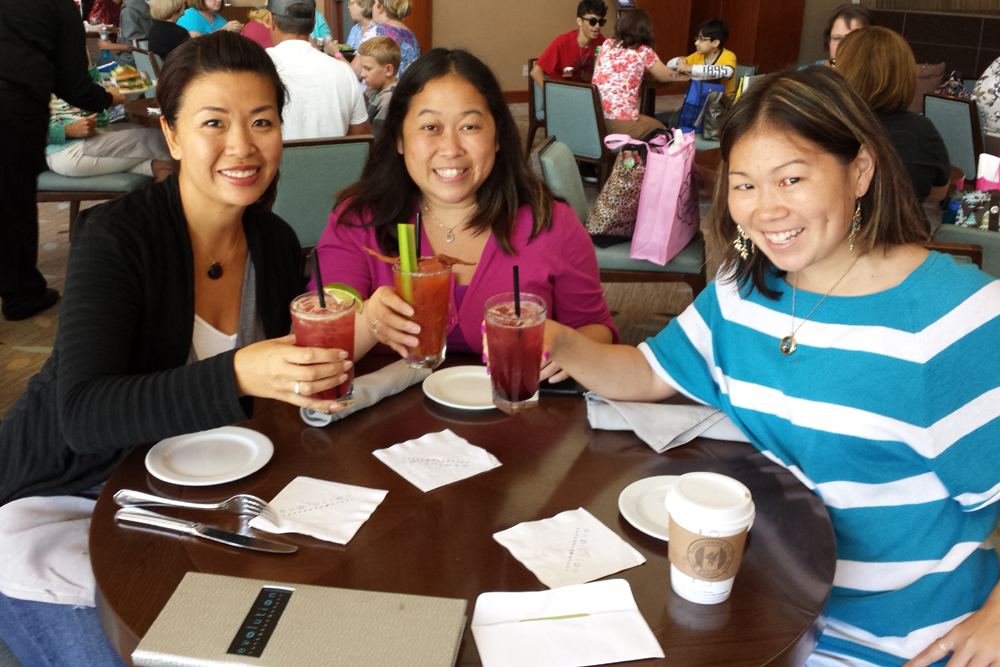
I’m going to remind you, there is such a thing!! And today’s theme is “Tacky Tourist”, so here is our ‘tacky tourist’ snapshot. Enjoy!

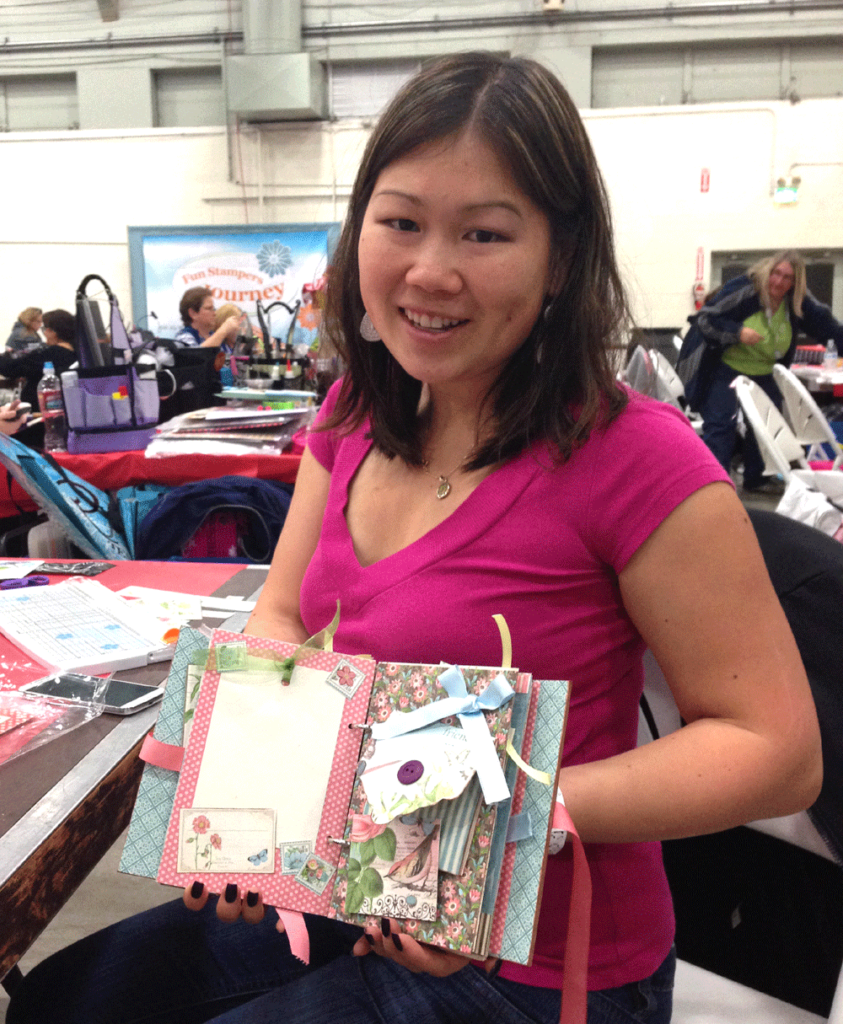
Scrapbook Album - Hello Friend

As always, album-making is one of my favorite scrapbooking hobbies and my first workshop of the day is “Hello Friend” featuring products from Pinecone Press and Graphic 45, two of my very favorite vendors. This class focuses on various techniques: how to cover chipboard pages, how to create a distressed paper flower and how to adhere a binder mechanism. I love walking away with a unique, hand-crafted album with decorative ribbons and such fanciful paper. It’s going to make for a really nice gift.

For the second workshop, all three of us indulged in the Copic Marker drawing class. We’re all really excited to learn how to use these markers and blend to make special greeting cards with a bit of pizazz. It’s an alcohol based marker that allows you to blend light to dark and dark to light. Ah, I wished I discovered this sooner. It’s almost like painting with water colors. This will most likely be a new hobby on my website, so look out!

That said, it’s time to crop into the evening, cross our fingers for raffle prizes, sip some wine and buckle down on our scrapbooking projects.

I’m looking forward to the Scrapbook Expo in Santa Clara this coming August! Hope you decide to join in on the fun!

Santa Clara Scrapbook Expo

By | August 9th, 2014|Handmade, Learning from the best, Oh My Crafts!, Scrapbooking|

Santa Clara Scrapbook Expo

This is my 4th Annual Scrapbook Expo with the gang and this time we’re in Santa Clara. I’m going to admit, I am a forever fan. You can consider me as one of “them,” since I’m no longer embarrassed by carrying a roller bag of ever-growing supplies of paper pads, trinkets, stickers, glue dots and albums. In fact, I might even need a larger roller bag, since I am hardly able to zipper it up!

Santa Clara Scrapbook Expo - SEI Album

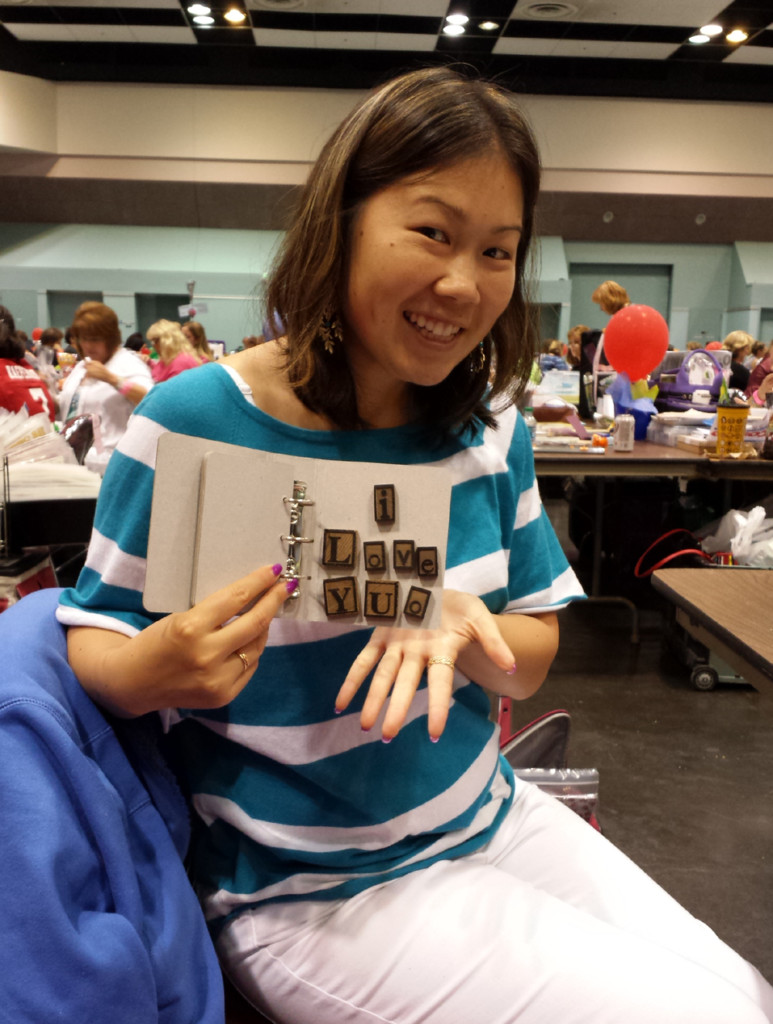
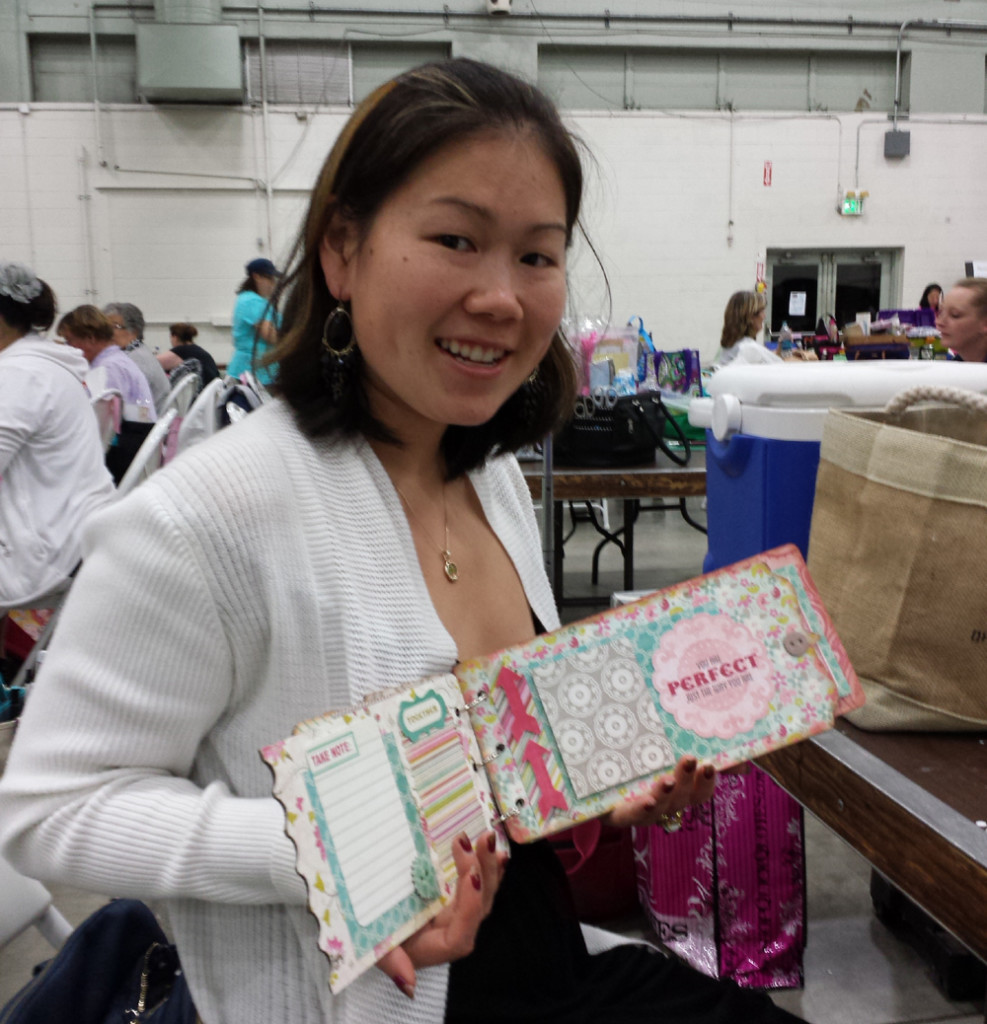
Today, I’ve signed up for the S.E.I. album-making class that focuses on specialized tags, fold-over flaps and pockets. I’m looking forward to learning a couple of new techniques. But before my class I’m warming up and working on this mini album. I just love these fancy letter blocks, “I Love Yuo” (!) Oops, I’ve gotta fix that one.

Santa Clara Scrapbook Expo - Make and Take

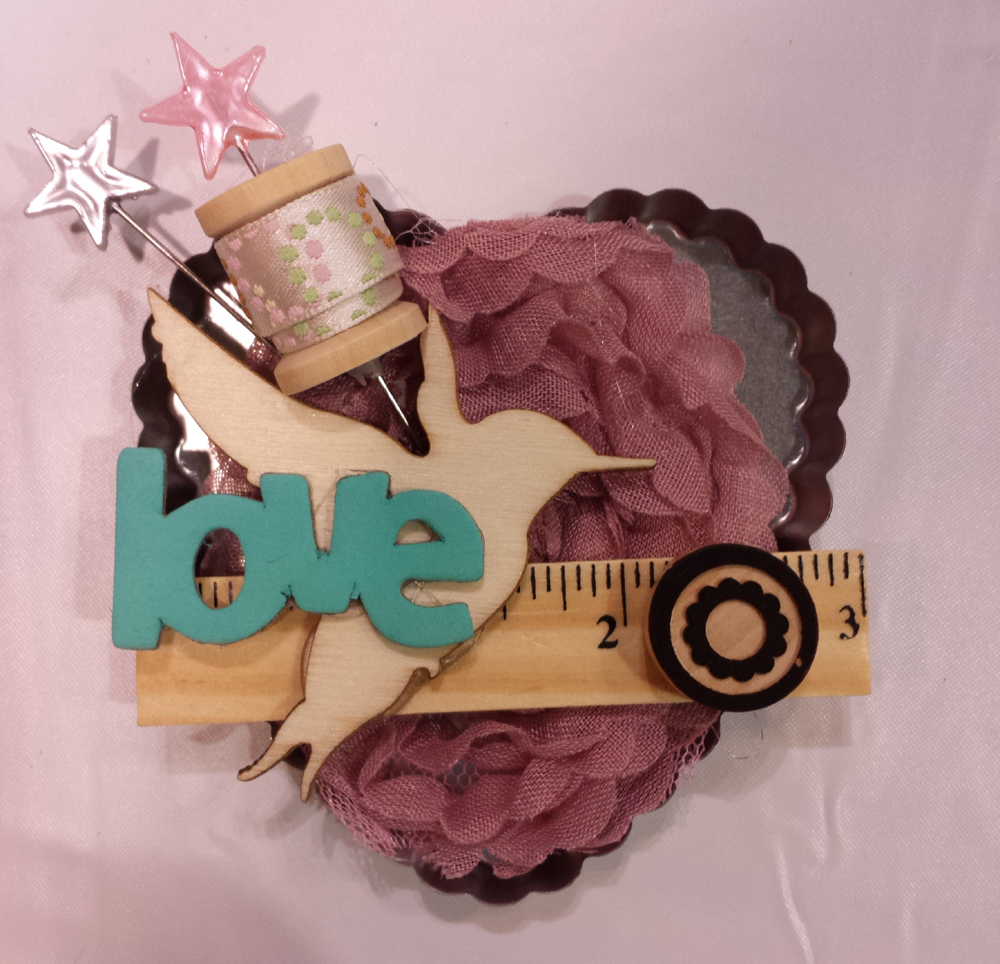
And today’s Make & Take session is all about my passion for sewing packaged up in this palm-sized heart. Working with mesh and a hot glue gun can get pretty messy sometimes, but everything usually falls into place — especially when you can dress it up with all these beautiful textures and embellishments. My favorite part was wrapping ribbon around the spool. What a clever touch to this little handmade project.

It’s Casino Night at Scrapbook Expo

By | March 15th, 2014|Craft Day, Learning from the best, Oh My Crafts!, Scrapbooking|

Scrapbook Expo, Pleasanton - Casino Night!

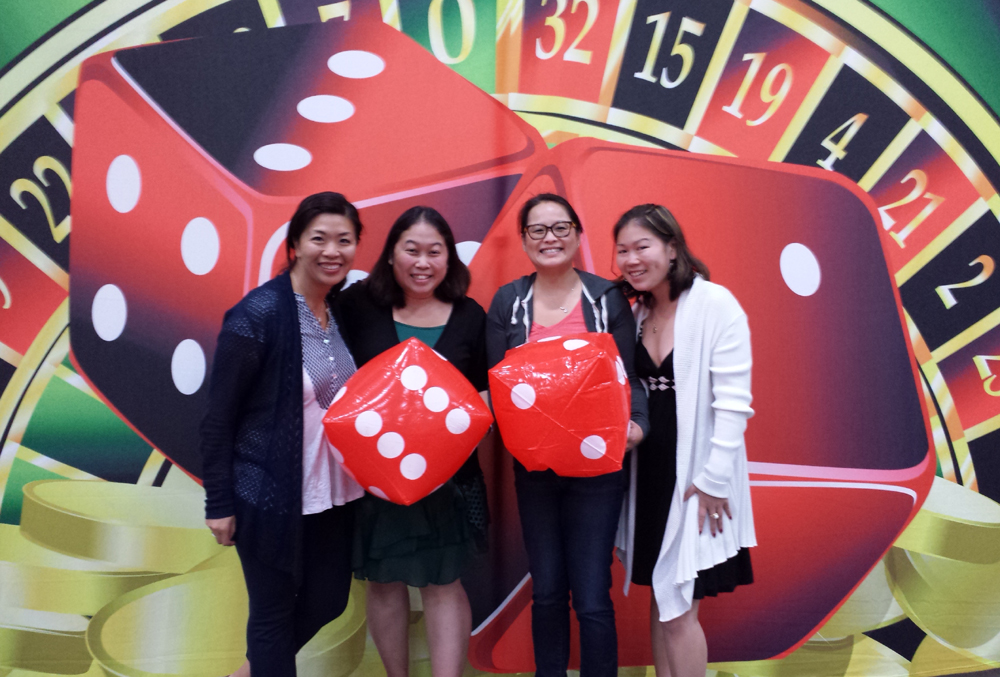
The theme is ‘Casino Night’ at Scrapbook Expo and we’re ready to roll the dice and hopefully win a Sizzix or two? It’s more wishful thinking, but you never know, we could be holding the winning ticket. But ultimately, we’re to shop, scrapbook, start a new project, finish an old one, and enjoy each other’s company. And this time, I came fully prepared with a lovely spread of wine, cheese, cured meats, chips, popcorn and chocolate. After a year or two of attending these events and envying the table next to us, we picked up on the essentials and had more than enough to share with our neighbors. Think of it as fuel to keep the mid-night oil burning as we put the finishing touches on our projects late into the evening.

Scrapbook Expo, Pleasanton - Casino Night!

This time around I’m making a mini album with the paper packet I got at the door, and refining some old projects while my sister is working on adding new pages to her scrapbook album. Alicia and Keely are using their Sizzix machine to make a few cards for the teachers at school. It was indeed a fun and productive evening, and I can assure you that none of us ever leave the Expo empty-handed.