Craft Day: All About Finishing

Cable Knitted Scarf

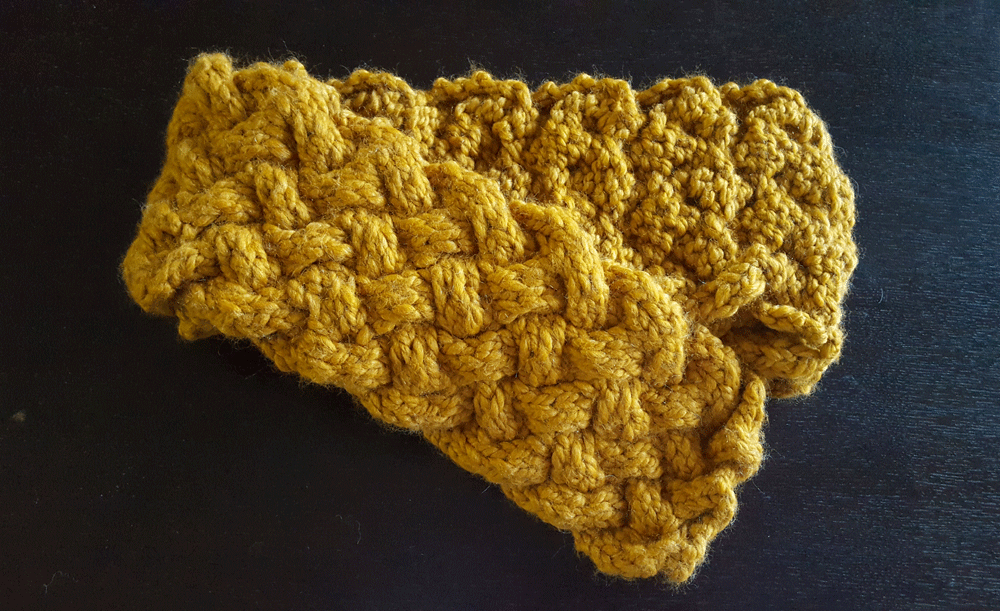
Today’s Craft Day is all about finishing! Over the last couple of month, I’ve accumulated enough crafting supplies to last me another decade or so. I’ve got skeins of yarn pouring out of boxes, knitting needles of every size and stitch markers between the couch cushions. With all those supplies, it’s hard not to start a new project. In fact, I think I’ve started more projects than I can even count on my two hands and I don’t think I’ve finished even one. Yikes, it’s time to get cracking… starting with picking up this baby.

Cable Knitted Scarf

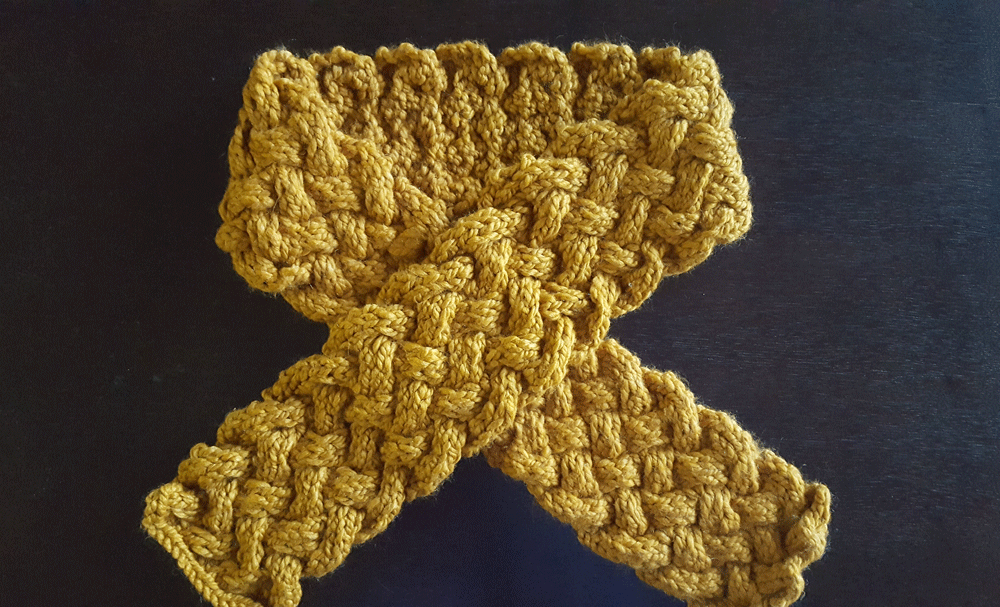
Sadly, I started this cable knitted scarf in January 2017 and made some good progress as I was learning a new technique. For some reason, this fell by the wayside, and sat and sat, season after season. That reason was probably because it required a fair amount of concentration to relearn how to cable knit, lots of counting and the ability to use a separate hook to do the cable knitting — all of which detracted from the usual knitting and wine drinking regimen on the couch. At least I’m being honest, right?

Cable Knitted Scarf

Nonetheless, I’m glad I picked this project back up. It’s amazing how a cable knitted pattern produces such a rich, woven texture. Paired with a thick wool-like yarn and bright colors, the braided ropes really pop. All it takes is a little bit of patience and some practice. Want to learn how to cable knit? Here is a step-by-step tutorial with visuals on how to knit a cable.

Don’t Get Too Cozy Now

By | August 6th, 2018|Crocheting, Handmade, Yarn Addict|

Star Stitch Coffee Cozy

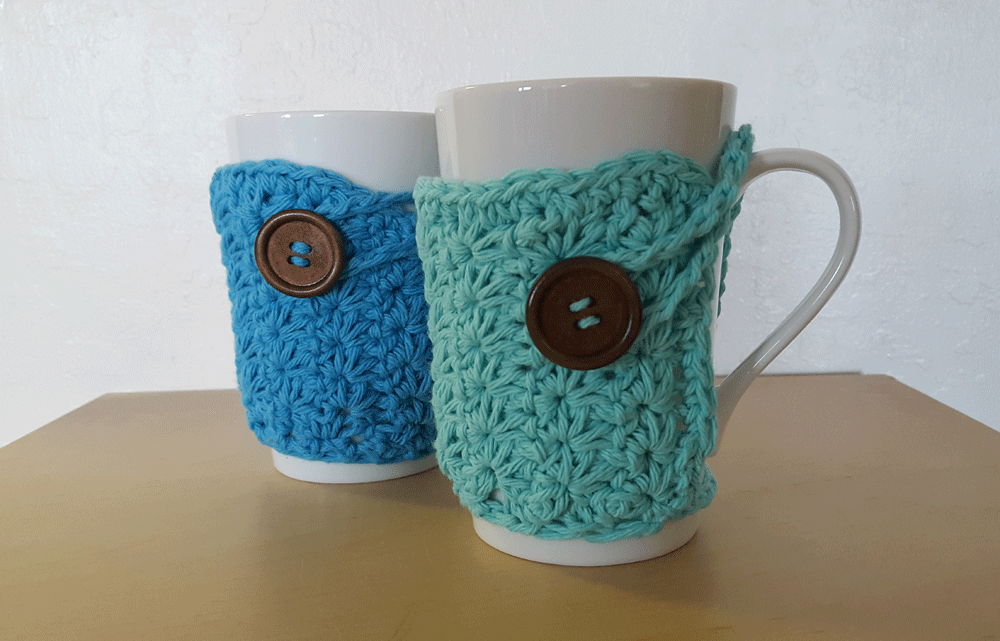
I just learned how to crochet the star stitch pattern and recently made a few dish towels for the kitchen. They turned out pretty well, so I thought I’d continue to ride that wave and make some coffee cozies to get an early start on holiday crafts. Typically, I follow a new pattern to the T, however I thought I’d get a little creative after mastering the star stitch.

Star Stitch Coffee Cozy

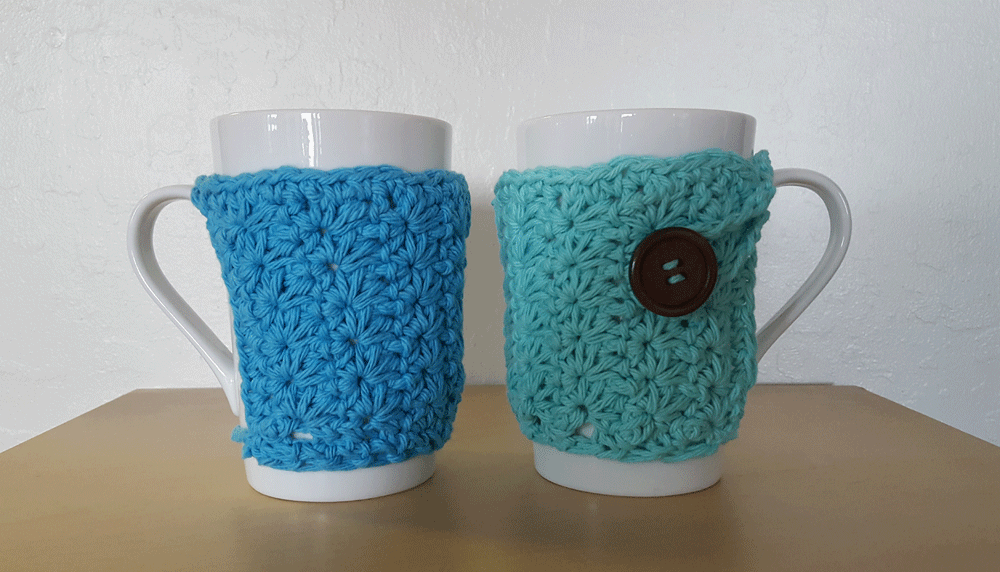
When making coffee cozies for a mug or a recyclable cup, it’s good to make sure they’re snug so they don’t slip off, especially if your cup doesn’t have any handles. Obviously you’ll notice many mugs slim down in size the further down you go. I wish that were true for the female anatomy! So instead of ending the row with a half double crochet, you can end with a single crochet and the bottom part of your coffee cozy will decrease in size.

Star Stitch Coffee Cozy

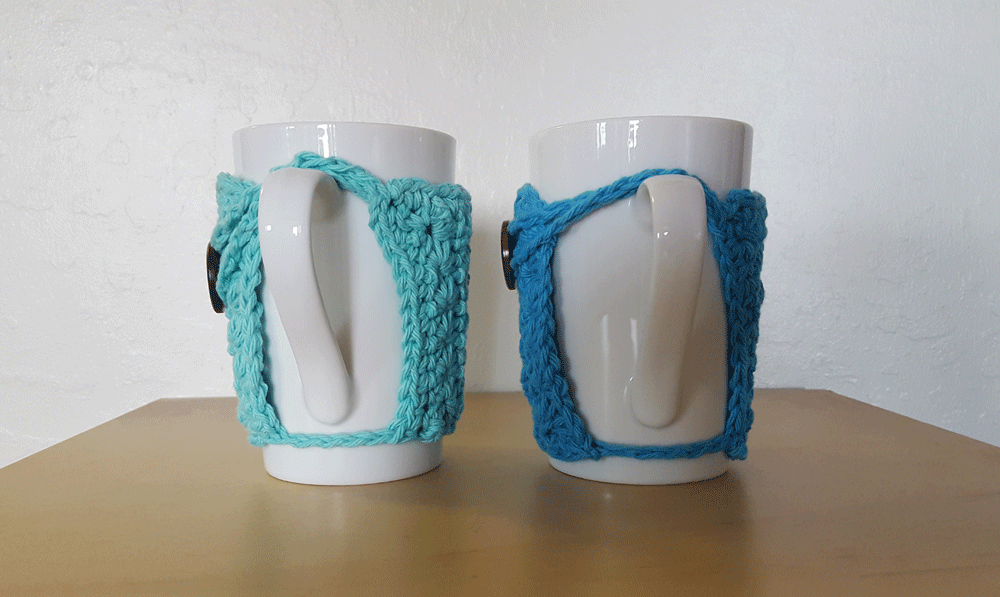
Once you size the sleeve to the mug of your choice, there are several ways you can finish off the cozy. One easy way is to crochet both ends together and circle the edges with one round of single crochet to even out the shape. Another way that’s super easy, but just a tad bit fancier is sewing on a button and creating a loop (using chains) that either goes through or above the handle. This requires some measuring and a few attempts to size the loop so that it hugs the button snugly.

Making coffee cozies are quick crochet projects that you can do in one sitting and it’s easy to get carried away with the small details. It’s likely you’ll end up making more than just one — especially if your friends catch a glimpse of these. They also make good Christmas presents. To go the extra mile, consider topping it off with hot cocoa and chocolate dipped spoons, or a few bags of your favorite loose leaf tea and maybe even some honey. Your friends and family are going to love you!

Star Stitch Crocheted Dish Towels

By | July 22nd, 2018|Crocheting, DIY Home, Handmade, Yarn Addict|

Star Stitch Crocheted Dish Towels

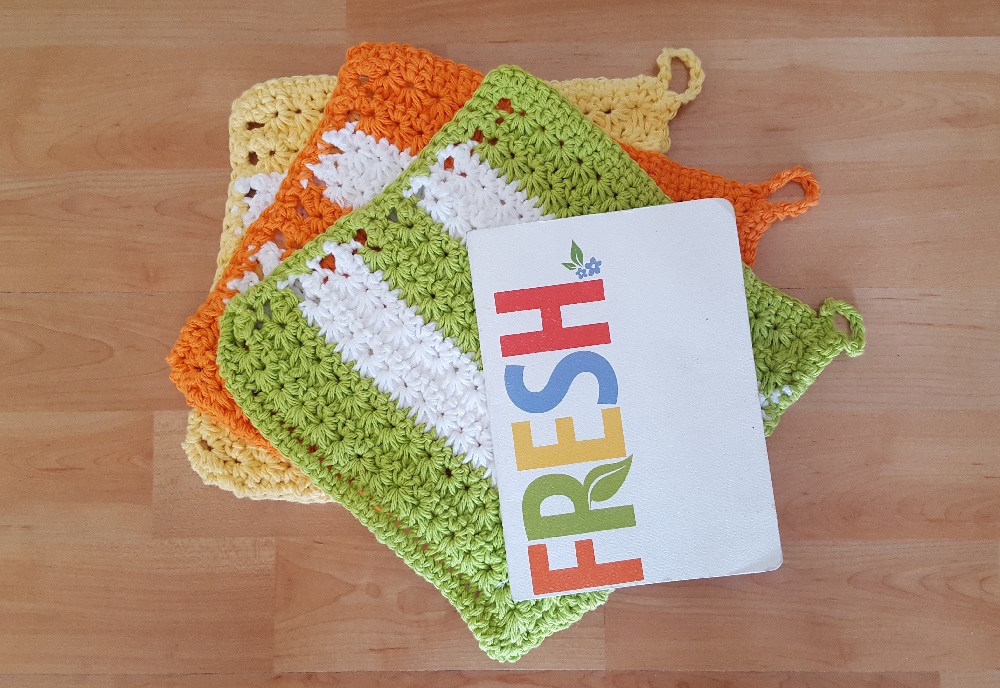
If these star stitched crocheted dish towels don’t motivate you to clean then I don’t know what will. Hopefully Spring cleaning wasn’t the last time you touched a dish towel. If it is, then you and your dish towels are long overdue for a kitchen scrub down. Inspired by a new crochet pattern I learned from YouTube, I decided to add a little splash of color into my kitchen. Summer shades of green, yellow and blue make the kitchen pop in a sea of brown cabinets, granite counters and stainless steel appliances. The star stitch pattern itself is an easy pattern to learn. It’s repeatable and it takes two rows to complete the star configuration, so you can swap out different colors of yarn pretty fluidly in between rows. It might seem intimidating at first if you’re not used to creating multiple loops in one stitch, but if you can get a few of these under your belt and you know how to do a half double crochet, then this is a great pattern to use to make dish towels. It’s a beautiful stitch and it creates a thick, plushy texture that’s good for scrubbing counter tops or wiping down a glass of spilled milk. And adding that hook in the upper corner makes it convenient to hang in your kitchen cabinet.

Sketch of EmeryBay Public Market

By | June 17th, 2018|Daily Sketch, Pen and Ink|

Sketch of EmeryBay

Day in and day out, I get to witness bulldozers, excavators and sledgehammers tear through Christie Ave Park. While it’s been over six months of tumultuous construction — at all hours of the day — it’s starting to come together. They are rebuilding the park to include a children’s playground, grassy fields with picnic tables and a fenced dog park. I’m excited to see how it turns out; however, all this raucous is driving me up the wall. I think I can even chuck my alarm clock. It now seems like 6:00am is the new 8:00am.

Instead of lying in bed, I decided to get up, pull out my pen and paper, and sketch the serenity surrounded by all this madness. Waking up each morning to the Berkeley Hills and EmeryBay has been my serenity and my appreciation for this little city of Emeryville, soon to be bustling with more restaurants, more apartments and more recreation amidst the ongoing development. Transforming this quiet area and inviting the public to come together will be a good thing for Emeryville. I look forward to what’s coming. But for now, here’s a snapshot of EmeryBay on a typical Sunday morning — at peace and undisturbed by construction workers.

“Gladiolous” to Meet You!!

By | May 13th, 2018|Daily Sketch, Marker Drawing|

Gladiolous to meet you!

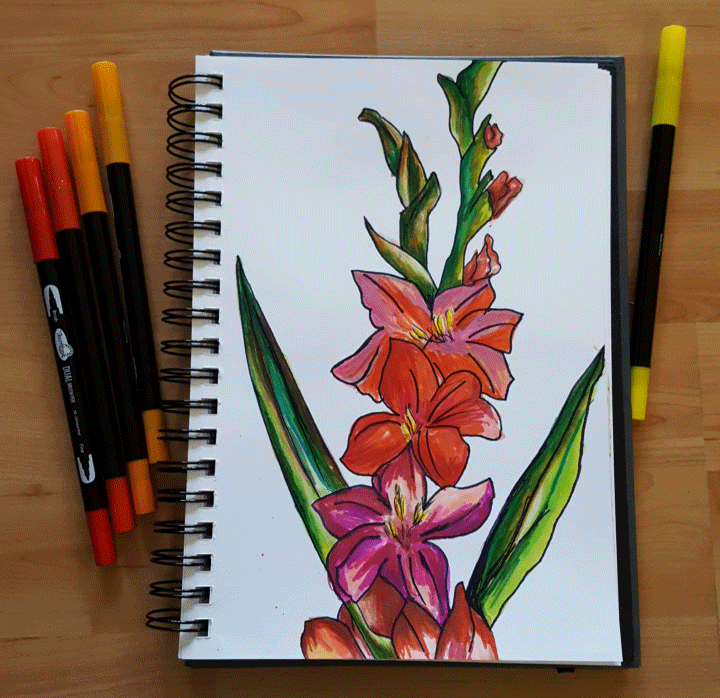
Well if this sword lily doesn’t scream that I’m “Gladiolus” to meet you then I don’t know what does! Inspired by a watercolor painter and floral artist, I decided to do a marker sketch of this gladiolus and doing some shading with Thorton’s dual brush pens and Prisma colored pencils. While I’m still getting acquainted with both mediums, I find it more difficult to shade with markers and get that smooth gradient effect. It’s not as easy to layer or blend when compared to pastels and/or acrylic paint which give you more flexibility to mix and build before it sets on canvas. I guess it’s just going to take some practice getting used to how to work with these mediums and luck for me, I have YouTube to refer to hundreds of drawing tutorials. I’m looking forward to exploring marker drawing some more and find it especially convenient to pack these in my bag and go.

Mosaic Bowl

By | April 22nd, 2018|DIY Home, Handmade, Humbling Hobbies and Habits, Mosaic Art, Oh My Crafts!|

Mosaic Bowl

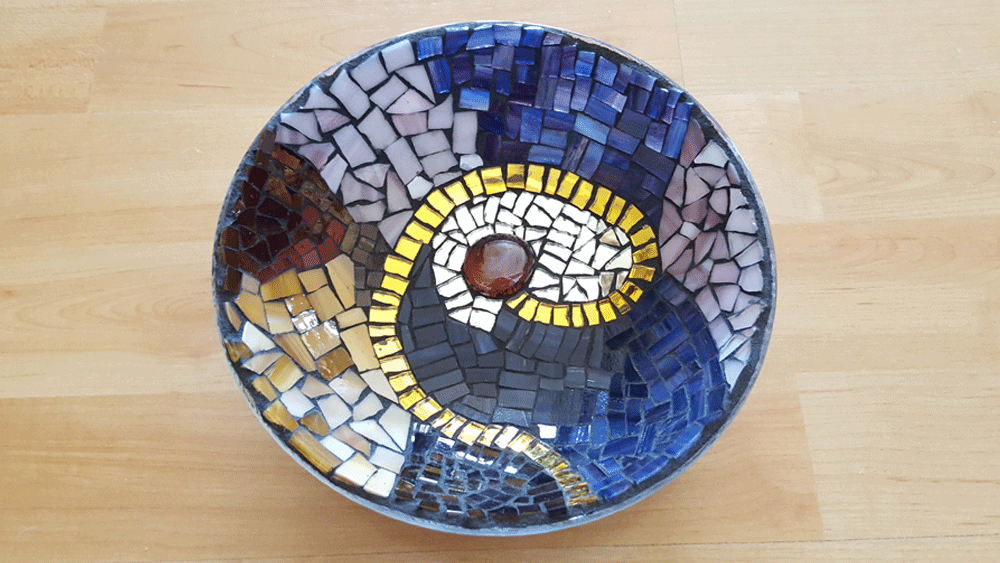
In addition to learning and acquiring new hobbies, this year will also be about finishing my projects — all of my projects. I started this mosaic bowl over a year ago when I first got introduced to mosaic art and glass cutting at the Alameda Art Lab. I got a fair amount of practice for both cutting and catching flying pieces of glass through the air since I completed a few mosaic art projects — a turtle, a rock and a heart. I decided to take on this mosaic bowl, and just as I was about halfway through it, I ran out of steam. I left the the bowl with JaYing and she said she’d hold on to it until I decided to come back and finish it.

Mosaic Bowl

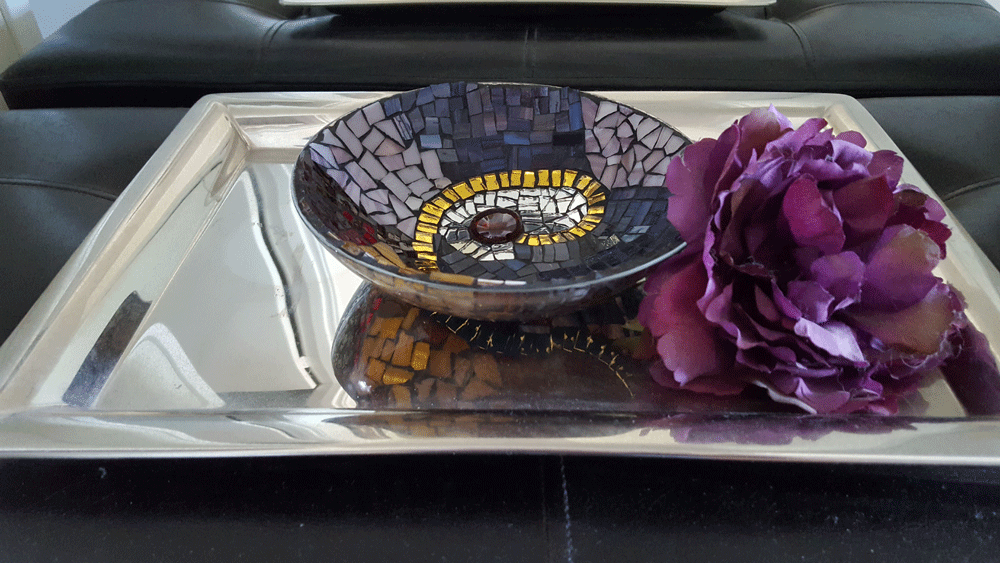
Well a year later, I came back. I was wondering if the bowl was still there… and it was! It was just sitting there in the corner. Other students came and went, and she did mention that someone had offered to finish it I never came back, but luckily, it was still exactly how I had left it. Shards of yellow, purple, pink and brown glass were still plated though I had to pick up a few more slabs from the color bin. I started out with mirrored glass encircling the “eye” of the bowl and lined it with gold and yellow, which really made the rich sea of purple and brown pop. I have to admit, it was hard to distinguish the dark browns from the dark reds, so I “snuck” in a few shards of deep red. You could only tell when  you hold it up to the light. I think it gives it character! I also decided to leave room for shades of brown and pearl to contrast against the pink and pearl, and to complement the eye. With those last few pieces, it’s time to grout and let it sit.

With my sister’s birthday coming up in the next month, I decided this would be the perfect gift for her apartment. She’s a fan of purple and I’d like to give her a place to leave her keys, drop in a few coins and leave her knick knacks. I can’t wait to see how she receives it!

Knitting on the Go

By | March 3rd, 2018|Handmade, Knitting, Work Hard. Play Hard. Knit Harder., Yarn Addict|

Eyelet Ribbed Scarf

I’m due for another business trip and that means over 24 hours of travel (15 hours of flying on one airline, a layover and 4 hours on another). With all this time on the plane, what am I going to do with myself? It looks like I am going to have ample time to get cozy, watch a couple of movies and begin my knitting marathon. Lucky for me, there is no shortage of yarn in my closet from all my trips to Michaels!

Eyelet Ribbed Scarf

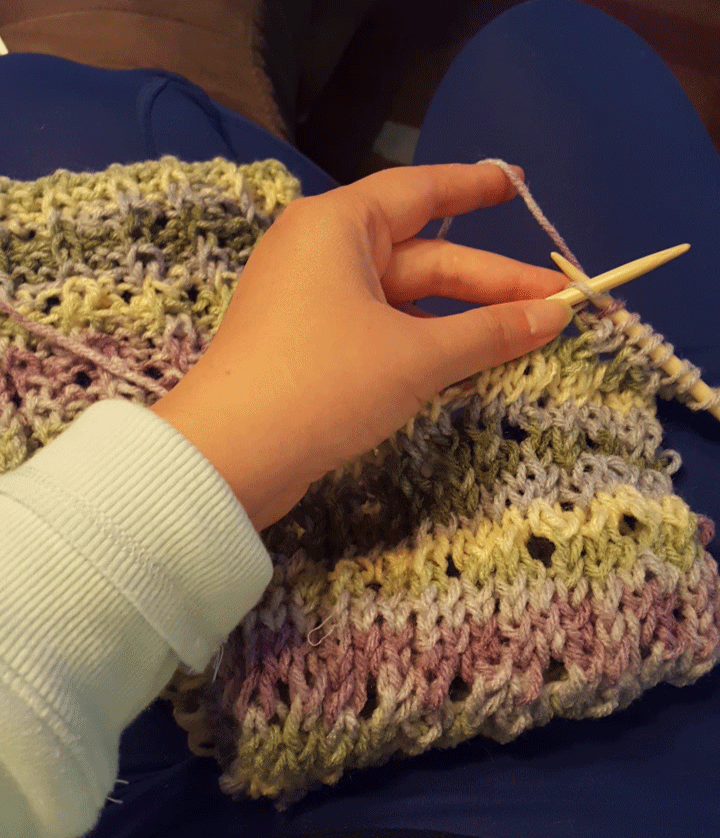
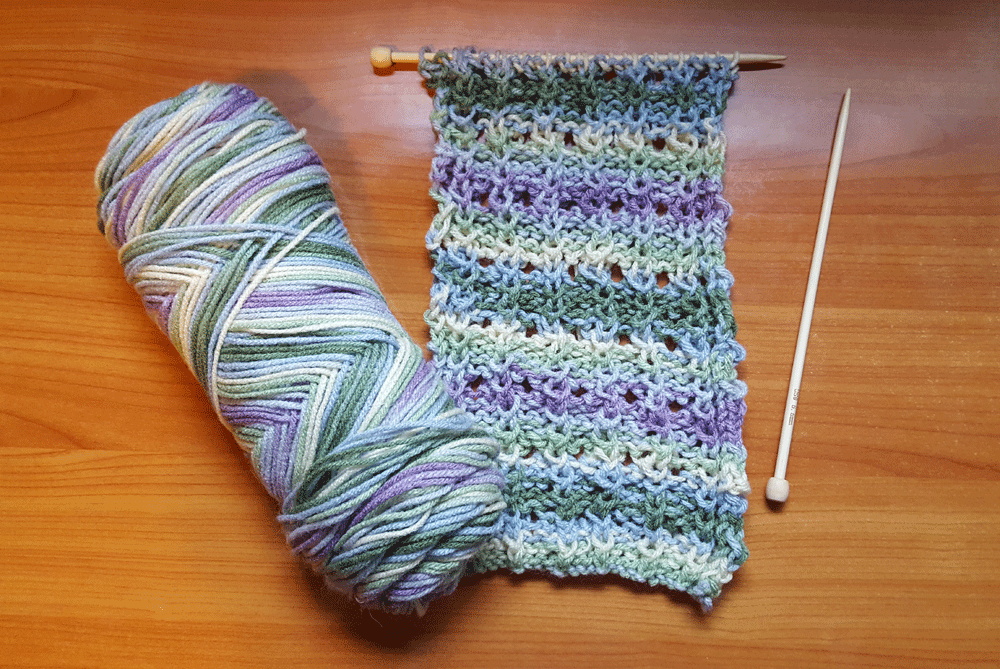
Most of the patterns that I’ve knitted in the past couple of months have been over ten lines long with lots of counting and tallying. The patterns themselves aren’t challenging, but there’s as lot to keep track of and count. This time around, I decided to go with the “Eyelet Ribbed” pattern, which is only six lines and more manageable for traveling. If you can knit, purl, yarn over and purl two together, then it’s relatively easy. I like this pattern because it’s simple, doesn’t have too much counting and you end up with these beautiful column ridges at every other stitch along with these cute little peepholes. I also think this pattern goes well this spring colored yarn.

Well, off to my next flight!

Adding Marker Drawing to the Mix

By | February 9th, 2018|Daily Sketch, Humbling Hobbies and Habits, Marker Drawing, Oh My Crafts!|

Blue Jay Marker Sketch

What can I say?! I’m on a roll with these new hobbies. And to that I say, keep them coming!

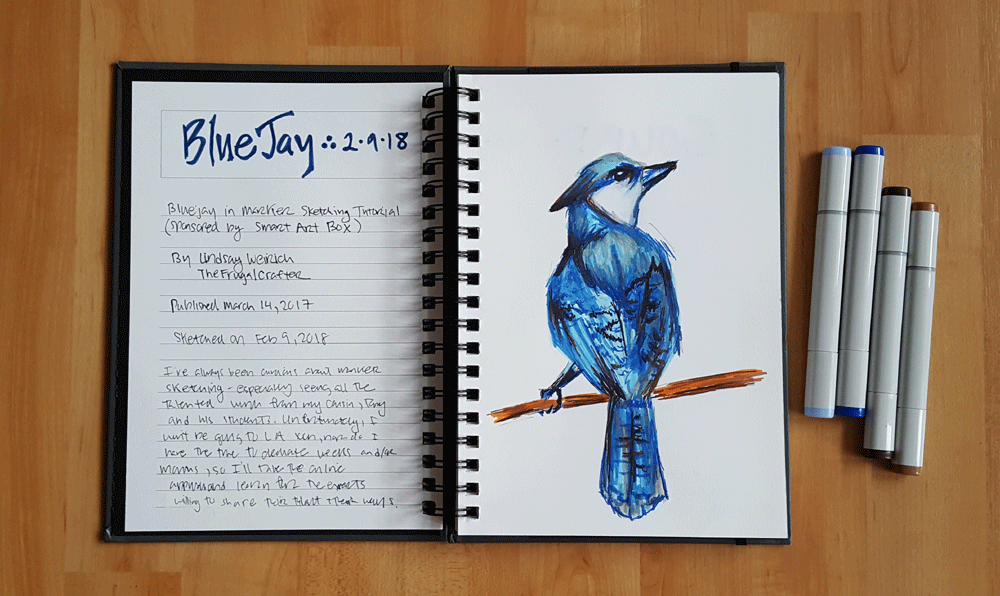
I’ve had a handful of these Copic markers in the storage bin along with some dual tip markers that I recently bought, but never got around to using… until about now. I never really knew what to do with them and more or less, I didn’t have a need. But I got inspired to dig out these supplies along with a sketchbook that sat on the shelf collecting dust. I’ve been curious about marker drawing for sometime, especially when I learned about my cousin’s passion for industrial design and his years at Art Center. That was decades ago, but it was always in the back of my mind hoping that some day I’d taking a drawing class and learn how to use them. That time didn’t come soon enough and I never got around to signing up for a class.

Lucky for me, there’s YouTube and you can watch a video and learn anytime, anywhere. With my first search for “Marker Drawing Tutorial,” I came across Lindsay Weirich’s (aka The Frugal Crafter) Blue Jay in Markers Sketching Tutorial. She seemed friendly, inviting and her tutorial seemed doable. It was only ten minutes and I could very well end up with something that looked like a blue jay. I followed the tutorial step by step, scratching my marker across my sketchbook. Blues, grays, browns and some blending with that magic marker. A squiggle over here and a scratch over there. It actually started looking like a blue jay. I was impressed and thanks to a successful first run with these markers, I foresee many more of these  marker drawing sessions in the near future.