Homemade Slippery Soap Squares

By | March 24th, 2019|DIY Home, Handmade, Homemade Soap, Oh My Crafts!|

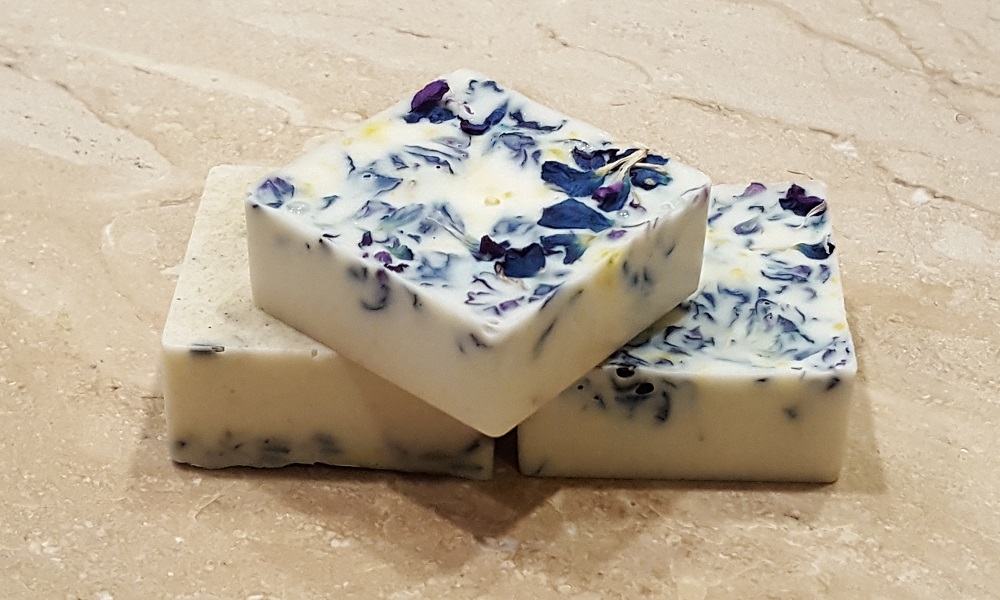
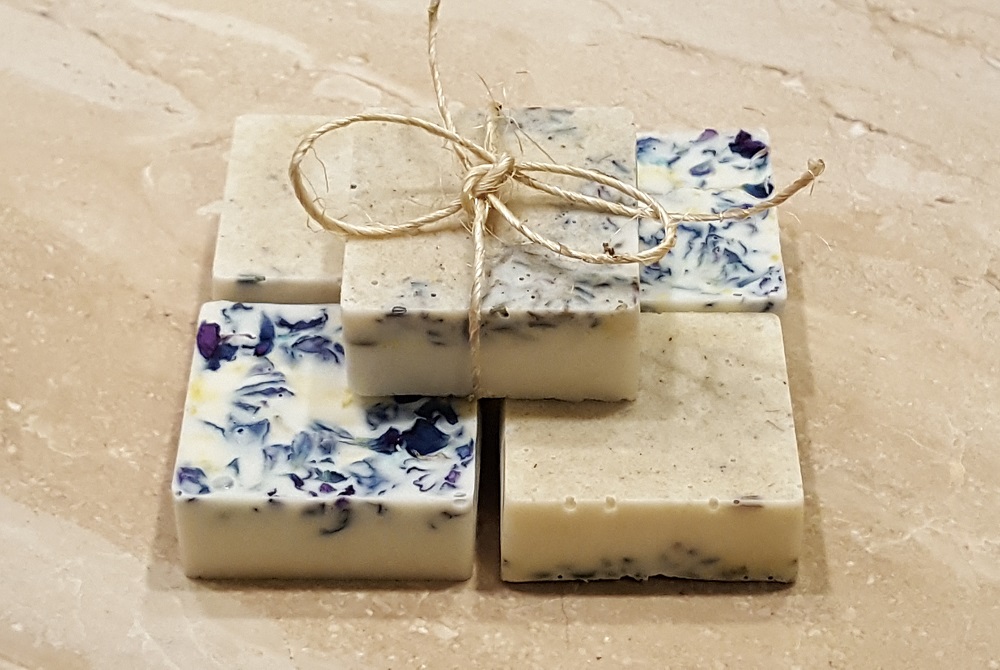
Hydrangea and Lavender Soap Squares

Okay, so I’ve watched one too many videos on BuzzFeed and this video on making your own DIY aromatherapy soap finally made me do it. I dropped everything I was doing, pulled up Amazon, and Amazon Primed myself all the stuff needed to make homemade soap. For someone who loves DIY projects and gets a little anxious about having all the right materials, the starter kit for making soap wasn’t too bad. I shopped around for the soap base first. There is a lot to choose from. You can get clear glycerin, goat’s milk, oatmeal and one of my favorites, Shea butter. I decided to go with an oatmeal base, since I wanted to it to be textured and all-natural looking. I knew for this first go around, I was going to use dried flowers and rely little on added coloring.

Hydrangea and Lavender Soap Squares

For the flowers, I decided to buy myself a mixed bouquet from the market. Yes, I buy myself flowers! I love the idea of having fresh flowers in the house. The color, the scent and just the idea of having something alive in the room really just brightens up your day. It’s sad when they die, but now I know how to make full use of them. I took the flower petals and set them aside so that they would dry. This batch had blue hydrangeas and others that I’d save for a later time. I also had a sash of dried lavender that my mom got from her vacation that I thought would be great for this project.

Hydrangea and Lavender Soap Squares

With the dried flowers ready, I went ahead and bought the rest of the ingredients: soap mold, a pack of essential oils and alcohol spray. Since I was doing Melt and Pour, you literally just had to cut the block of soap into cubes and melt it over a pot of hot water. It took about ten minutes to melt, but make sure to keep an eye on it and keep stirring so it won’t scald.

While the soap was melting, I stirred in lavender and lemongrass essential oils. Then I sprayed the soap molds with alcohol and drizzled in the dried hydrangea and lavender. Once the soap base was completely melted, I poured them into the soap molds and then popped them straight into the freezer for about four hours. I think I poked and prodded them at the two hour mark just to see how they were doing. They were rock hard, but you can tell they were still setting.

Four hours later, you’ve got soap that you can proudly use!

Coral Crocheted Hand Towel

By | February 18th, 2019|Craft Day, Crocheting, DIY Home, Handmade, Oh My Crafts!, Yarn Addict|

Coral Crocheted Hand Towel

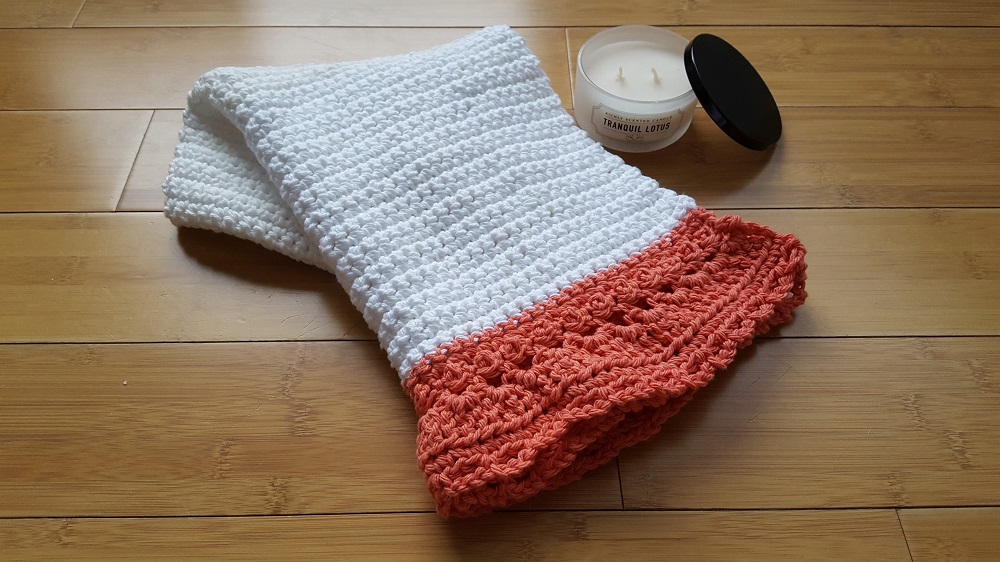
This crocheted hand towel is just so fun that I was inspired to make another one. It’s an easy project to bring with you when you’re on the go because the white portion of the towel is just single crochet all the way through to about 90 to 100 lines (depending how long you want to make it). I tried other patterns such as double or half double, but it just made this hand towel seem too ornate — especially with the decorative edging at the bottom.

Coral Crocheted Hand Towel

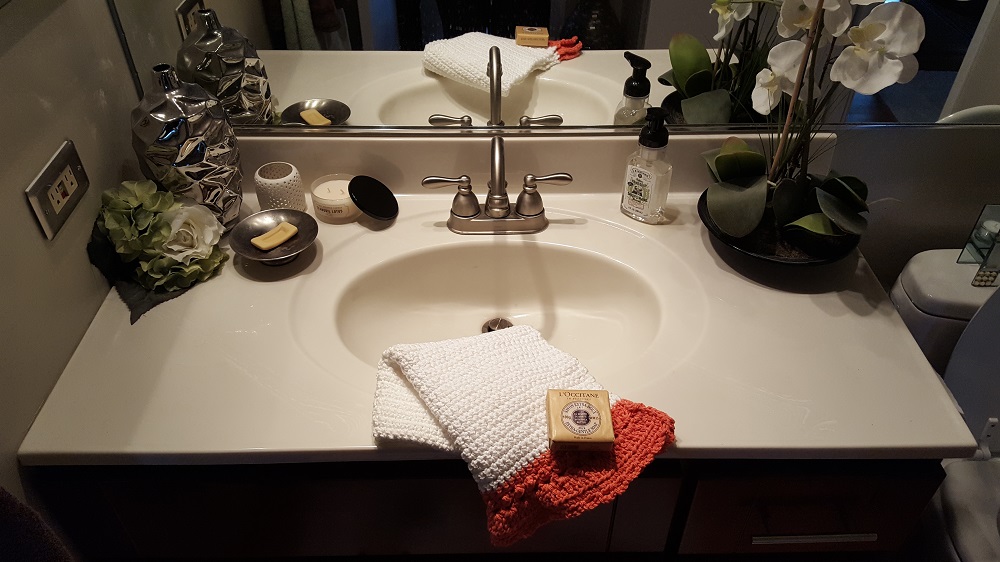
Having made this before, I decided to buy the cotton yarn in bulk instead of two to three separate balls. It made for less clean up in the middle of the pattern — and sewing in loose ends is not one of my favorite things to do. However, the fun part of this project was choosing the accent color and just about any color goes with white. I previously made this with purple edging, so this time I went for coral, a color I thought would really pop in my bathroom.

Coral Crocheted Hand Towel

The edging itself while it might look complicated is really simple. In fact I just made up this pattern using a combination of single and double crochet, and threw in some loops. You can really do as you please and customize the length. I thought two to three inches worked well for the overall length of this towel. If you’re unsure, you can just eye ball it to a store bought towel.

Well, how does it look? I think it makes a great addition to any bathroom. When I wash my hands, I secretly prefer to use this handmade towel over the others because it just feels luxurious.

Happy Crocheting!

Putting My Christmas Present to Good Use

By | January 6th, 2019|Crocheting, Knitting, Yarn Addict|

Laborwood Yarn Bowl

Coming out of the holiday season, there’s always that afterglow that lingers on when you finally get to put your Christmas gift to use. After numerous failed attempts at keeping my ball of yarn beside me when I knit or crochet, I finally got tired of my ball of yarn rolling around on the floor and getting twisted up in dust particles and my dog’s fur. But before I could even huff and puff about the problem, my sister gifted me this finely crafted, wooden yarn bowl from Laborwood. One of the perks using the yarn bowl is that it keeps your yarn clean and fixed. It also regulates your yarn tension while you knit or crochet, and it has holes on the side to hold a pair of knitting needles when you need to take a break or sip on your glass of wine. I like it because it’s practical, functional and the handiwork is just beautiful. It’s far from just ordinary. Oh, and it sits on top of four silicon stems that fix to the bottom of the bowl to prevent it from sliding. Thanks to my sister, who knows me so well, I no longer need to worry about my yarn tumbling off the couch and falling victim to dust mites. Instead, I can now focus on my knitting and crocheting while knowing that ball of yarn is safely tucked and conveniently located beside me.

A Christmas Cookie Classic

By | December 23rd, 2018|Holiday Fun, In the Kitchen, Learning from the best|

Jam Thumbprint Cookies

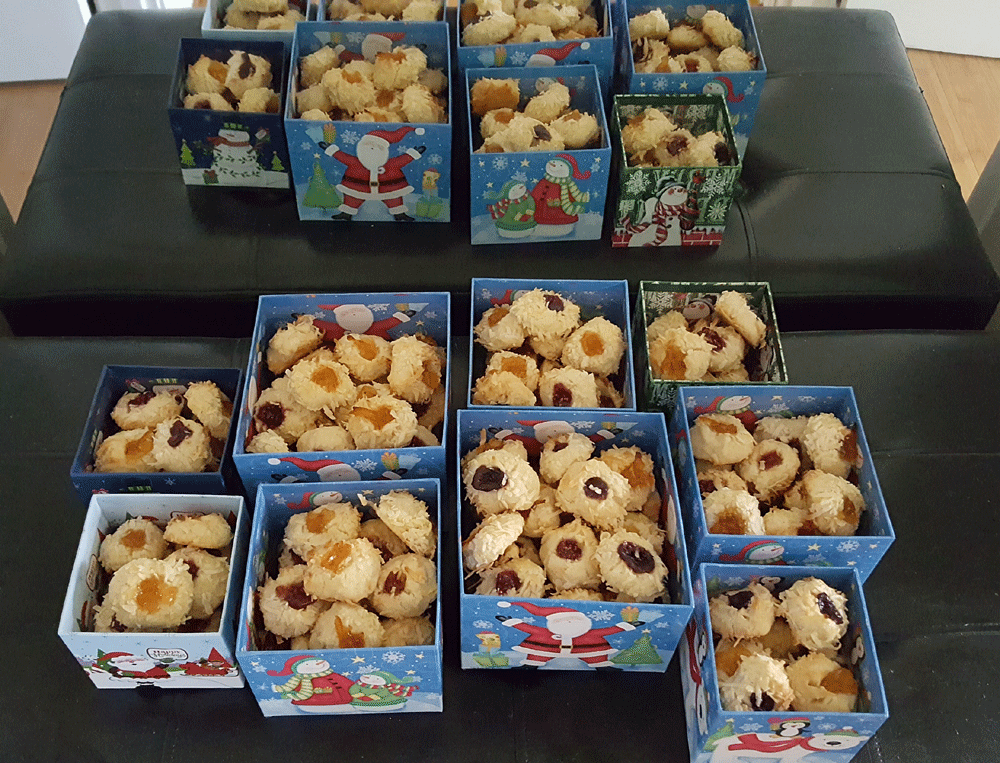
One of the many Christmas traditions I look forward to is making these jam thumbprint cookies. Inspired by Barefoot Contessa, these rich, buttery cookies have become a Christmas cookie classic in the Lee household and it’s almost expected that I make batches of these cookies for close friends and family. The toasted coconut, the sweet smell of jam and the buttery goodness fill the entire kitchen and it almost feels as if you’ve inhaled 3000 calories when you haven’t even taken a bite or licked the spoon. But who’s counting calories? Seriously. It’s the holidays and you’ve earned every bite to the very last crumb.

This year, I seem to have lost count on how many batches of cookies I made. When I’m in the kitchen, it’s serious business.  I’ve got the assembly down  to a T:  there’s the mixing of the dry and wet ingredients, the resting window, the balling of the dough, the dipping of the dough into the egg wash, the slathering of the coconut, the insertion of the thumb and the best part, the spooning of the flavored jams. It’s at least a four to six hour kitchen marathon and I don’t actually stop until I’ve filled the cookie boxes or tins. If you look at the size of the boxes, you can tell I went large, so I must have made at least a  gazillion cookies. But in the end, it’s worth it because these jam thumbprints are in high demand.

Well, I’m ready to pack these up while I munch on the “broken” cookies. Merry Christmas!!

The Gift-Making Holiday Rush

By | December 3rd, 2018|Craft Day, Crocheting, Handmade, Humbling Hobbies and Habits, Oh My Crafts!, Yarn Addict|

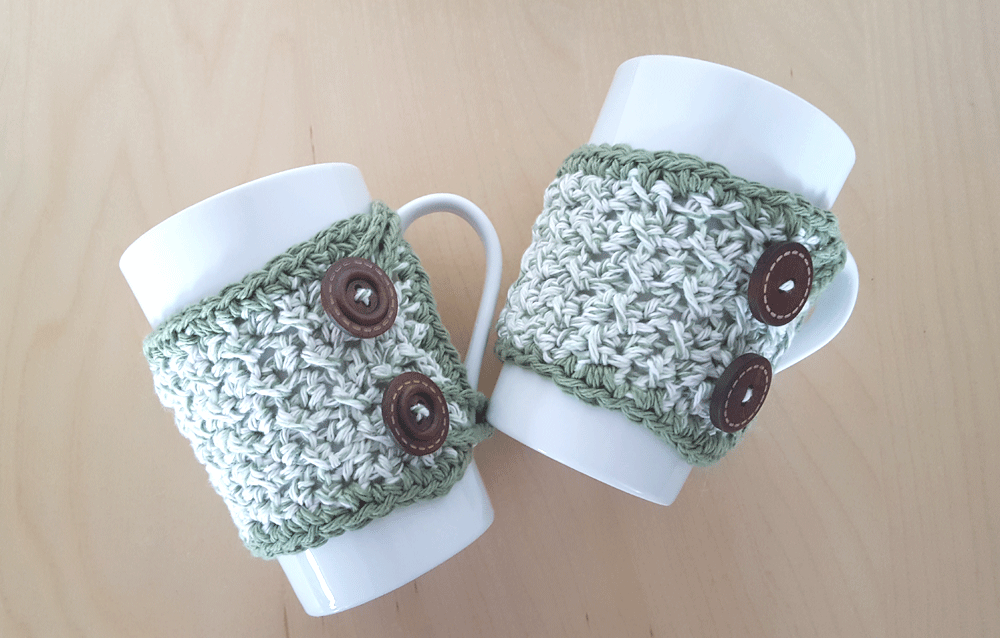
Moss Stitch Coffee Cozy Set

Well, I thought I’d get ahead of the gift-making ‘holiday rush’ when I packed several skeins of yarn and my crochet hook, and took it halfway around the world with me during the Fall season. However, when the skeins of yarn were still intact in my suitcase on my way home, I knew I was in trouble and I was in for a rude awakening during the holiday season.

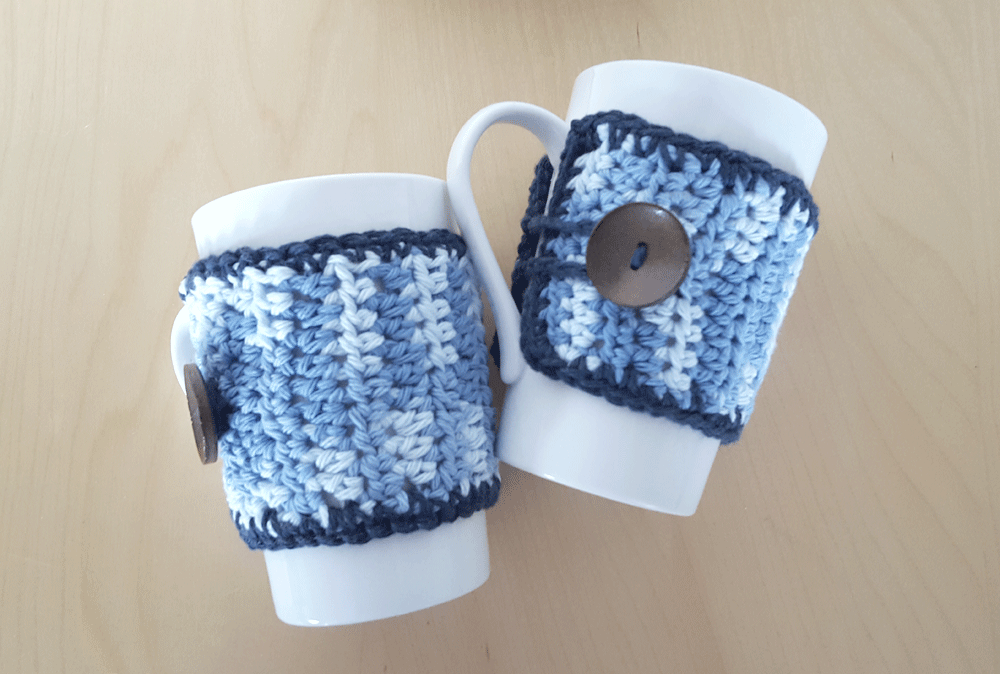
Double Crochet Coffee Cozy Set

Despite a busy work and travel schedule, I was able to come up with a few projects that would be creative and fun, doable in a short timeframe, and make warm and “cozy” Christmas gifts. One trip to Michaels left me grabbing skeins of yarn left and right. Since I had recently made a couple of hand towels, I stuck with yarn that was 100% cotton for its durability and absorbance. Plus, I kind of like the organic look and feel of the blue gradient and olive green blend.

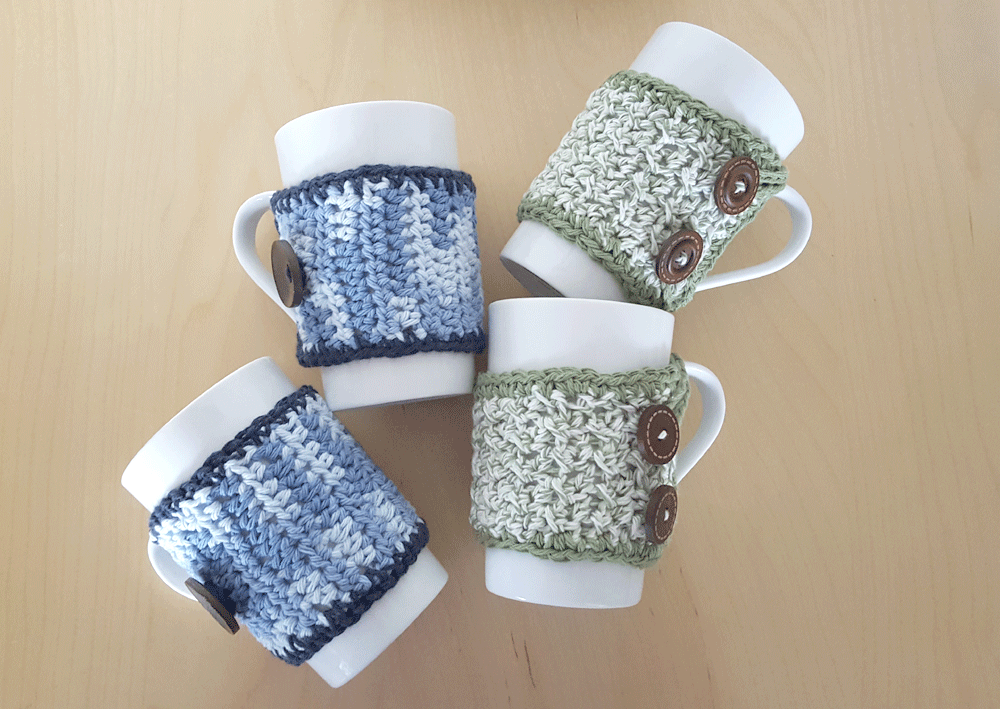
Coffee Cozy Set

Over on the left, I decided to go with the classic double crochet and on the right, I went with the Moss Stitch. While both make for great patterns, I’m going to have to say that I prefer the moss stitch because of its tension and density. The double crochet pattern is a bit too springy and I may just need to throw it into the wash, so that it shrinks down in size. Either way, they are both made with 100% love and they’re ready to be wrapped well before Christmas.

A Special Gift for a Special Friend

By | November 23rd, 2018|Crocheting, Handmade, Humbling Hobbies and Habits, Yarn Addict|

Moss Stitch Crocheted Hand Towel

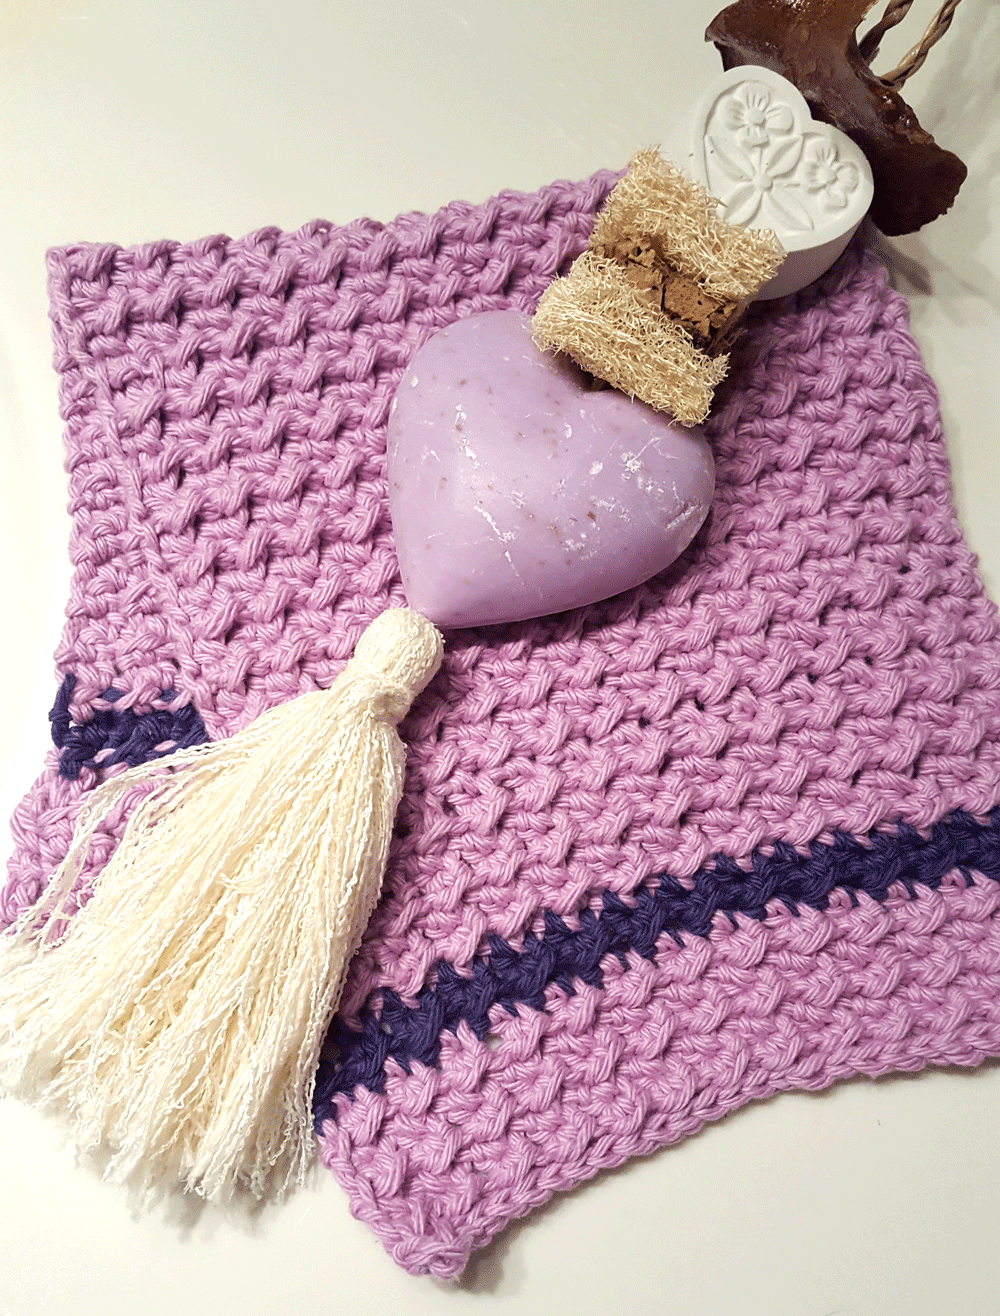
Obviously, celebrating friends and special occasions just gives me another reason to start a new crochet project and learn a new stitch. For my friend’s engagement shower, I thought I’d pick up one of these beautiful lavender soaps and natural bath sponges I got from a boutique store on my trip to Belgium and pair it with a handmade crocheted towel for the bathroom. I love hunting for treasures you can only find meandering the streets of a foreign city or town. Don’t ask how many of these I brought home, but I can assure you that my travel bag smelled luxurious  as if I just got pampered at a day spa.

To make it extra special and semi-handmade (a tribute to Sandra Lee’s “Semi-Homemade”), I decided to crochet a purple hand towel. I was mesmerized by the Moss Stitch and its woven texture that blends a slip stitch and a single crochet. It’s a great stitch for those who are learning to crochet and it’s super quick and pretty “mindless.” One of the thing I like most is that it provides a thick texture that is durable and absorbent. I think it’s going to look great in her bathroom and give it that “handmade” feel.

Well, off to sew in the loose ends and wrap this baby up.

It’s Turkey Time!

By | November 22nd, 2018|Holiday Fun, In the Kitchen, Oh My Crafts!|

Thanksgiving 2019 Family Photo

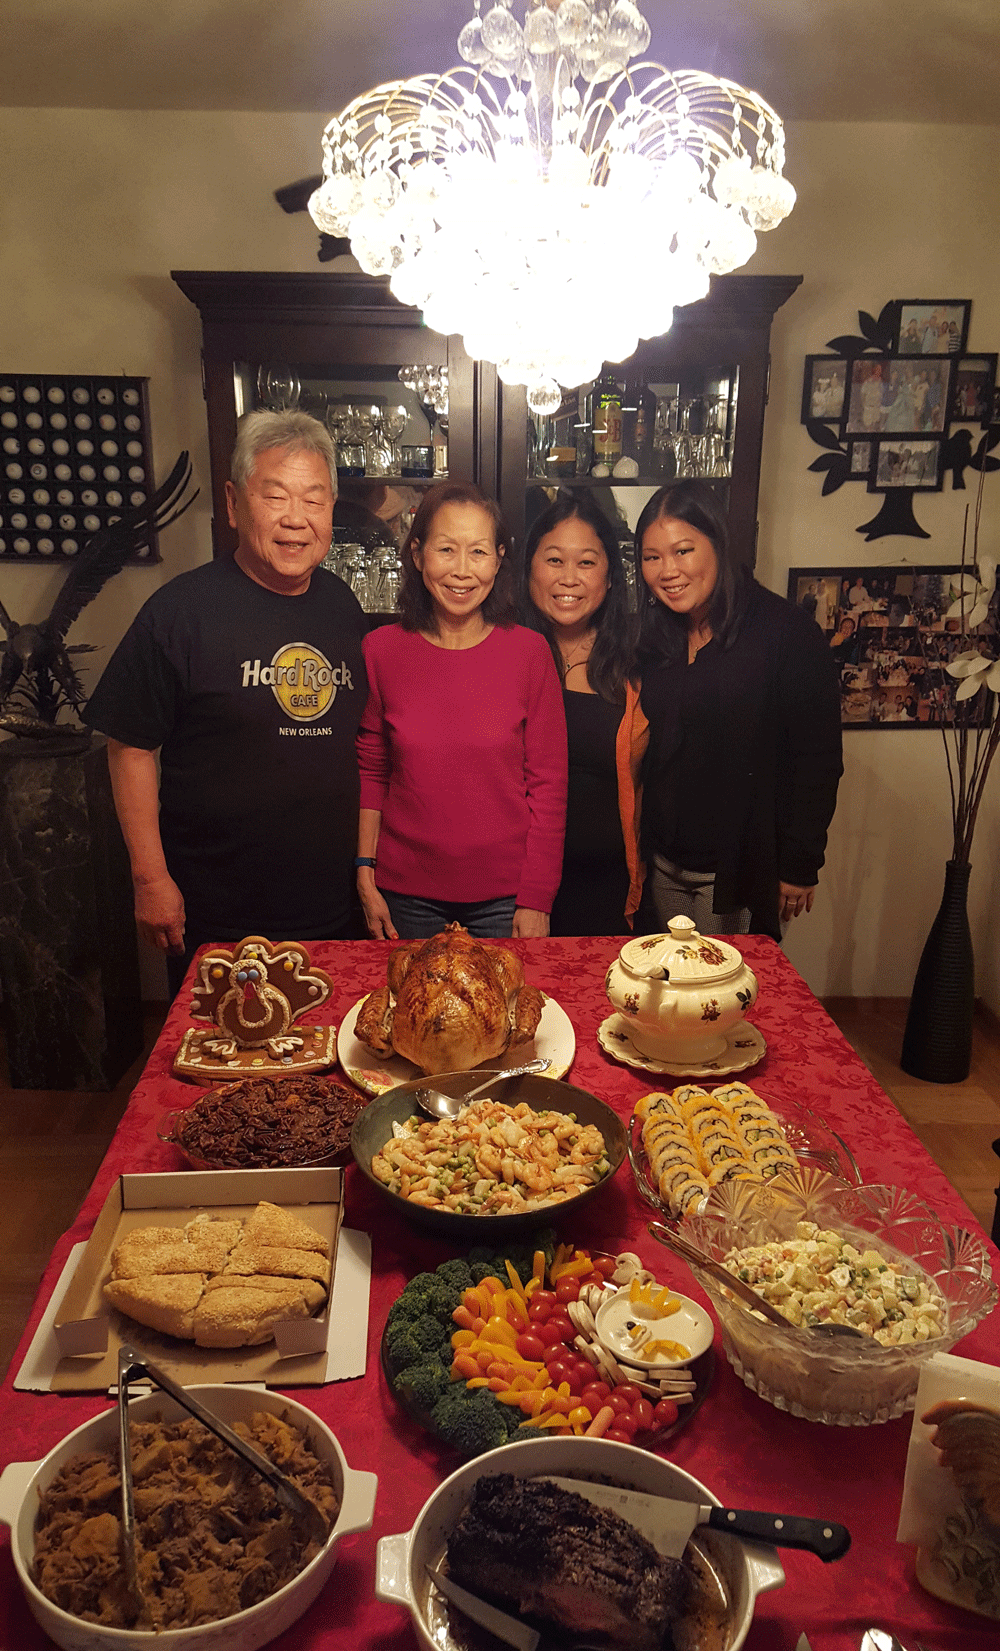
Happy Thanksgiving!! It’s turkey time over at the Lee household and we’re not holding back. This year, we’ve got multiple chefs in the kitchen and we were able to whip up three turkeys. That’s correct, I said three turkeys! And since everyone’s been on a diet all year round, it’s now time to unbuckle those belt buckles and dig in.

Thanksgiving Vegetable Platter

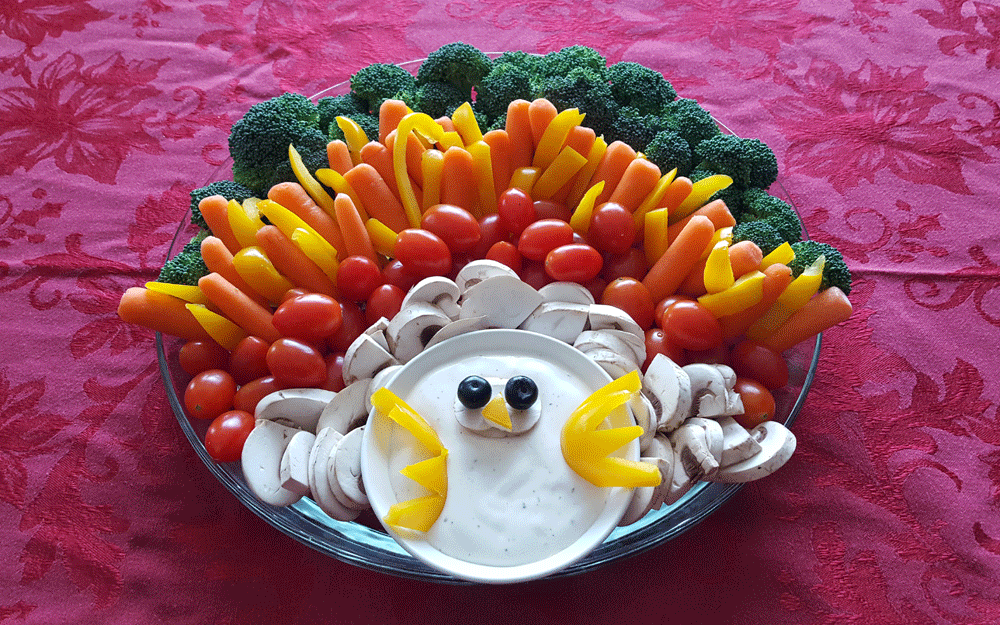
For starters, we began with a vegetable turkey platter. You can’t just fill up on cheese and crackers. Well, yes you technically can, but you’ve got to get your veggies in and what better way than to dive right into this vegetable turkey platter. It’s festive, fun and has every color of the rainbow. Left untouched, it will only remain a centerpiece… which for the most part, it did throughout the evening.

Gingerbread Turkey

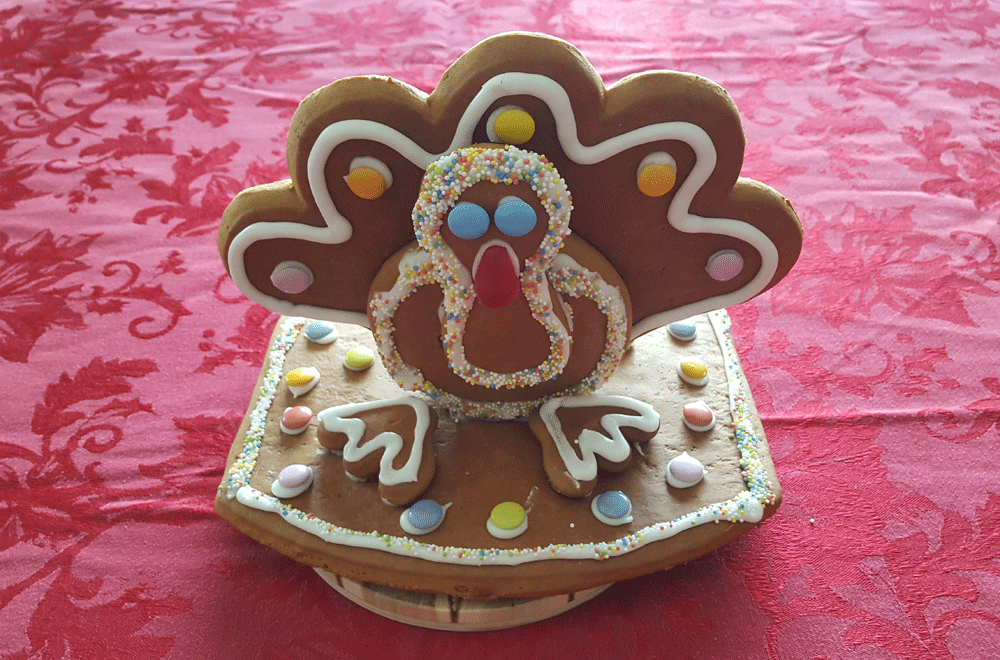
If the vegetable turkey itself wasn’t enough to take center stage on the dining table, then we also built this gingerbread turkey. I know, I know, cookie decorating fun doesn’t begin until Christmas, but we just can’t wait! You can pick up a gingerbread turkey-in-a-box at your local Trader Joe’s. It comes with all the gingerbread turkey parts and icing, sprinkles and candy — everything you need to make this little guy stand on his own two feet. Now, it’s not easy, so you might want to consider enlisting the help of your nieces and nephews. Learn from the pros. That’s typically how it’s done.

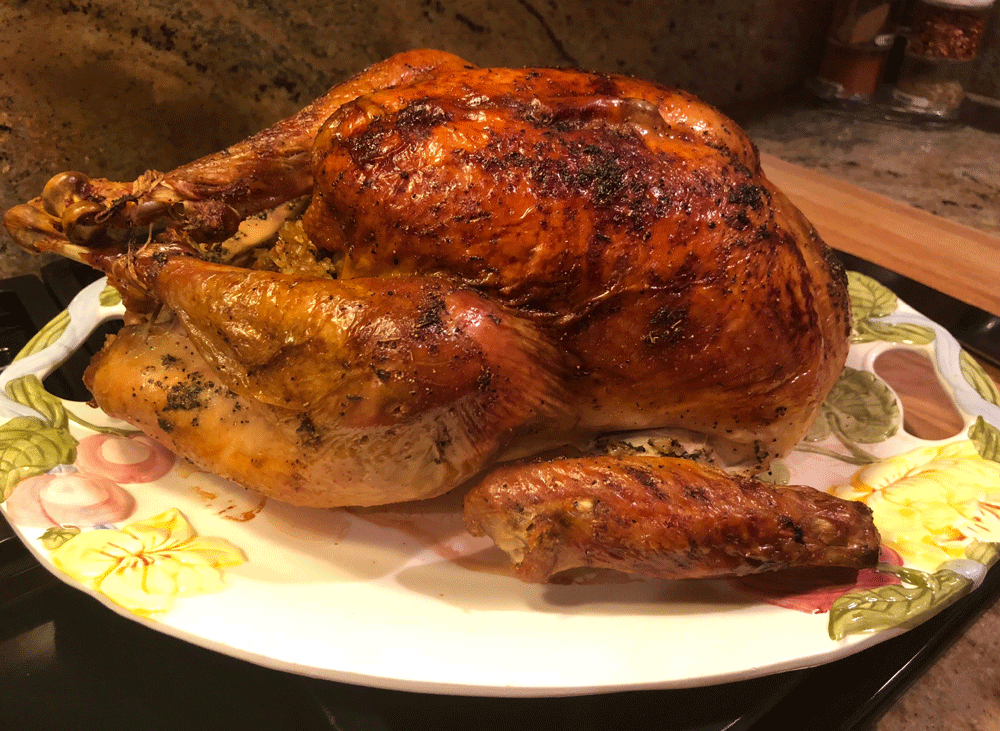
Thanksgiving Turkey 2019

For the grand finale, feast your eyes on this guy. He steals the show not just because he’s the main course, but my dad made him. Years ago, my dad retired from making the Thanksgiving turkey and since then, things just weren’t the same…. or to be brutally honest, didn’t taste as good. It just may not have been made with the right amount of love. But of course, there is much to be thankful for and I’m just lucky to be surrounded by my friends and family.

Happy Thanksgiving from our family to yours!

Gobble, gobble.

Happy Inktober!

By | October 31st, 2018|Daily Sketch, Marker Drawing|

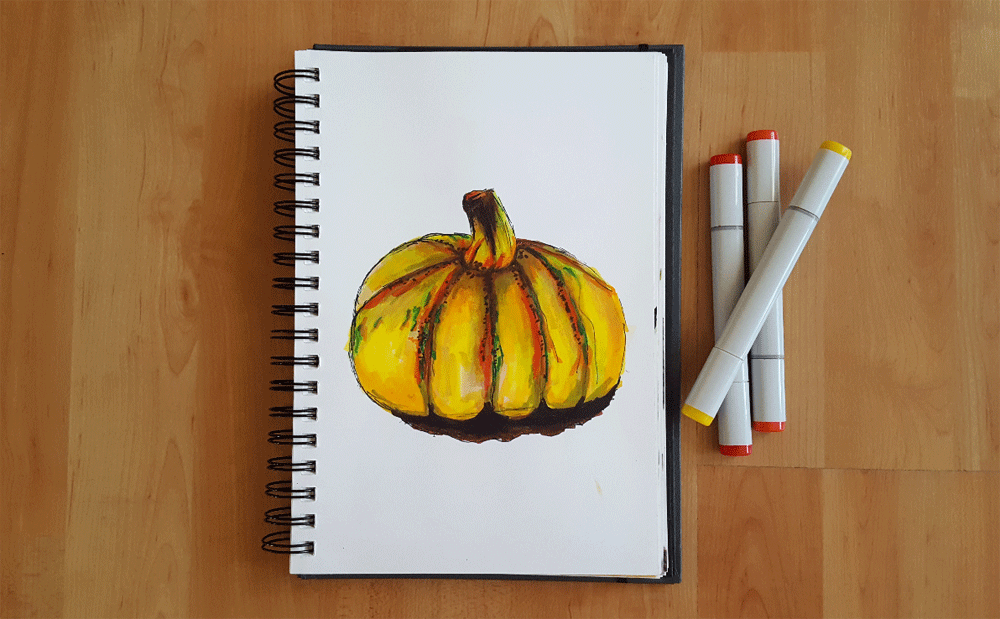
Pumpkin Marker Sketch

In honor of Inktober, it’s time to take out those Copic markers and begin putting them to use before they all dry up. I’m still quite new at marker drawing, so I thought I’d sit through another one of Lindsay Weirich’s drawing tutorials. Last time around, I sat in for her Blue Jay in Marker Sketching Tutorial and it turned out pretty good. I like her style!

Most artists shade from light to dark to create a smooth gradient effect, however, she just dives right in going from dark to light and scratching in all those deep shades of greens, oranges and browns. I admire her for her ‘down and dirty’ tutorials which are pretty easy to follow and you end up with something pretty decent. It looks like a pumpkin, right?!

Happy Inktober, All!