Bedside Flowers

By | January 18th, 2016|DIY Home|

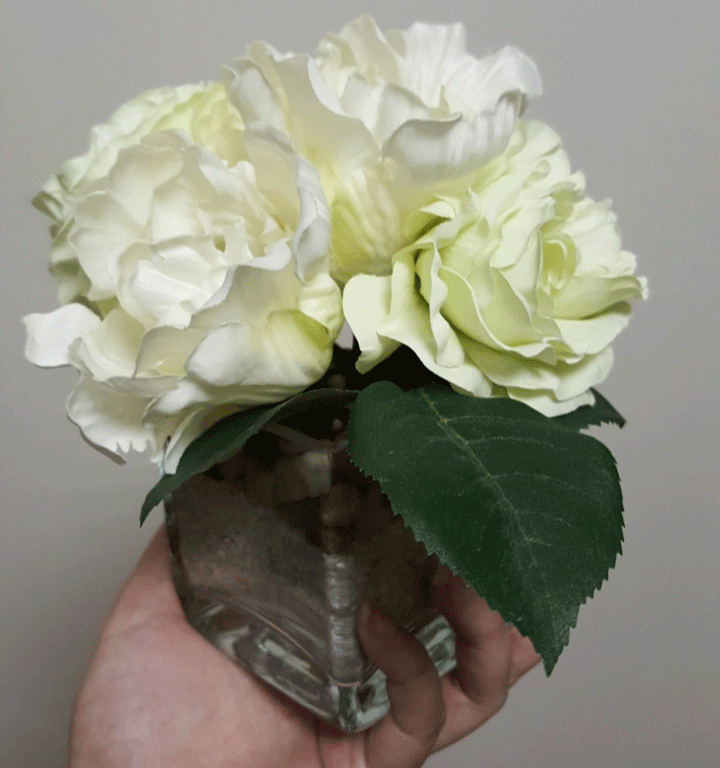
Bedside Flowers, White

After scouring the Internet, flipping through catalogs and doing quite a bit of window-shopping, I finally landed on a bedside table to complement my upholstered bed. Success! And one of the first things you have to do to break in new furniture is to jazz it up, dress it up and cozy it up. After talking to quite a few designers, I learned a couple of key components to accenting bedside furniture and making it warm. First, it’s not always necessary to make things symmetrical and for tables, sets of three work best. Two, open yourself to different textures and this can be done by pairing glass with wood and different metals. Three, keep it functional and fashionable. Four, throw in a little greenery.

I’m still in the process of finding my ‘three’ but for now, I’ll focus on the fourth point by adding a bit of faux life and greenery. I’ve been cleaning out my bedroom by getting rid of anything from clothes, shoes, books, and decor that just doesn’t fit the new bedroom look. As I was tossing out this glass vase and the stones that sit inside it, I also came across this bunch of summer flowers (it’s now winter) that was going to make its way into the pile. At the same time, I was web shopping on Wayfair, Pottery Barn and West Elm for an arrangement of some sort. Talking about multi-tasking… $50, $75 and $175 were some of the price tags that popped up on the screen. Wow, I’m certainly in the wrong industry. Now that I’ve got a hole in my credit card, it’s time to get creative. I looked at some floral inspiration online and the pile of stuff to the side of me. What was bugging me about the old floral arrangement was its mix of purples and violets which didn’t fit the shades of the bedroom, so I decided to go neutral and pick out all of the white flowers. A vase, some stones, white flowers and green leaves. I think I have what I need to put together a decent floral arrangement – all at no added cost. With a few attempts at compiling the flowers, some minor snips to the stem and a roll of floral green tape, I’ve put together this floral arrangement, now sitting on my bedside table adding some Zen into the bedroom. Success again! I’ll have to upload a snapshot of the actual bedside table once I find my ‘three’.

Week Night Cooking and Crafts

By | October 15th, 2015|In the Kitchen|

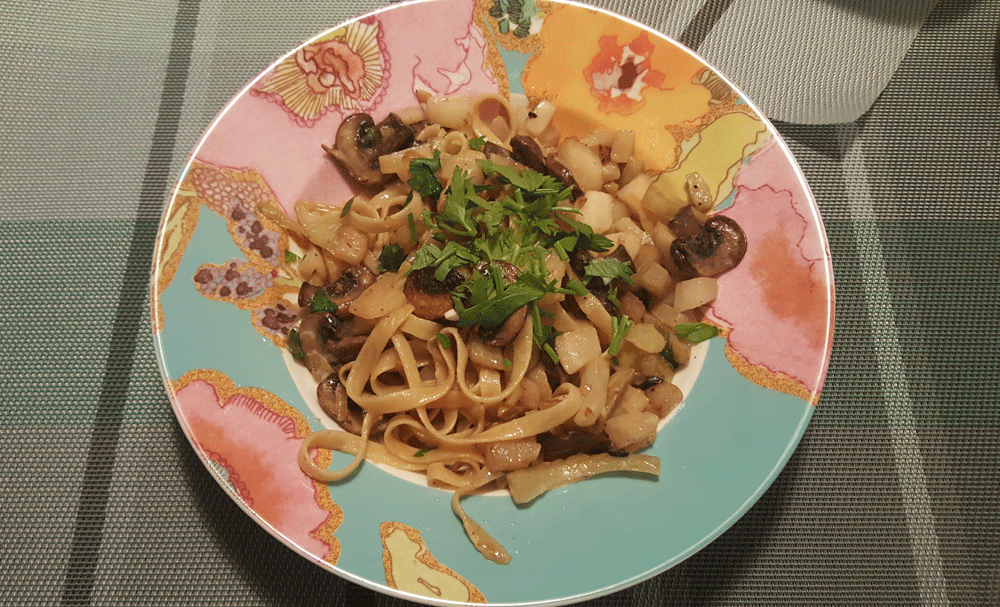
Home Cooked Fettuccine with Saucy Scallops

It’s my evening to host a week night dinner and knitting sesh with my neighbor and since I don’t cook very often – or better yet, usually opt to go out or pick up food – I had to scratch my head to put together a few options. I’m with most people on the lack of time and sheer laziness over cooking, but once in a while I like to ‘play’ in the kitchen.

From all those years of watching Food Network, I knew there was a little bit of Sandra Lee’s ‘Semi-Homemade Cooking’ in me – especially with Trader Joe’s down the street from me. I don’t like to experiment when I have guests over, but here’s one idea I tampered with previously and enjoyed the results.

In the frozen aisle, Trader Joe’s offers a package of the Saucy Scallops with Mushrooms. I’m not a big fan of frozen food and agree with the online rating, but there are ways to adapt pre-fabbed food to make it suit your taste. The first time I tried the Saucy Scallops, I found it to be way too cheesy as with most; however, adding in some fresh mushrooms and onions gave it some flavor. And since I’m a big fan of Sauvignon Blanc (which typically complements my pasta dish), I decided to pour in some white wine for flavoring and it did the trick. My taste buds approved, so I’m hoping that my guest will enjoy it. This ‘semi-homemade’ Saucy Scallop with wine, mushrooms and onions goes well with any type of pasta, but I prefer fettuccine, but if you’d like a bit more body, you can opt for the four cheese tortelini as well. For those non-vegetarians out there, top it with you favorite protein and you’ve got yourself a hearty meal. I put this to the test tonight and the request for a second round of pasta told me this one was a winner.

Merry Christmas from the Lee Family

By | December 25th, 2015|Handmade, Holiday Fun, Oh My Crafts!|

Lee Family Christmas 2015

My cousin walked through the door and asked, “What games will we be playing this year?” My sister and I were absolutely thrilled that games were a big hit from last year – so thrilled that we’re doing it again this year prior to dinner and presents so that everybody can and will participate.

The first game was wrapping a box with a partner of your choice. Each pair was given the same materials: scissors, wrapping paper, a box, tape and a ribbon. The only requirements were to wrap a Christmas present using one hand of yours and one hand of your partner’s. And the team to wrap their box the fastest and make it the most presentable wins. My parents were one team, while my cousins paired with their significant others and my aunts paired with each other. When we gave them the green light, the teams went at it. Across the board, you can probably see the women taking the lead, doing the cutting and taping while the men were good at taking direction. You can also notice that hands sometimes got a little twisted as they led over verbal communications. There was a lot of energy and tension to get this small box wrapped. Sometimes you even saw four hands to a box over two. My parents were taking the lead. There was no surprise there, since my Dad started telling the story that he’d been with my Mom for over forty years and you just sort of ‘pick up’ on these things. In the very end, it looks like the years of experience and partnership triumphed as my Mom and Dad won the competition. They got crowned Mickey ears and Santa hats along with some sweet treats. Congratulations, Mom and Dad!

Gingerbread Houses for Christmas

For the second game of the evening we decided to bring back the gingerbread making houses – an all time favorite. Instead of teaming up to build larger gingerbread houses, we each got our own mini gingerbread house. Assorted gum drops, m&ms, confetti and icing were available to dress each person’s house to their liking, that’s if they can even put together the foundation of the house. After a few attempts at the icing, my hands were sticky and white. The walls could barely hold the roof, which could barely hold the candy. Yikes, mine looked like a snowstorm hit San Francisco. Clifton filled his house with candied windows along with his initials on the rooftop. Bernice made cute little snowmen, xmas trees and a dog. My Aunt Julie couldn’t help but try to copy my cousin in putting together the base of the house, where my Mom was concerned with decorating the rooftop. Jeffrey got his hand all muddied up in icing, while Laura seemed to have the magic touch to making the house look homey. In the end it was unanimous and Laura took home the trophy for the best looking gingerbread house in town. A concession prize went to my Aunt who didn’t even get her house to stand. What a fun evening that was and you still have Clifton in the background claiming he too is deserving of a prize – any prize.

What a fun evening of games.  I think we all worked up an appetite. Now onto to dinner, presents and more festivities. I hope your Christmas is just as exciting, warm and eventful as ours.

Wishing you a very Merry Christmas from the Lee Family!

Xmas Eve Home Cooking

By | December 24th, 2015|Holiday Fun, In the Kitchen|

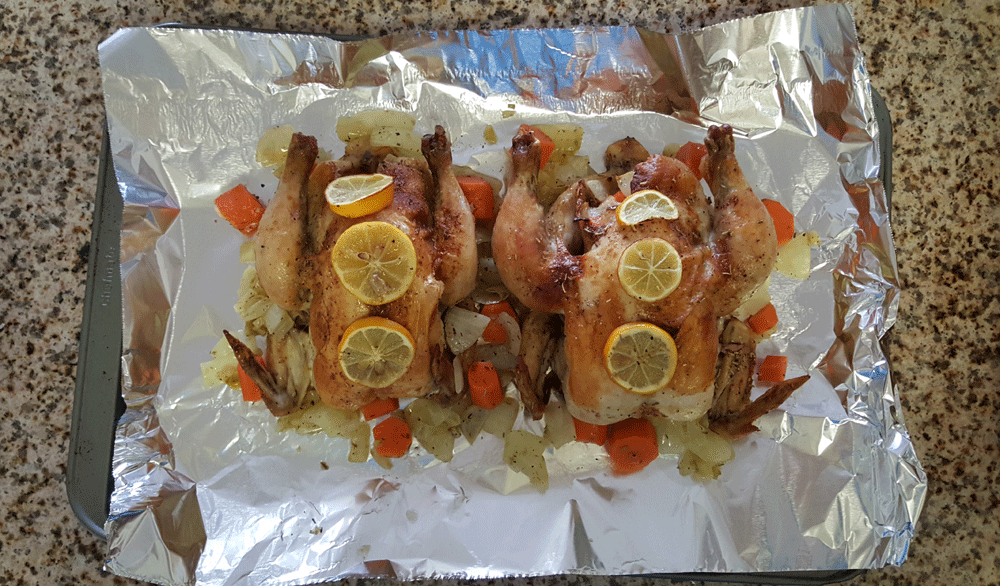
Cornish Game Hens with Onions and Carrots

It’s always a question that’s top of mind especially during the holiday season. What dishes are people already bringing and what should I cook for the holidays? I usually go with with the fancy appetizers and my famous brussel sprouts with caramelized onions, pancetta, slivered almonds and white wine sauce (I already did this during Thanksgiving), but I’m compelled to try something different this time around. I peaked online to see if I could get any inspiration and then I spent a good amount of time over the weekend at a couple of grocery stores – the lines were insane. I wanted to make something hearty, meaty, flavorful and easy on the eyes. For some reason, I was still craving turkey, but had to remind myself to move past that one since that was last month!

Top of mind next to all the active orders for chicken, prime rib and pork shoulder was the cornish game hen that stood in the self-serve refrigerated section. I bypassed the line and picked up these babies. I landed on four cornish game hens, since I had to make x2 the amount – one for Mom’s side of the family and one for Dad’s side. They were a good portion size given that the table itself would already be filled with a variety of dishes.

I may have made these once a long while ago, but I was most excited, since it reminded of a mini turkey. I went ahead and sauteed the carrots and onions with rosemary, thyme and a drizzle of white wine. They simmered on the stove for about 15-20 minutes. I didn’t want to overcook them since they’d be stewing some more in the oven.

Next, I buttered up the cornish game hens and seasoned them similarly to the vegetables. After the vegetables cooled, I stuffed them from the front and the back, then topped them with lemon slices. About an hour in the oven leaves you with them slightly brown and sizzling. This is now ready for dinner party number one. I’ll be tackling this again tomorrow!

Mosaic Cross

Mosaic Cross

Earlier this month, I took two classes at the Artistic Home Studio and it made quite an impression that I came back for more. I must admit it was a little daunting to be working so up close and personal with glass, since I was always told to stay away from sharp edges. Since I learned how to use glass-cutting tools, mix and match colored glass, and adhere them to a surface – all having done so unscathed (!), I became inspired and am looking forward to discovering more about this new found hobby.

I am enthralled by the fusion of glass, mirror and marble, and the bold, statement pieces you can make for the home. After making the mosaic turtle and rock, this time around, I’ve decided to make the mosaic cross, since this would be a perfect Christmas gift for a special someone on my Dad’s side of the family. The toughest decision this time around was choosing from the plethora of colored glass. Warm palette or cool palette? One marble or ten marbles? Decisions, decisions.

As fun as it was to make this gem,  I can’t wait to see the look on my cousin’s face when she opens it, since it was made with extra TLC this holiday season.

Painted Wine Glasses

By | April 19th, 2016|DIY Home, Handmade, Learning from the best, Oh My Crafts!, Painting|

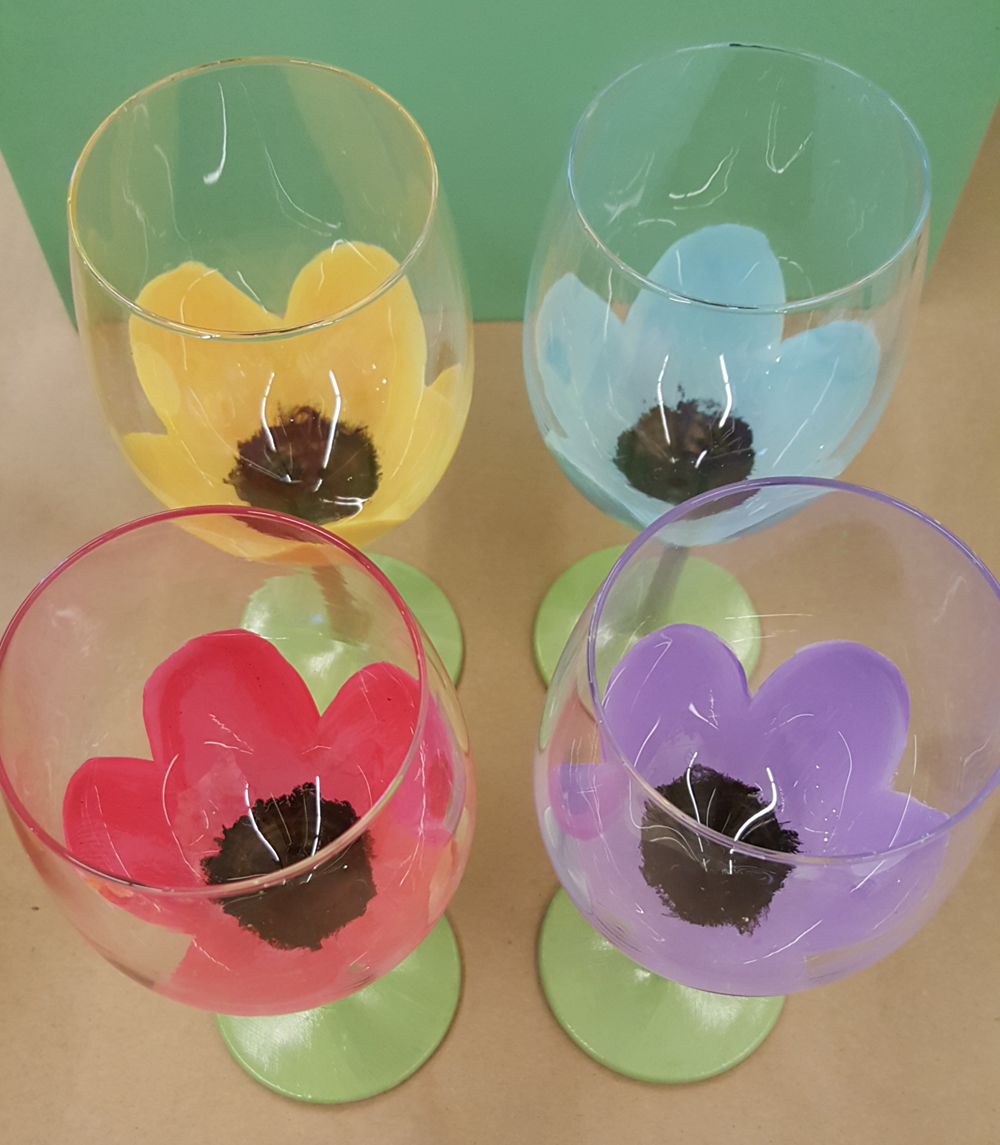
Painted Wine Glasses

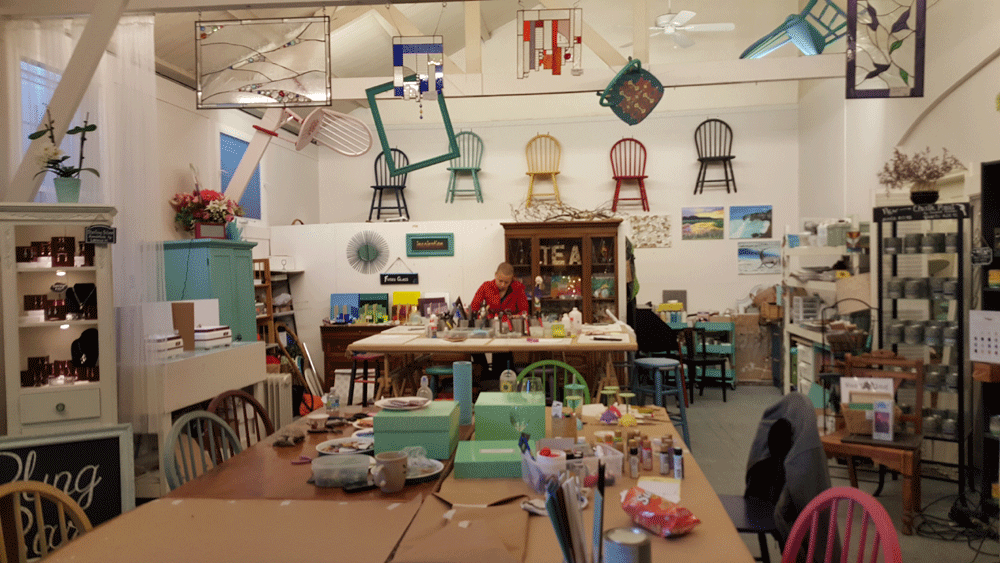
I’ve spent quite some time at the Artistic Home Studio and it only left me hungry for more. They offer so many classes that I’m going to go back, and take each and every one of them. This time around I decided to try out the Painted Wine Glasses class. I was greeted with tubes of acrylic paint and a handful of assorted paint brushes. Okay, I can do this.

As I began to mix and layer on the first coat of paint onto the glass, I realized this is going to be more challenging than I had anticipated. I’ve painted with acrylic before, but with glass as the medium, one coat of paint would hardly suffice. In fact, I could hardly even see two coats. Wow, this is going to take some time. I decided to nix the idea of doing some fancy shading and wiped the glass clean. Water and paper towels make for a good eraser.

Instead, I opted to paint these spring-like flowers (yes, spring in the winter!) keeping in mind the transparency of the glass. It took about 10-15 coats of paint to finally get the full effect of each color. Between the layers of paint, take a mental note of how you blended the colors since you’ll need plenty of paint. It’s also handy to have a blow dryer plugged in between the layers.

Paint + Multiple Layers + Blow Drying Sessions = Hours + Fine Master Pieces

Mosaic Turtle

By | December 5th, 2015|DIY Home, Handmade, Learning from the best, Mosaic Art, Oh My Crafts!|

Artistic Home Studio

A couple of months ago, I went to The Ultimate Women’s Expo in San Mateo for a full day of pampering fun. As I perused the aisles, bombarded by jewelers, health fanatics, massage therapists and free swag, I couldn’t help but notice this beautifully decorated, mosaic sculpture that caught my my eye. It was stunning to see how hundreds of these shiny pieces of glass stacked side by side, fit together to create a statement piece so ornate. I inquired about the artist only to realize she was standing there right before me. JaYing Wang has been a mosaic artist for over 15 years and she has a studio in Alameda called Artistic Home Studio where she teaches glass arts – stained glass, glass fusing techniques and mosaics. She’s designed a number of public-facing mosaic murals within the Bay Area and commands the discipline of mosaic arts.

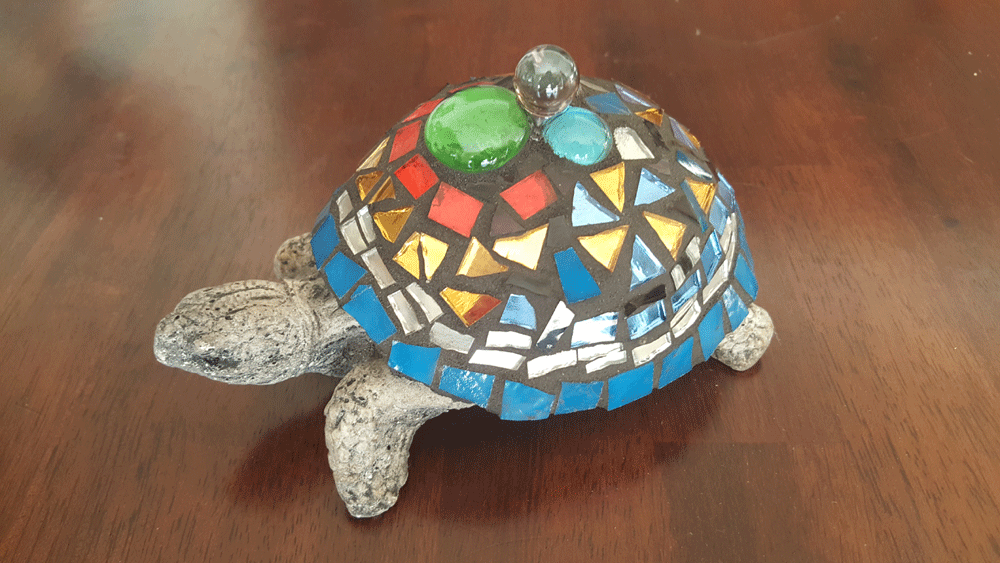
Absolutely thrilled to learn that there’s a class for mosaics, I eagerly picked up one of her pamphlets and here I am signing up for both the mosaic turtle and mosaic rock class. I got a hold of my turtle and then had to make the hard decision of deciding which color glass to use and what pattern to display on the shell. I opted for my favorite color, blue and danced between both the cold and warm palette. Hard part solved.

Mosaic Turtle

Now onto learning the different glass-cutting tools. I can tell that it’s going to take a bit of practice to get the hang of it. You can either cut the glass directly using a rotary wheel, or score the glass and then split it up in twos. I used both combinations and pieced my colored tiles on the table before dressing the turtle. With plenty of references to Pinterest, I decided on creating a border along the exterior of the shell and decorating it with flower pedals in the rear. Luckily, it takes time for the cement to dry, so I had more than enough time to move things around. I ended up with this little guy to your right and topped him with some glass stones and marbles.

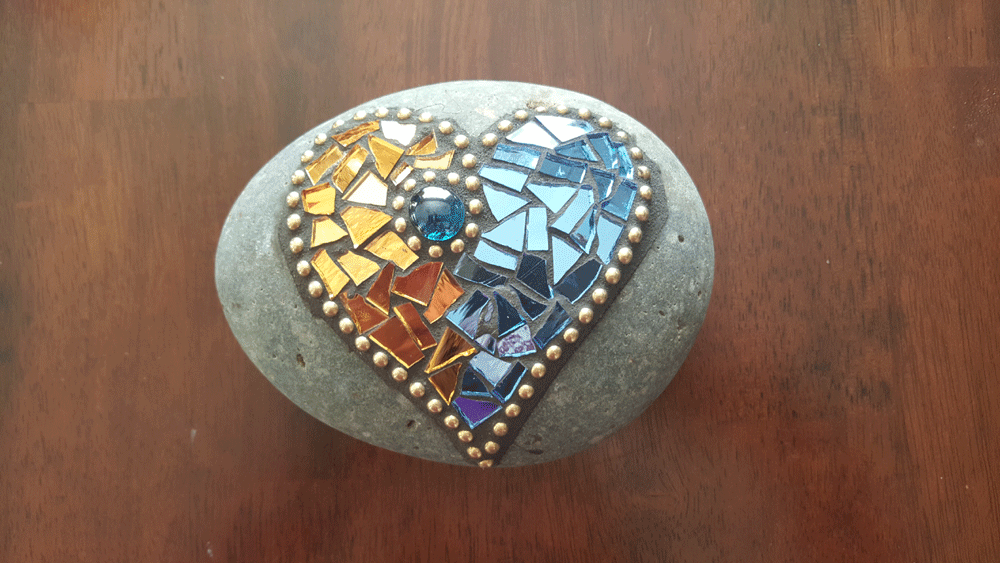
I’m beginning to think two projects in one day for this mosaic novice is a bit ambitious. Now onto the rock…..

Mosaic Rock


Homemade Hot Pot

By | December 6th, 2015|In the Kitchen|

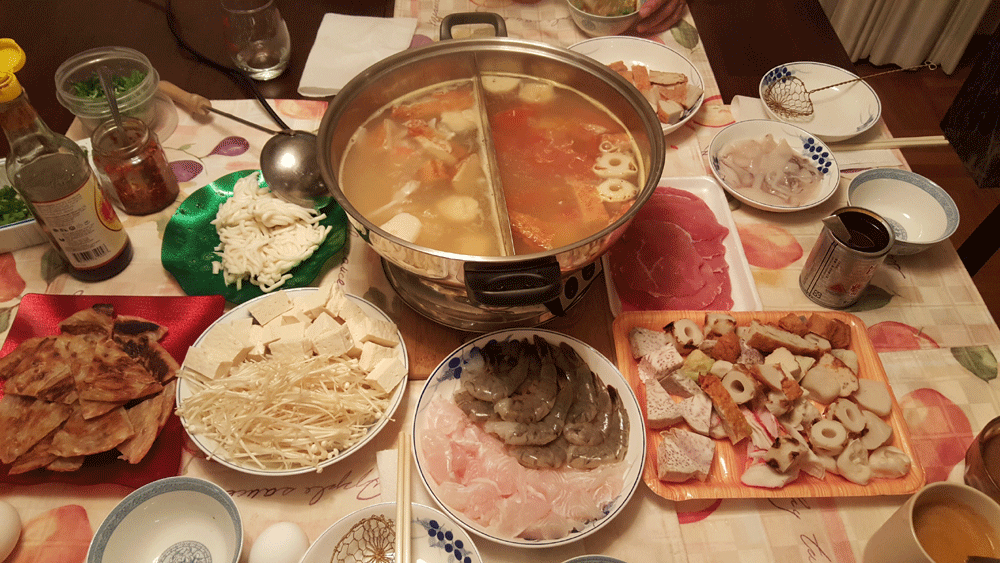
Homemade Hot Pot

On cold wintry evenings such as tonight, there’s nothing that warms the heart and soul like homemade hot pot. It’s one of my favorite, easy-to-do meals that comes with some prep work in advance. But it’s the prep work that makes sitting around the hot pot such a fun and enjoyable meal. And I’ve got to thank my mom for doing all the hard work.

Much of the seafood, meats and vegetables, you can buy at your local Ranch 99, Tokyo Fish Market or Asian grocery stores on Irving and/or Geary if you’re a San Franciscan local. You can ask them to thinly slice the meats or if you’ve got mad knife skills, you can slice them yourself. Tonight we’re having pork, beef and lamb, and for extra protein, throw in an egg.

Other favorites are the fish balls, white mushrooms, firm tofu and udon noodles when dipped in the the spicy peanut sauce. For the soup base, my mom uses chicken broth with the fresh flavor of ginger, cabbage, tomatoes and red peppers. It’s simply, but flavorful.
I’m feeling warmer already!